These baby shadow box ideas are simple to make
A newborn shadow box is a beautiful way to display baby treasures like the hospital ID bracelet, birth announcement, going-home outfit, and first teeny hat. A baby shadow box is quick to DIY (just three steps!) and makes a special addition to your nursery. You’ll never forget the details of the amazing day you met your babe.
Step 1: Gather Your Keepsakes
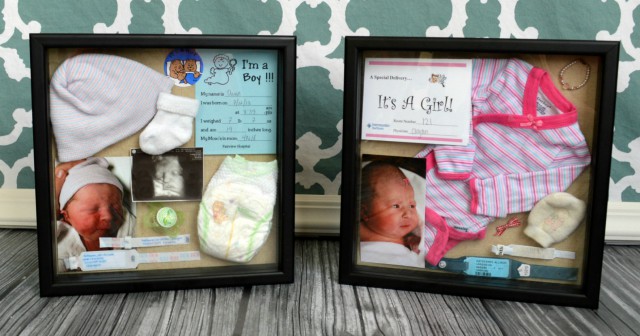
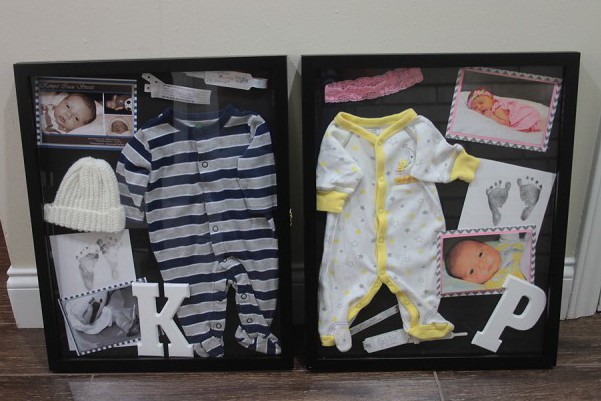
First, decide what to display. You could include a sonogram, baby's first photo, hospital ID bracelet, hospital hat, first socks or booties, baby's going-home outfit, the first pacifier, birth announcement, tiny footprints, crib shoes, or a piece of a beloved swaddling blanket. We love what Alli from Taking Care of Monkey Business included in hers (see above).
Related: 7 Pro Tips for Taking Monthly Baby Photos You’ll Want to Share
Step 2: Buy the Supplies
Head to your favorite craft store (or open Amazon) to pick up items for your keepsake shadow box. First, you'll need the shadow box itself. We like the Studio Decor 4-Way Adjustable Shadow Box because it's flexible in depth so it can accommodate larger items like crib shoes or lovies. It's also sized well for this project at 12 inches square.
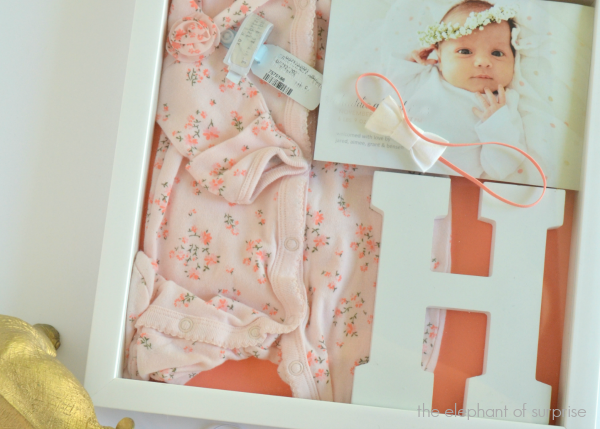
You may also want to include small wooden letters for your baby's initials. To add color or a pattern, use scrapbooking paper for your background.
And finally, you'll need something to hold your keepsakes in place inside the shadow box. Try a few pretty pearlized pins or mini clothespins so you don't have to cover your keepsakes in glue. Visit the Or So She Says blog to see how Aimee put her shadow boxes together.
Make sure to capture all the giggles—and share them with your family and friends near and far—with the Tinybeans app. The secure platform puts parents in total control of who sees and interacts with photos and videos of their kids.
Tired new parent?
Related reads


