The year’s almost over—what was your favorite part? Have your kids ask themselves that question and others with this easy DIY time capsule. Of course, while building a time capsule makes a fun New Year’s Eve craft project, it can be done any time of year. Give your kids the gift of nostalgia! Read on for the simple instructions.
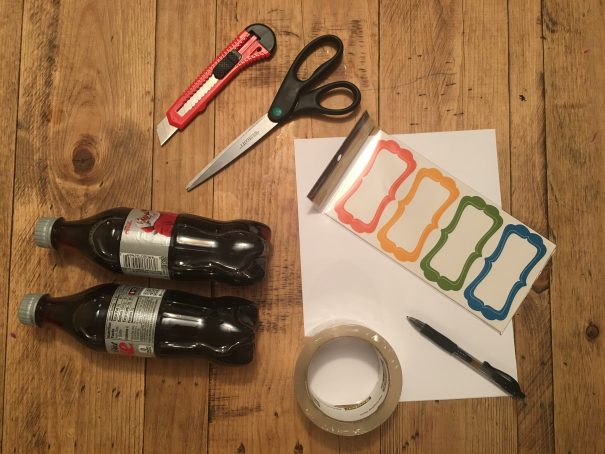
What you’ll need:
Two 16 oz plastic soda bottles
Box cutter or craft knife (XActo knife)
Scissors
Labels
Clear packing tape
Paper, pens, paint, ticket stubs, knickknacks, etc. to help fill your time capsule with memories
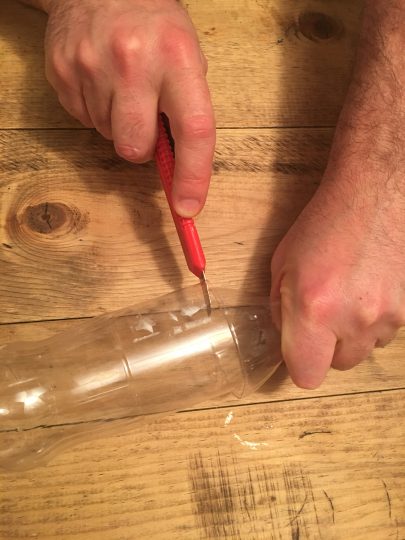
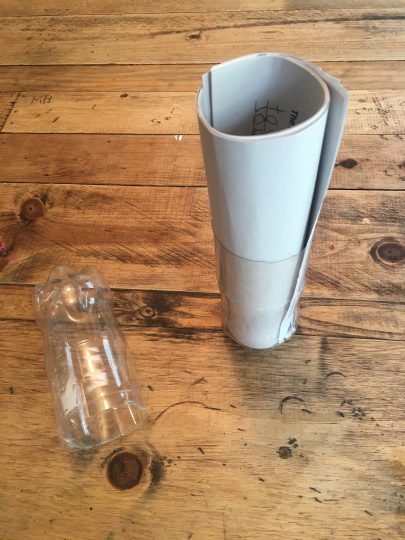
Step One: Cut your “capsule”
Remove the labels from two clear plastic soda bottles. Then, using a box cutter or X-ACTO knife, (parents!) cut the bottles where the flat side meets the sloped top as shown.
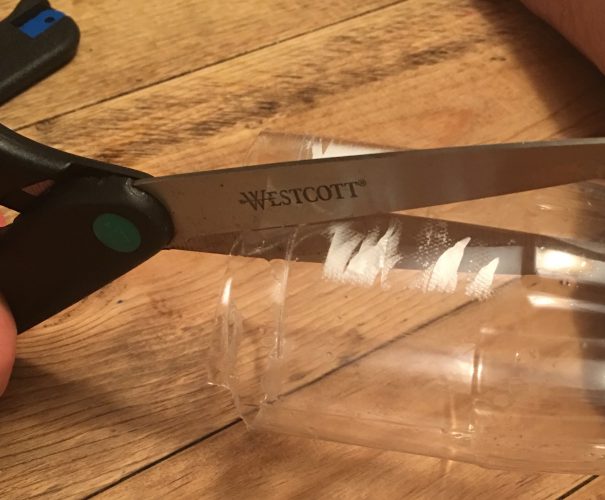
Step Two: Cut notches in one of the bottles
Use scissors to cut four notches in the rim of ONE of the bottles. This will make it easier to squeeze one bottle into into the other to make the capsule shape.
Step Three: Now, freeze time!
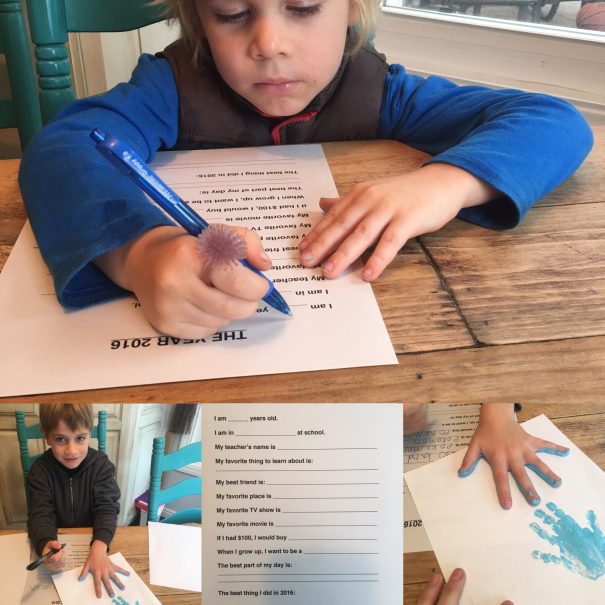
Now that the capsule is prepped, it’s time to find ways to fill it. Talk to your kids about their favorite moments from the year — then see if you can find small items or photos to represent those moments. Some recommendations: Have your little memory-makers put their handprints on paper; it’s a fun way for them to see how they (and their hands) grow from year to year. Also: A simple questionnaire is a must for recording your kids’ current faves. Not sure what questions to ask? Try this easy printable from Uncommon Designs Online.
You could also have your kids write a letter to their future selves, give advice to their future selves, or make a hypothesis as to what their future selves will be doing in exactly one year (or whenever you’ve decided to open your time capsule). Have fun with it!
.
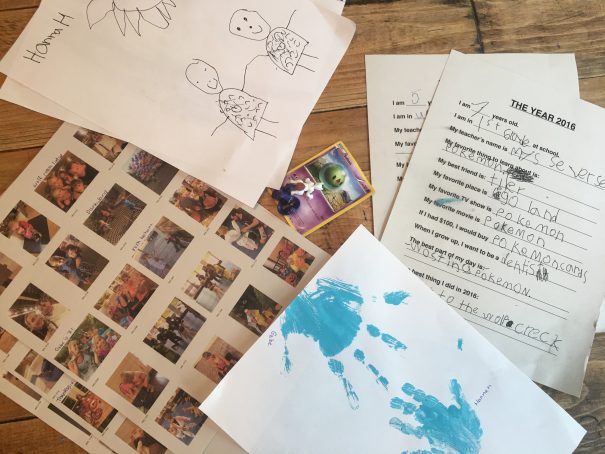
Step Four: Gather all your materials
Make sure you’ll have enough space to fit all your year-end goodies into your capsule. Our capsule included: Handprints of all three kids; a 2016 questionnaire; four pages of thumbnail-sized photos of our year; some Pokemon cards and figures; and two self portraits.
Step Five: Pack it up!
Roll up your papers and photos and slide it into one end of the capsule. Insert any small items in the middle. Then, close the capsule by sliding the two bottles together (the notched side should squeeze right into the other side). Seal your capsule with clear packing tape.
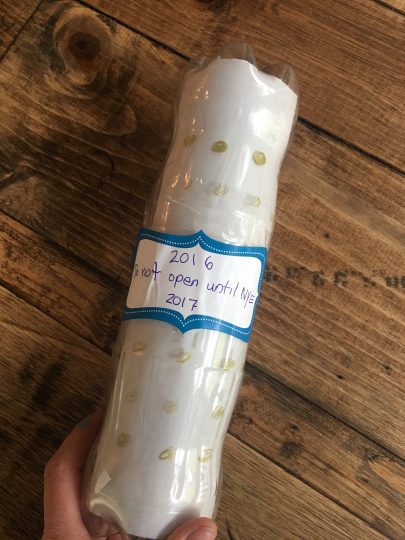
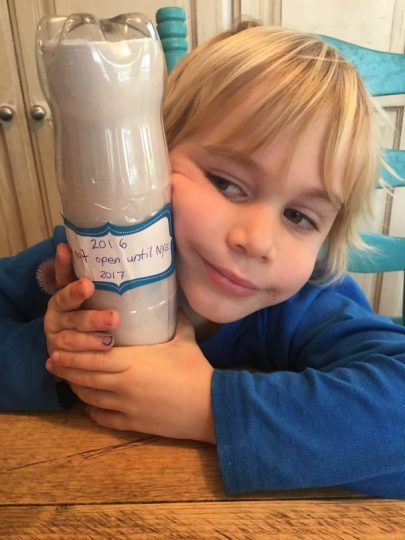
Step Six: Label and decorate
Label your time capsule with the year and the appropriate instructions as to when the capsule can be opened.
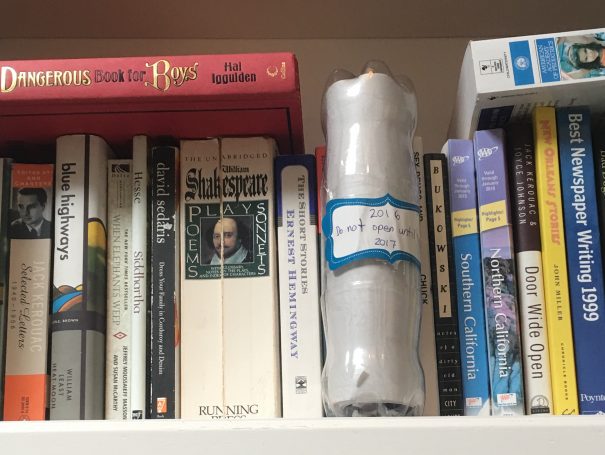
Want to bury your time capsule? Go for it! As long as your capsule is completely sealed, it should last underground for a year or two without a problem. Not up for digging, or don’t have the proper yard for burying? Place your time capsule high on a shelf or drawer, out of reach of prying hands. Open it next year… in five years… whenever you’re ready for some instant nostalgia.
Happy New Year!
— All copy and photos by Melissa Heckscher
RELATED STORIES:
How to Make a Vision Board for 2022 with the Kids
My Family Gave Up on New Year’s Resolutions. Here’s Why Yours Should, Too
Awesome Ways to Celebrate New Year’s Eve with Kids
*This post was inspired by a similar Time Capsule project at Our Peaceful Planet.
Need some fresh ideas?
Related reads


