
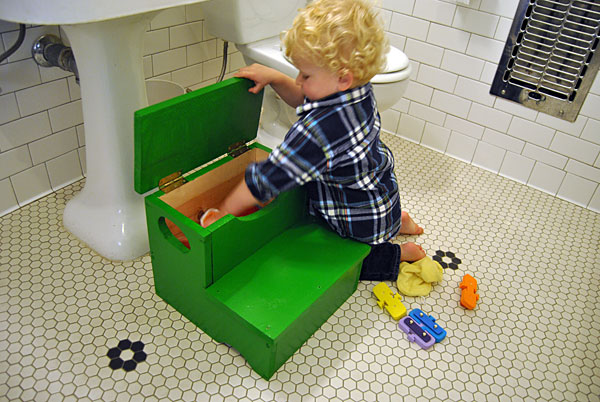
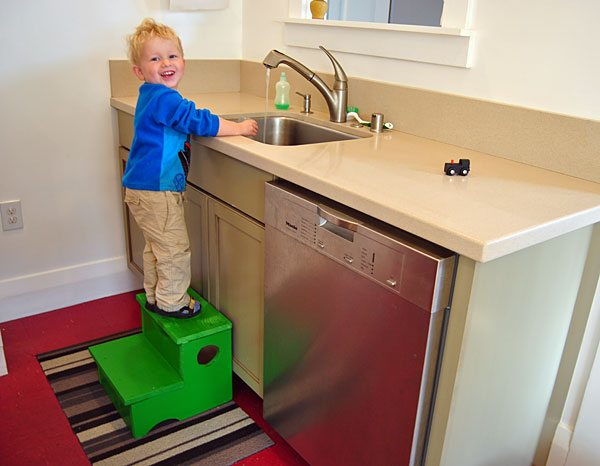
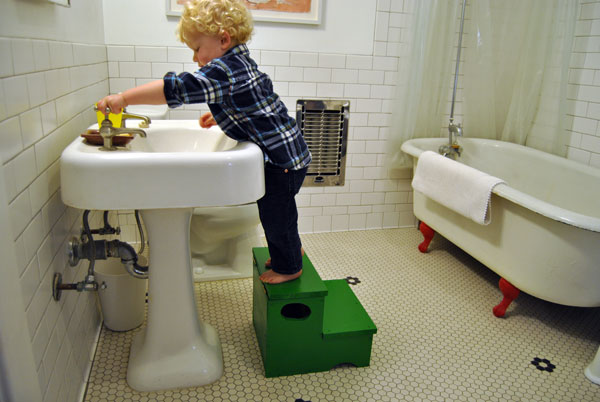
A step stool has the ability to magically reveal a whole new world to a toddler. Suddenly, brushing their teeth and washing their hands poses no problem for their diminutive stature, and the once daunting kitchen counter becomes a new frontier for kids to explore their inner chef. You may want to build two of these step stools: one for the bathroom and another for the kitchen.
This is a great project to involve the kids, so let the creativity soar and have fun with color and paint. Your child may even want to customize the stool with his or her name or go wild with stencils and stickers.
Materials and Tools
jigsaw
cordless drill and 1/2″ bit
square or ruler
2″ wood screws
wood glue
sanding block and medium-grit sandpaper
1x12x8 pine board (11-1/4″ wide is standard)
2 standard hinges
paint if desired
Cut List
2 sides at natural width of board at 11-1/4″ and cut length 14″
2 storage panel pieces (front and back) at 11-1/4″ and width 12″
2 storage box bottoms and kick panel pieces at 11-1/4″ and 5-1/4″
2 step stool tops 14″ width and 7-1/2″ length
Step-by-Step Directions:
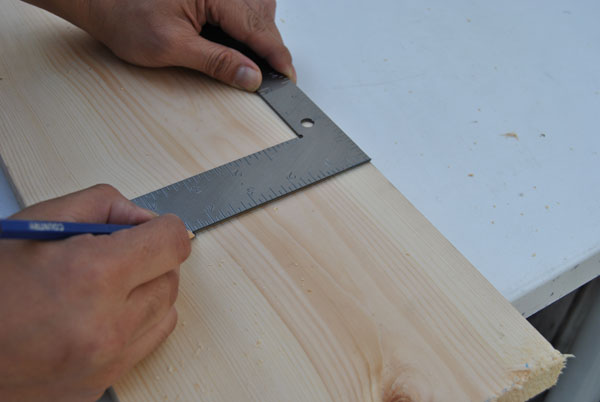
1. Mark the Cuts: After assembling the tools and materials, use a square and pencil to measure and mark the cuts for all sides of the step stool as well as the handle holes. All pieces of this stool can be cut from one piece of 1x12x8 pine board.
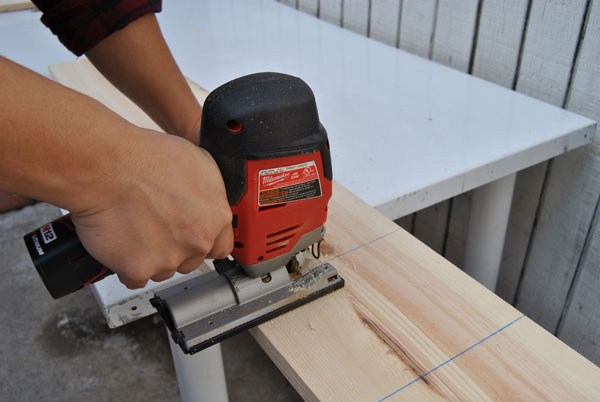
2. Cut the Wood: Using the jigsaw, make each straight cut. For the best results on the handles, first drill a hole a bit larger than the jigsaw blade in the center of the area to be cut out. Then insert the jigsaw blade and follow your markings around the circular handle openings. Finish by cutting out the bottom decorative arches.
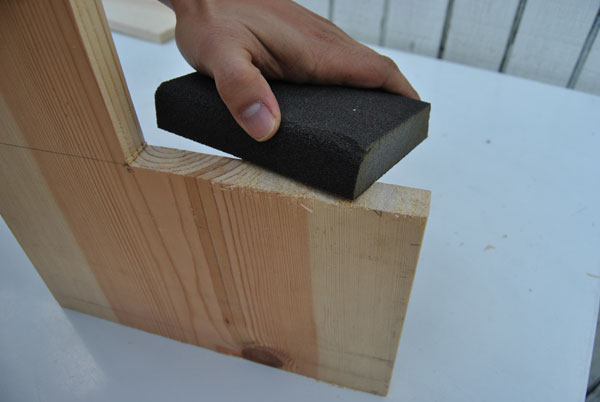
3. Sand It All Smooth: Sand all edges using medium-grit sandpaper. Remember, this stool will likely be moved from room to room and handled by precious toddler skin, so take extra care in making sure all edges are as smooth as possible.
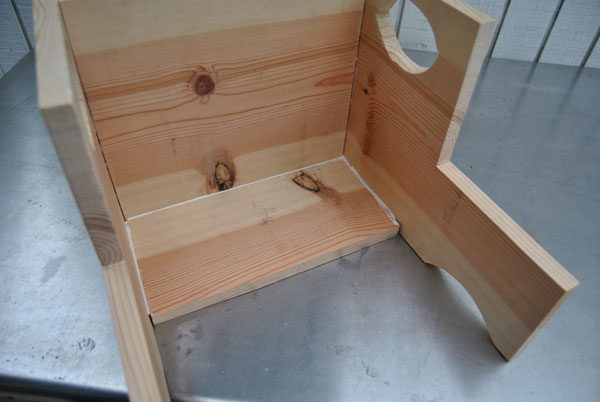
4. Dry Fit All the Pieces: Line up all of the cut pieces and make sure they fit together nicely. If any adjustments need to be made, do that now.
Note: If you choose to paint or stain your stool, you will get the most professional results by doing this before each piece is assembled.
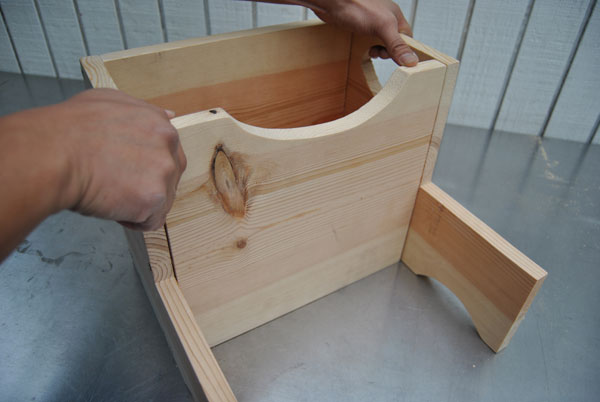
5. Attach the Back to the Sides: To assemble the pieces, start by attaching the back of the stool to the sides by first gluing the pieces together, then securing them with the screws.
6. Add the Bottom: Attach the bottom of the stool to the back and the sides using that same technique.
7. Attach the Front Piece and Step: Secure the front section of the stool storage area, then the front kick panel. Attach the bottom step.
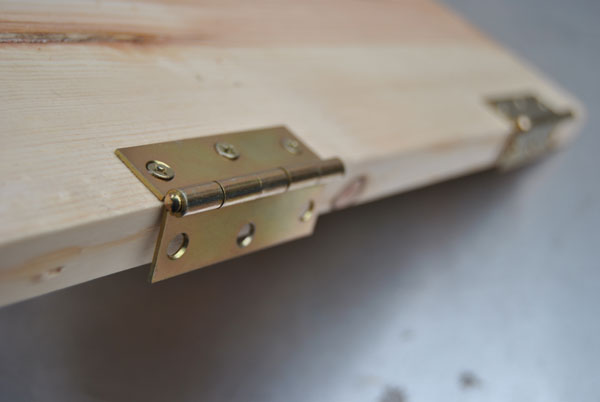
8. Add the Hinges: Prepare the lid by installing the hinges. Line up the hinges 3″ from the outermost end and attach them to the bottom of the lid. Finally, attach them to the inner side of the back panel.
For added safety and traction, consider adding grip tape to the tops of each step. Since little hands aren’t very adept at doing anything gently, you can add a felt strip where the top lid touches the stool to reduce “slamming” the lid when it is closed.
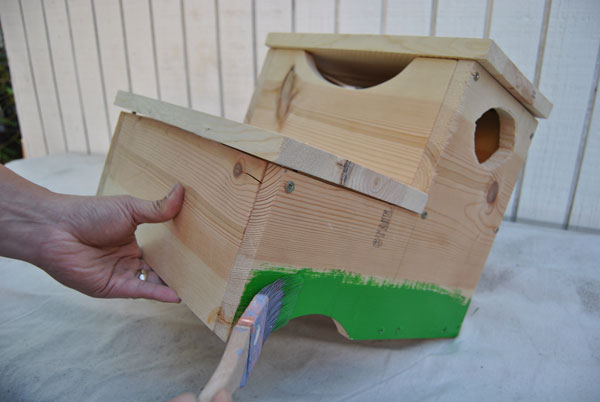
9. Paint and Decorate: Lastly, paint, stencil, engrave and decorate your storage stool to your heart’s content.
Parents to a little guy who’s two feet tall, Timothy and Laura Dahl founded Built by Kids as an extension of their adventures in raising a capable, confident and independent man. The Dahls are inspired by the Makers of the past and are passionate about introducing the next generation to the skills and creative thinking that will help empower their future.
Need some fresh ideas?
Related reads


