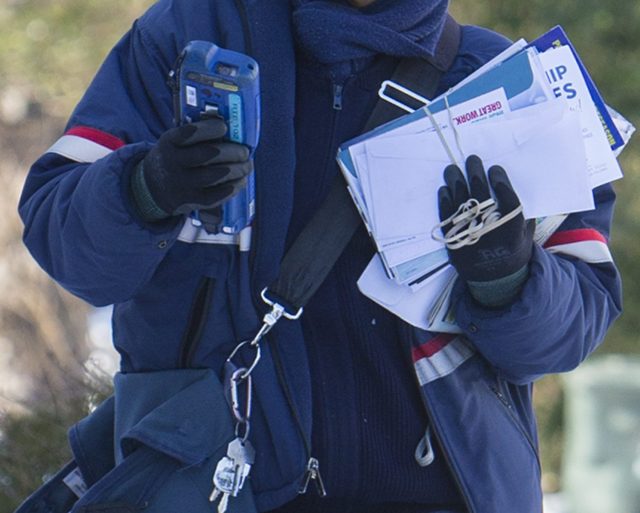
Saying thank you to a mail carrier is an easy and thoughtful way to share the holiday spirit with others
Through snow and rain, heat, and gloom of night, your local mail carriers deliver your letters and packages directly to your door (or at least your nearest mailbox). And, during the season of goodwill and cheer, they deserve major props. From mail carrier thank you cards to gifts for mail carriers, here are six ways to thank your mail carrier. The best part? All of these are easy for kids and fun, too (think baking cookies!).
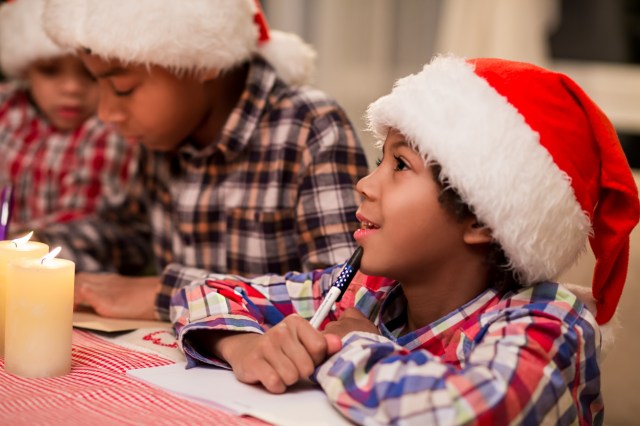
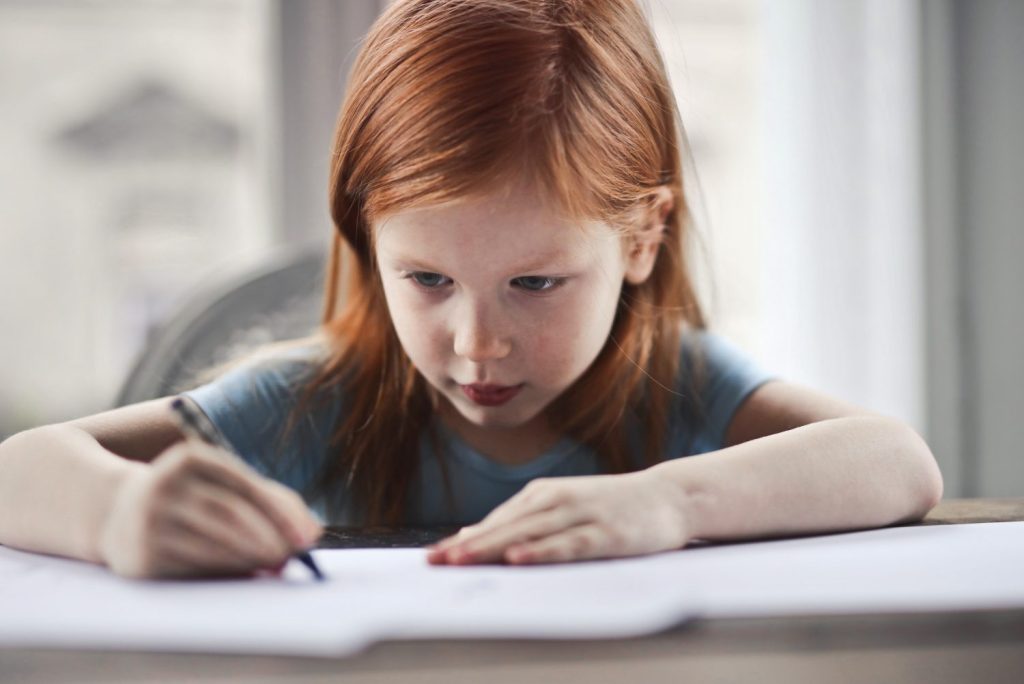
Write a letter!
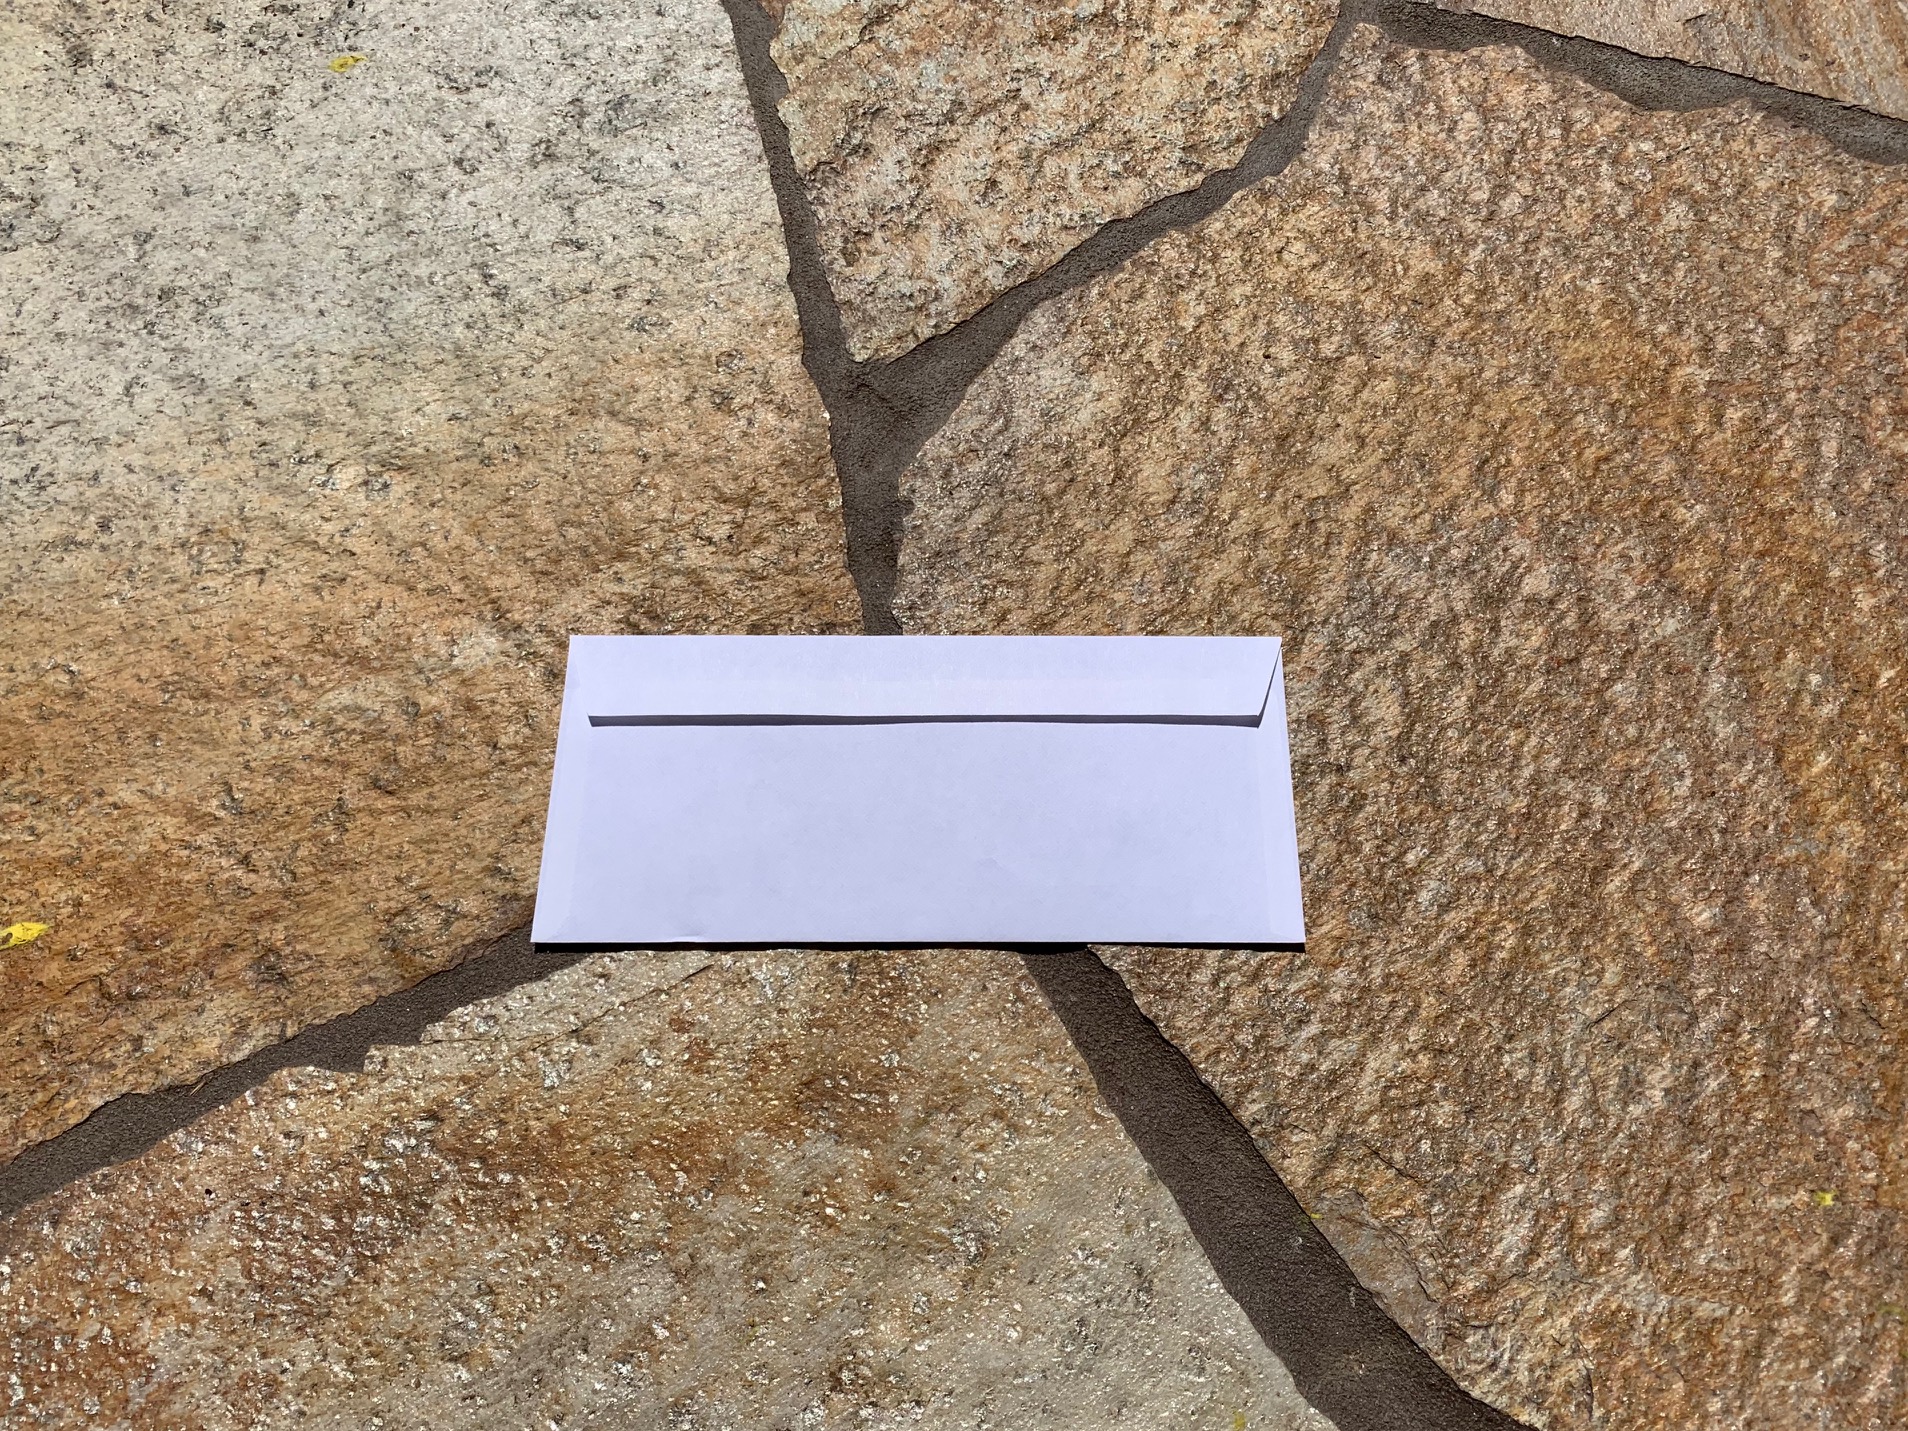
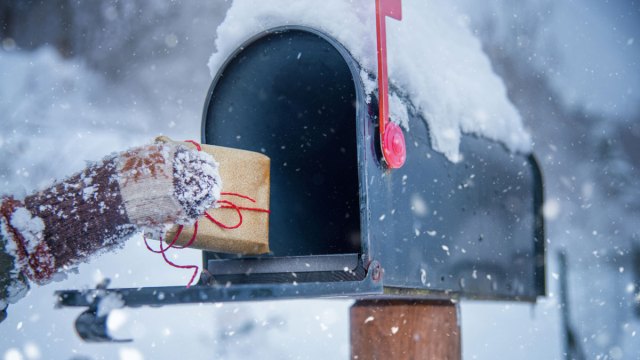
Even if you don't know your mail person by name, you can still address them in a general way, such as "Our Favorite Mailman" or "Our Faithful Carrier." A simple note that says how much you appreciate the hard work they do (extra cute if your kids can write it out) will go a long way in making your postal worker feel special. Put it in an envelope and use stickers instead of stamps. (After all, they love mail, right?) You can also nab this free, downloadable template if you need a little help!
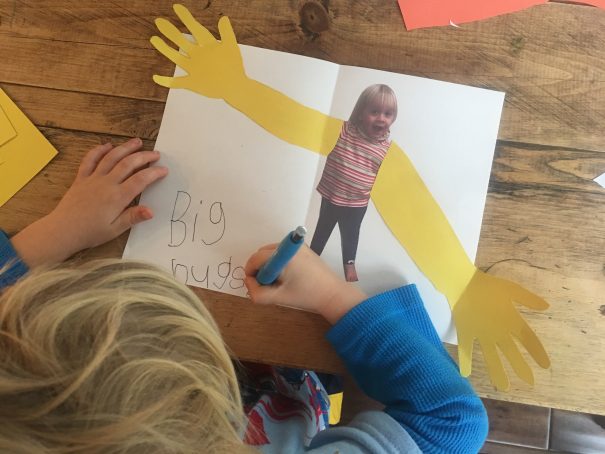
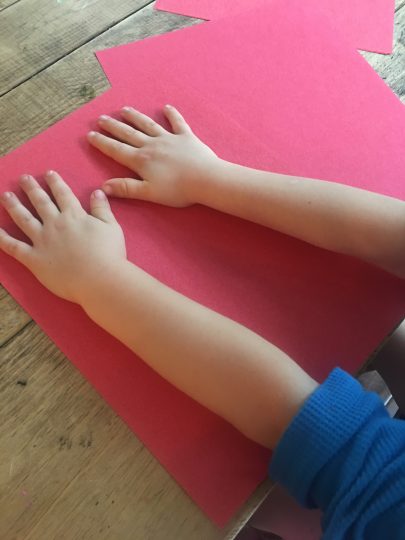
Make a Thank You Card
As always, a thank you card is a lovely gesture. Let the kids draw a little picture or get creative or use a printable like this one to make a little note to attach to the flag of your mailbox. If you can afford it, add a $10 or $15 gift card for somewhere like Amazon or a nearby coffee shop in the envelope. Be sure and do something OBVIOUS to make it clear it's not a regular piece of mail.
Include a Gift Card
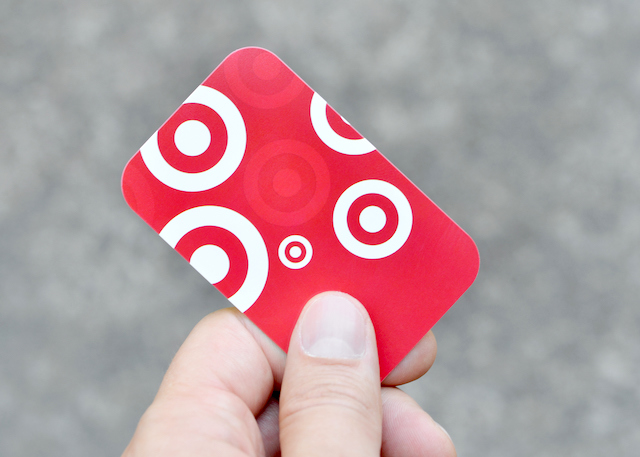
If you can afford it, add a $10 or $15 gift card to somewhere like Target or a nearby coffee shop with the letter or the card. Be sure and do something obvious to make it clear it's not a regular piece of mail. Mail carriers are not legally allowed to accept single gifts valued at over $20 so keep that in mind.
Related: 2022 Christmas Shipping Deadlines for USPS, FedEx, UPS & More
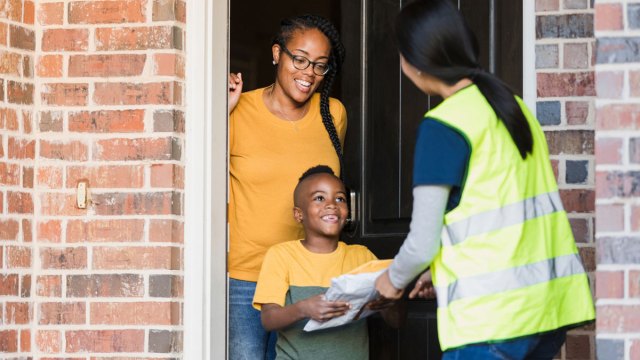
Leave a Thoughtful Gift
A thoughtful gift (again, under $20) is another simple way to let them know you're thinking of them. Consider things like warm gloves, an insulated mug, cozy socks, or a new water bottle.
Bake Something Special

Leave cookies in the box or on the doorstep with a clearly marked sign. Be sure to seal them in something, even a ziplock or paper bag decorated with stickers works, and attach a note that says thanks! It's a good idea to list the ingredients in case of allergies or food sensitivities.
Say It Out Loud
Shout it out! If you're home when the mail comes, be sure to say, "Thank you!" Get the kids in the habit of saying it, too. You can always throw open a window and shout it out. A little gesture of kindness and gratitude like this can go a long way on a long day.