Here’s what to do when your child gets three of the same toy for Christmas

Wouldn’t it be great if everyone’s holiday resembled a scene depicted in a Norman Rockwell painting? It’s just not realistic—and where’s the fun in that, anyway? Smiles and tantrums, calm and kerfuffles, serenity, and debacles are all the things that make the holidays unpredictable and beautiful. Our holiday survival guide includes a list of possible snafus and tips to help you keep your cool.

Possible Snafu: Meltdowns on Santa’s Lap

holiday survival guide tip: what to do when they meet santa
_drz_via Unsplash

Imagine you’re standing in the line of melting children and anxious parents waiting to overpay for that annual snapshot with the mall Santa. It's your turn and suddenly one of your little angels develops an irrational fear of all things Santa. Mr. Claus props your kid up like a wet noodle as you’re looking for the nearest exit.

Holiday Survival Guide Tip: What's the problem here? A cheesy mall snapshot capturing a Level 4 toddler freakout and an obviously annoyed Santa is Instagram gold. Get the shot, dig out their favorite lovie you’ve stashed in the diaper bag, and smile because this is a picture you’ll treasure.

Possible Snafu: Gift Duplication

iStock

An adult who receives a duplicate gift will proclaim their love of the item while discreetly digging through tissue paper in search of a gift receipt, careful to preserve any tags. Children, however, are prone to reactions anywhere on the spectrum of matter-of-a-fact “I already own this” proclamations to window-shattering, rolling-on-the-floor screaming fits.

Survival Tip: Never underestimate the value of role-playing. Prepare them for the possibility this could happen and coach them on ways to respond— "No matter what you receive, just say 'thank you" It's also a great time to remind them it’s the thought, not the gift, that counts. Play a fun role-playing game and simulate opening something they already own, allowing yourselves to get a little silly. Should the situation occur, it’ll be an amusing wink-and-nod secret between you.


Related: 15 Genius Photo Hacks to Try This Holiday Season

Possible Snafu: Toy Surplus

bedtime routine
iStock

Once the pine-scented dust has settled, post-holidays, you’re left with a mountain of toys and tchotchkes that need to find a resting place in your already-busting-at-the-seams home. Finding space for the 25 spider rings and 16 pencils accumulated at the school Halloween party drove you to tears, and now you need to find space for a life-sized panda bear, Barbie’s Beach House, and Ken’s midlife-crisis cherry red Corvette.

Holiday Survival Guide Tip: Resist the urge to meet the garbage man at the curb come trash collection day and adopt a one-in, one-out rule. A couple of weeks before Christmas, review your kid’s wish list with them and explain in order to receive, they need to give. Be prepared: They’re resourceful little boogers and will try to convince you they can find space for it all—even if it means shoving things under chairs, stacking items precariously, or throwing out their underpants to make room in a drawer. Donate gently loved but no longer wanted toys to a worthy local nonprofit organization.


Possible Snafu: Batteries Not Included

holiday survival guide: make sure you have lots of batteries
Kevin Woblick via Unsplash

Toy manufacturers seem to enjoy the idea of parents wrestling with a mini screwdriver to get battery compartments open. And they usually don’t even throw us a bone by giving us the first round of juice with a starter set of batteries. What do you do if it's Christmas Day, no stores are open and Johnny cleared out his closet to make room for a life-like dinosaur that walks, talks, transforms, and is slated to crush his little sister’s My Little Pony herd?

Survival Tip: Do yourself a favor and buy batteries in bulk before Santa makes his rounds. For the most part, you know what gifts they’re receiving, so research the batteries requirements and be sure to have them on hand. Throw a few extra in the cart for the unexpected gifts from the family.  While you're at it, grab a toothpick-sized screwdriver the next time you're at the hardware store— you're going to need it.

Related: 30 Life-Changing Hacks to Save Your Holiday Season

Possibly Snafu: Understocked Pantry

Mara Lin Kim via Unsplash

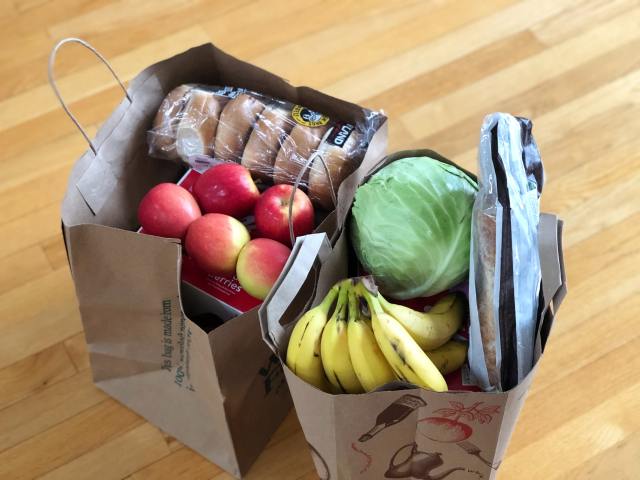
Holiday euphoria has fueled a sudden burst of energy and you have an inexplicable urge to bake 15 different types of cookies and a fruit cake. After a quick ingredient review, you realize you're a ¼ tsp. of vanilla away from your destiny, but your little one is napping. Even if he wasn’t, you risk getting stuck in line behind the people clearing out the bottled water supply preparing for snowmageddon because they spotted a flake.

Holiday Survival Guide Tip: Stock up on baking essentials. Most ingredients required for baking have a long shelf life, so if it takes you until Easter to use them all, no biggie. You can also get simple ingredients and lots of staples delivered to your home fast by using a food delivery service such as Instacart.

Possible Snafu: There Is Noise ... Lots of It

holiday survival guide: how to deal with loud toys
Kelli McClintock via Unsplash

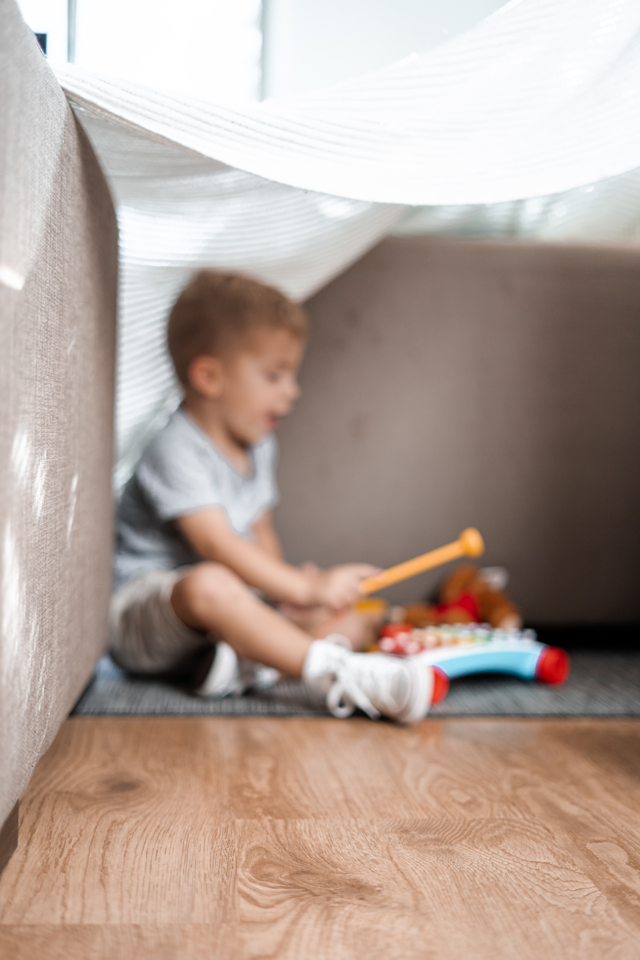
Maybe before you were a parent it brought you great joy to buy the most annoying gift you could possibly find for a sibling's kids. Why not? You didn’t have to live with it and plus, when you were little your brother teased you relentlessly, so he totally deserved to lose partial hearing because you gifted his two-year-old cymbals. The day of reckoning is upon you—the gifts your kid receives will be big, they will be loud and they’re going to have more pieces than stars in the sky.

Survival Tip: We can't help you here. If you fired the first shots, you have no choice but to accept an annoying gift or two. After the scores have been settled, initiate a peace treaty so no one needs to live in fear of what might be under the tree. Discuss parameters for gifts and work together to complete wish lists. If they break the treaty, you are well within your rights to unleash a wrath that can only be calmed by buying your niece or nephew a rambunctious puppy or a matching drum set for those cymbals.


People across the country are utilizing video conference services such as Zoom to stay connected with family, friends and coworkers. Whether you are looking to hide your messy room or you simply want to add a bit of fun to happy hour with your friends, there are plenty of Zoom backgrounds to meet your video conferencing needs. Check out some of the best backgrounds we have rounded up so far.

Platform 9 3/4

The DoorDash Lunchroom has backgrounds for some of your fave restaurants, like The Cheesecake Factory, Cracker Barrel, Baskin Robbins and Panera Bread.

Take meetings from the Bahamas. There are even swimming pigs!

Add a little Harry Potter magic to your next meeting from Platform 9 3/4 to The Great Hall.

Unsplash offers many beautiful Zoom backgrounds from gorgeous office spaces to luxurious beach shots.

From the Golden Girls living room to Rory’s apartment in Star’s Hollow, Modsy has put together a collection of re-imagined pop culture interiors.

Delish created fun Easter and Passover themed backgrounds to brighten up your virtual holiday celebrations.

HBO has countless backgrounds based on Game of Thrones, Westworld, Euphoria, Insecure, Succession and more. 

Pixar has released backgrounds for your favorite movies including Toy Story, Up, Finding Nemo and Inside Out. You can also find backgrounds for based on Cars and The Incredibles

“Werk” from the set of RuPaul’s Drag Race.

Host a virtual meeting from under the sea with Spongebob.

These Schitt’s Creek backgrounds will transport you to the Rosebud Motel.

CBS All Access can transport you into one of their hit shows including Star Trek Discovery.

FOX can help make your meetings more animated transporting you to the worlds of The Simpsons or Bob’s Burgers.

Hold your next meeting with Agent Coulson at the Agents of S.H.I.E.L.D. base.

Insert yourself into one of your favorite ABC shows like American Idol or Modern Family.

Zoom provides instructions on how to use virtual backgrounds. The company says there are no size restrictions for virtual backgrounds but it recommends cropping the image to match the aspect ratio of your camera before uploading it.

—Jennifer Swartvagher

Featured photo: Trang Dang from Pixabay 


RELATED STORIES

Some Restaurant Chains Announcing Free Delivery Amid Dining Room Closures

Starbucks Temporarily Changes to a “To Go” Model in US and Canada

Local Business Financial Aid Resources: COVID-19

It doesn’t happen overnight. Consistency is key. Be patient with yourself. Don’t give up. These are all things I tell my clients in regards to getting organized, and they are true. Cliché but true, and so far I have found them to be more than applicable to my status as a new mom. For example, today’s lesson is how to bottle-feed a breastfed baby.

Breastfeeding is hard, especially at first! You want your baby to get a good latch. You want to increase your supply, so you should pump a whole lot in between breastfeeding sessions (aka breastfeeding attempts). You don’t want to interfere with the latch, so don’t offer bottles or pacifiers at the beginning. Do this, do that, now do the exact opposite of all of it. Sigh…

When Mason was born, he was a sleepy baby. And that’s an understatement. The lactation consultant would come in to my hospital room, hand the baby to me after I had unsnapped my gown and gotten into position, the baby would open his mouth, boob would go in and….nothing. He would already be asleep! He would stay awake long enough to open his mouth and that was enough for him to call it a day. As my late father-in-law would say, “You’ve got some life, pal.” But I digress.

It was evident that we had our work cut out for us in regards to breastfeeding, but we took it on enthusiastically. And a sleepy baby (which is otherwise a very good thing) wasn’t the only issue.

One of my nipples is flatter, so that required a nipple shield and a lot more work on Mason’s part for getting a good latch. My milk didn’t come in until the 4th day after he was born, so up until that point (and afterwards of course) our day revolved around breastfeeding attempts and pumping sessions. My husband would do everything he could to help – hand me the baby, wash and dry the pumping supplies, burp the baby, etc. We were an amazing team, and it continued on after we got home from the hospital. #smallvictories

Breastfeeding became easier and easier. With each attempt, Mason latched on faster, it hurt less and eventually I didn’t even have to use the nipple shield. Boom! What an amazing feeling of accomplishment I felt every time Mason would effortlessly latch on and drink away. We were straight up breastfeeding champions, and I was super mom! “I totally got this whole parenting thing,” I thought to myself…naively, of course.

As you’re probably guessing, we didn’t remain on cloud nine for very long but it certainly was nice while we were up there.

Weeks went by. Breastfeeding continued to go so well that I didn’t even have to pump that much. Here and there I would remember to give Mason some breast milk in a bottle. He would drink it and then a few more weeks would go by. About 6 weeks before he was due to start day care, I decided I needed to give him the bottle more so he would be able to go the day without me. That’s when the euphoria of breastfeeding success evaporated like the accomplishment itself was an illusion all along. Mason became so comfortable getting his nourishment directly from the source that he was no longer willing to drink from a bottle. Queue my panic and then the advice I received…

“Don’t worry, your baby won’t starve at day care.”

“He can go hours without eating and might just wait until you pick him up to eat. “

“Or he’ll feed at night more…which will keep you up at night…but he’ll get the calories he needs.”

Oh good, then he’ll be keeping me up at night after I’ve returned to work? That’s all great advice and very comforting. Yeah, none of this is what you want to hear when you’re in the thick of trying to get your breastfed baby to take a bottle.

I write this to you today, because I want to bring hope, relief and an actual solution to those who may be as frustrated as I was (well I’m going to say “frustrated” but the proper description is more like a depleted, overwhelmed, sobbing mess).

THE thing that finally worked wasn’t something I read, found online in my endless Google searches, got from another parent, the doctor, a lactation consultant, the day care provider or anywhere else. It wasn’t how we fed him, where we fed, who fed him, what time we fed him, how hungry he was or wasn’t, what bottle we used or ANY other variable we could think of to change in order to get the tiniest smidgeon of a result. Because believe me, we tried it all.

We tried to bottle-feed him morning, noon and night. We tried when he was hungry and when he wasn’t so hungry. I tried, my husband tried, my mom tried, my step mom tried, my mom’s boyfriend tried. We tried it while holding him in the breastfeeding position in the rocking chair (you know, because tricking him might work). I tried breastfeeding him and then slipping in the bottle while his eyes were closed. We tried while he was in the car seat, and it was in no way similar to the breastfeeding position. We tried 10, yes count them, 10 different bottles! We tried every day, multiple times a day, for almost 6 weeks. We tried. We tried. We tried.

Like I said, we tried everything we could think of.

And then it occurred to me. My nipples are NOTHING like the nipples on the bottles. They aren’t even close, so maybe I need to break out the nipple shield again and use it as some sort of transition device. And guess what. It worked!

THE thing that finally made a difference was the nipple shield, and this is how I did it.

When it was time for Mason to eat, I would let him feed on one side. Then when we moved to the other side, the nipple shield would be there. Although he did suck on it, he wasn’t fond of it and that’s when I slipped in the bottle. Boom!

He was taking it down. Instant relief hit me when this worked the first time, because I finally had something to work on that produced a result. It took some time, but I did this at each feeding session until the nipple shield was no longer necessary and he would just take the bottle.

Now, let me interject a quick side note here. Mason did show a preference for certain bottles from certain people. Yes, you read that correctly. He would only take one kind of bottle from me, and he would only take another bottle from his day care provider. I think it’s safe to say he gets that attention to detail from me (I’m a professional organizer so it does make sense). Anyway, in case it helps you, he would only take the Lansinoh Momma bottle from me and the Dr. Brown’s bottle from the day care lady.

To ensure the continued success of both breastfeeding and bottle-feeding, I would switch between the two throughout the day so he would go with either one. And he does it! He’ll breastfeed, he’ll take the bottle, and anyone can feed him at anytime anywhere and in any position. Also now, with some practice, he’ll even use different bottles. Woohoo! We’re back to feeling like champions…for now. #supermom #supermomfornow

Like I said at the beginning of this article, it doesn’t happen overnight. Consistency is key. Be patient with yourself. Don’t give up…but if you’re at the end of your rope like I was, talk to me. Are you also having this problem with your breastfed baby? What have you tried? What’s not working? Did you try my nipple shield solution? How’d it go?  I’m all ears. Leave me a comment and let’s figure this thing out together. :)

I’m a professional organizer, an author, a small business owner, a DIY blogger, an  adoring wife, a smitten mom, a Pug lover, a hula hooping guru, a cheese addict, and a happy napper.

Instead of a meltdown, how great would it be if your baby politely asked, “More milk, please?” Yes, it can be done and getting kids to communicate their needs before they can speak can cut down on their (and your) frustration factor ten fold. The following baby sign classes are appropriate for munchkins as young as five months and many incorporate music and dance into the program to keep it extra engaging. Read on to discover four classes around town worth babbling about.

Portland Early Learning Project: photo by Stephanie S. via Yelp

Portland Early Learning Project
We love that the mission of this organization is to empower children and families to use language so that they can inspire positive change in the world. PELP offers a variety of class options for younger children and their parents to dive into the world of sign language, including series classes that increase in skill level. Have a play group that wants to learn sign language together? PELP will also help you create a class and come to you. Besides the amazing instruction and classes that can come to you, all of their programs are play-based and incorporate songs into the mix.

Ages: 5-24 months

Cost: Varies based on your class choice, but as an example, a five-week session is $80, which includes take-home handouts that include signs, song lyrics and strategies.

Location: See the current schedule for details on where the appropriate class for you is being held. Most are at TaborSpace, 5441 SE Belmont St.)
503-284-0610

Online: portlandearlylearning.com

Tiny Talkers Baby Signing 101
If you’re a parent who is dedicated to using sign language in your home to communicate with your children, or you want to simply start integrating it into the life of your baby, these workshops are designed to teach the parents how to use sign language and how to teach it to their kids on their own at home. You can also make arrangements to have a workshop in your home with your parent friends. Although, you’d better wait to serve wine until after everyone finishes learning the signs… or at least make them sign to ask for a glass!

Ages: They recommend only non-mobile babies attend, so that you can focus on learning the material.

Cost: A one-time workshop (typically two-hours long) is $45 for the first person and $10 for an additional adult.

Location: Various locations around Portland, including Alma Midwifery and The SweetLight Center.
503-754-8776

Online: tinytalkersportland.com

photo: courtesy of Tiny Talkers’ Facebook page

Tiny Talkers Sign, Sing & Play
Sign language and music come together in a very happy marriage in this five-week session that integrates sign language with singing and dancing. Beyond just having fun in class, parents will also learn the strategies to bring the same skills home with them to continue making progress between sessions.

Ages: 6 months-2.5 years

Cost: A five-week session costs $75

Location: Euphoria Studios, 1235 SE Division St.
503-754-8776

Online: tinytalkersportland.com

photo: courtesy of Westside Baby Sign Language Facebook page

Westside Baby Sign Language
The owners of the Westside Academy of Kung Fu school enjoyed teaching sign language to their daughter so much, they decided to share the love and teach it to the community as well. Their daughter, now four years-old, even helps teach the class, too! In July, baby sign classes will move to the Upper Westside Play Gym for a fully padded play experience and expanded kid classes.

Ages: All ages

Cost: $5 drop in

Location: Check website, as classes will be moving soon.
503-432-7450

Online: westsideakf.com and Facebook

Have you taken sign language classes with your baby? Tell us all about it in the comments.

— Kelley Gardiner