Imagine if every time you took the garbage out or loaded the dishwasher someone offered helpful tips on how to do it more efficiently. Now imagine if, after every meal, someone in your family gave a critique of the food and made suggestions for the next meal.

How would you feel? Well, I know how I would feel: deflated, frustrated, and unmotivated.

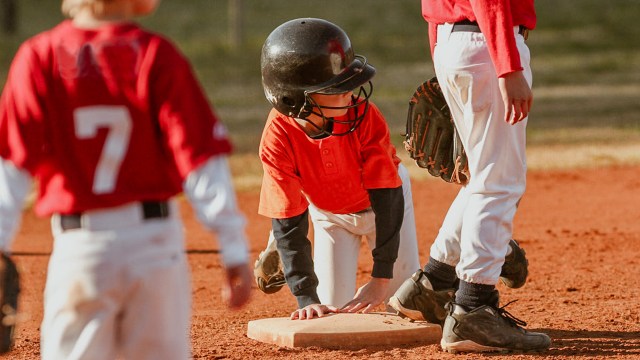
Without realizing it, this is basically what some parents are doing to their children after every practice or game. As soon as the child leaves the field, Mom or Dad starts in.

Sometimes, it’s friendly tips that are meant to be helpful. Sometimes, it’s more commanding advice, like “Swing with more power” or “Pay more attention to the ball.” Other times, parents just ask so many questions they exhaust their children (who are already tired from the game).

I can tell you with confidence that all children—and I mean all children—hate the questions and constructive criticism. Young athletes start to dread the car ride home because they know they are held captive with nowhere to exit. The analysis of the game and the helpful hints completely suck the fun out of the game.

What’s worse, that fleeting car ride can have a lasting, if unintended, effect.

In my practice as a family coach, I see it time and time again. A child has loved sports for many years. Then all of a sudden, poof, he or she has no interest in ever playing again—and the parents are left scratching their heads.

It’s all too common. Up to 70 percent of youth athletes stop playing the game by age 13, according to a survey conducted by The National Alliance for Youth Sports. The reason? Heartbreakingly, because the game is no longer fun.

Even the most well-intentioned parent can ruin the fun by being overly invested in the outcome of a game or the growth of their player. (And it’s a shame because, besides being fun, playing a sport is shown to improve academic outcomes, lower the risk of alcohol and drug use, reduce unexpected pregnancies, and improve social relationships.)

I know it’s hard not to share what you see from the sidelines. I know parents are just trying to connect with their children. But, more often than not, it’s not working.

The good news? There’s an easy fix. Greet your player when the game is over in one of two ways, and you will revolutionize the way your child feels about being on the team.

Option 1: “I love to watch you play.”

Option 2: “Where should we go for ice cream?”

By telling your child how much you enjoy seeing their effort, win or lose, you are conveying support and reinforcing the joy of the game. I see so many young players immediately looking into the stands to see a parent’s reaction to a goal or a great defensive move. They want—no, they crave—the positive affirmations from their parents.

So, give it to them.

(This also goes for those parents glued to their phones on the sidelines. Look up! You want to be there to catch their eye.)

The more you focus on the joy of watching them—not winning, not technique, not strategy—the more they’ll actually enjoy playing (and, not incidentally, the more likely they’ll actually improve).

Now, ice cream after a game isn’t always necessary. But, win or lose, it sure is nice.

Catherine Pearlman, Ph.D., LCSW, is a therapist, avid youth sports parent, and founder of The Family Coach. This post originally appeared on MOJO.
MOJO is on a mission to make youth sports more fun for everyone — one kid, one coach, one family at a time. 

Whether there will be six more weeks of winter or an early spring, these cute projects will help you pass the time.

Excitement is building in your house. Your little critter can hardly wait for the Punxsutawney prophet himself, Groundhog Phil to make his annual prediction. Will he grant your snow baby six more weeks of snowman building or is it on to spring tulips and rainy day puddle jumping? Craft while you wait with one of these simply adorable Groundhog Day crafts for kids.

geometric-groundhog-almostunschoolers-com
Almost Unschoolers

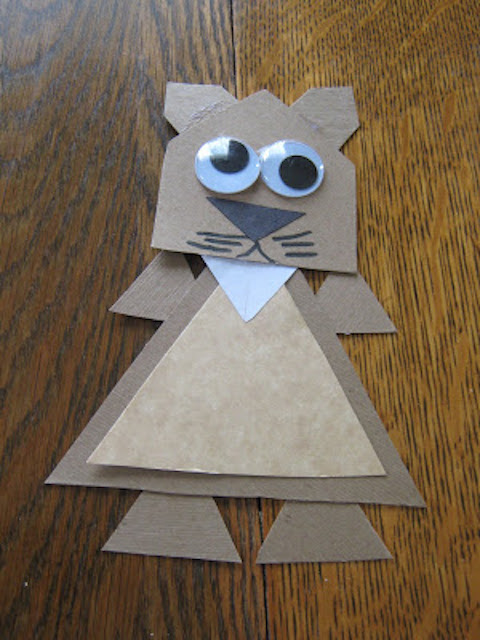
1. Almost Unschoolers has the scoop on how to make this geometric groundhog that’s a perfect fit for preschoolers.

2. Put that sensory box to good use by having your little ones search for tiny groundhogs and match them to a printout like this fun idea from @playroomprek on Instagram.

groundhog-shadow-craft-allison-sutcliffe
Allison Sutcliffe

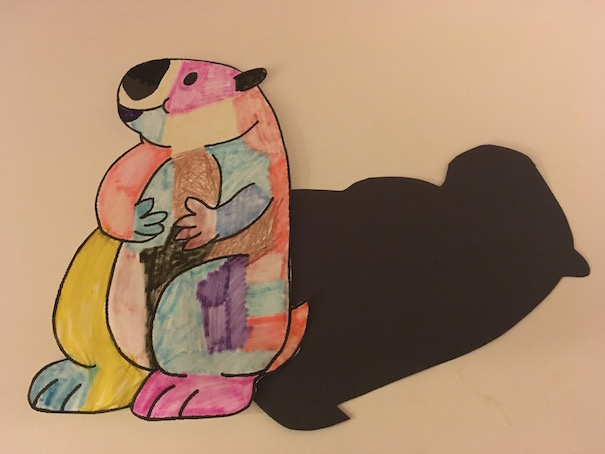
3. No matter how your aspiring artist chooses to paint or color this cute groundhog, his shadow will always be close behind. Get the template, instructions, and a cool texture painting idea at allkidsnetwork.com.

girl-with-groundhog-pop-up-craft-allison-sutcliffe
Allison Sutcliffe

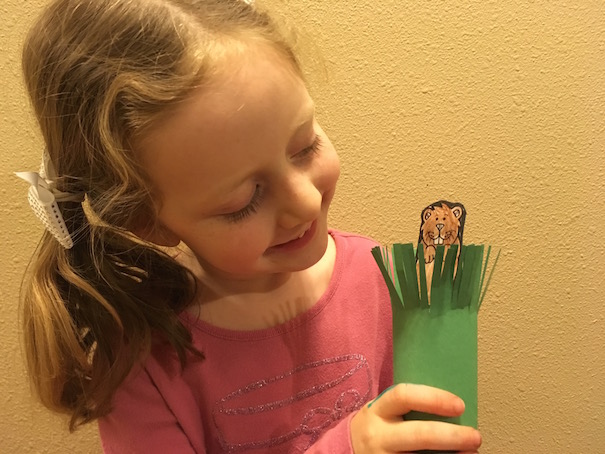
4. Your kidlet can play peek-a-boo with this groundhog puppet, who loves popping in and out of his grass-lined toilet paper roll to look for his shadow. Print your own cuddly paper puppet template online to get this project rolling!

heart-shaped groundog day craft
Allison Sutcliffe 

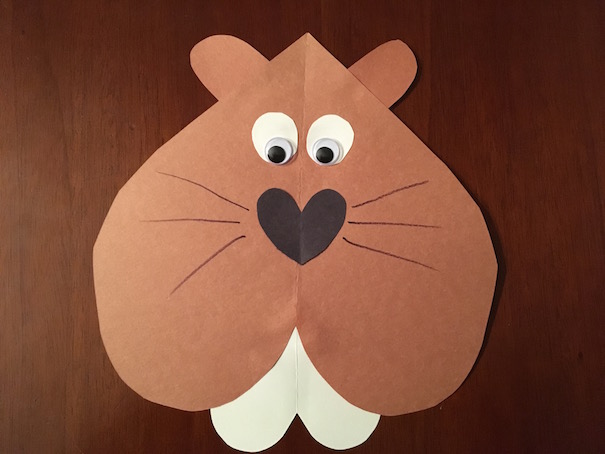
5. We dare you not to love this simple cut-and-paste, googly-eyed groundhog who’s a Pinterest fave. Three hearts make up his face, teeth, and button nose, followed by ears and eyes trimmed freestyle. All you need is a glue stick at the ready to assemble this furry friend!

Related: Interview with a Groundhog: Punxsutawney Phil Dishes the Dirt

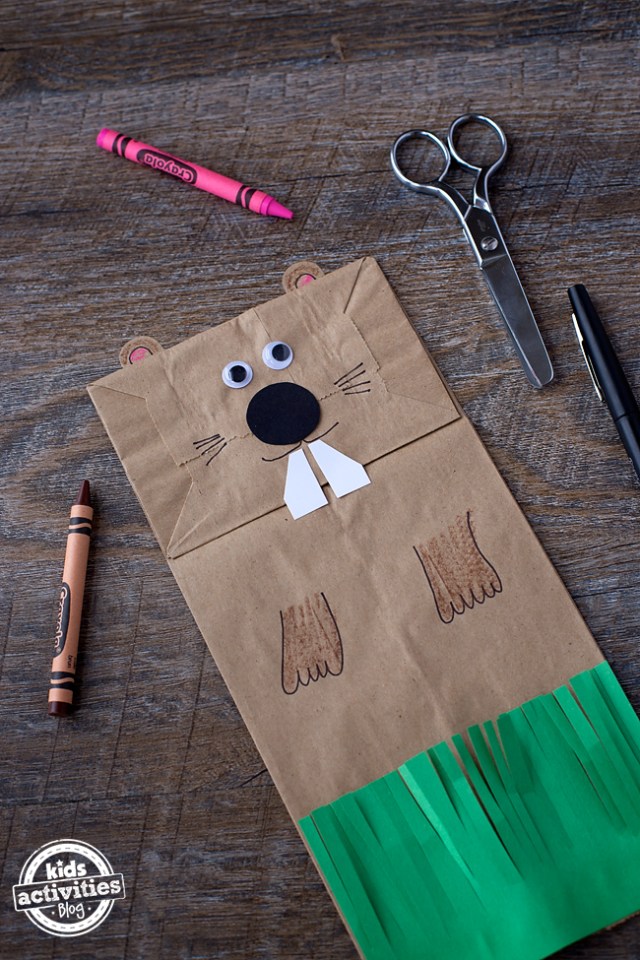
Kids Activity Blog

6. Our friends at Kids Activity Blog have the how-to on this adorable, paper-bag craft.

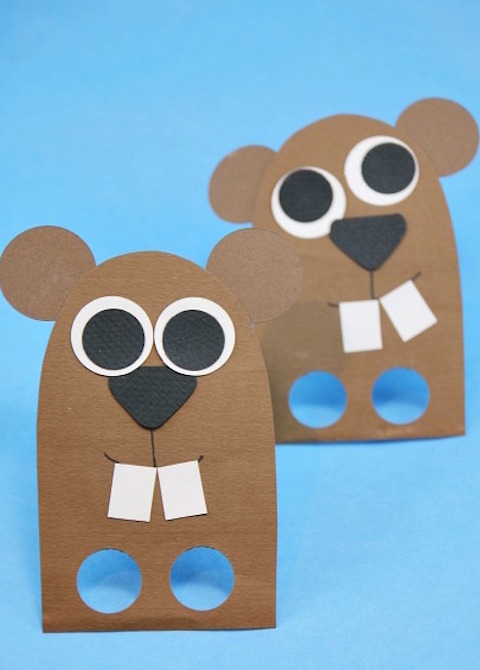
a picture of a fun Groundhog Day craft, groundhog finger puppets
Housing a forest

7. We can’t quite put our finger on what makes these petite puppets so adorable, but we bet your little ones will love making them. Housing a Forest spells out the necessary steps to construct this easily animated guy.


When they’re not having fun finding pots of gold or searching for leprechauns, your little learners will love trying out some St. Patrick’s Day science activities! From rainbows to shamrocks, there is so much to learn from the icons surrounding St. Patrick’s Day. If you want more, check out our roundup of fun and easy science experiments for kids.

Make Leprechaun Slime

Learn about viscosity by making leprechaun slime complete with gold flakes!

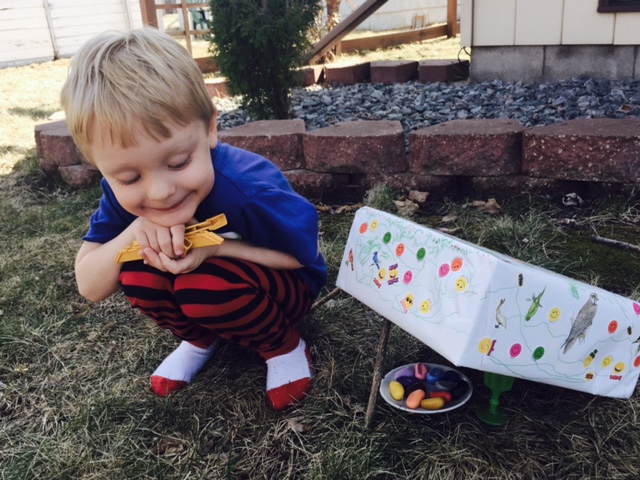
Make a Leprechaun Trap

little boy who made a leprechaun trap
Amber Guetebier

This is one of our favorite St. Patrick's day activities for preschoolers. Bust out your STEM hats and plan how you are going to catch your very own leprechaun. Start with a shoebox and see where the imagination takes you! 

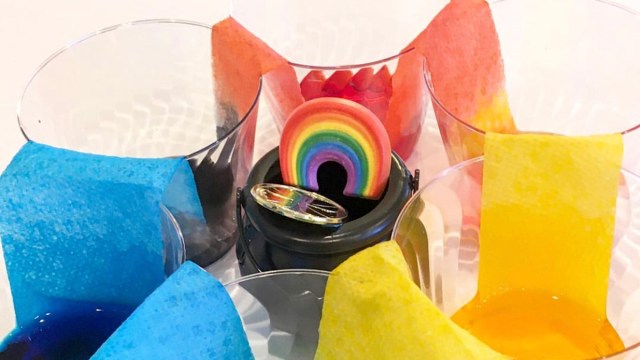
Create a Fizzing Rainbow

We love this colorful idea where you create your own fizzing rainbow. Be sure to put a paper towel underneath your creation. You can dry it in the sun and hang it in your window!

Related: Everything You Need to Trap a Leprechaun This St. Patrick’s Day

Crystal Shamrocks

Little Bins for Little Hands

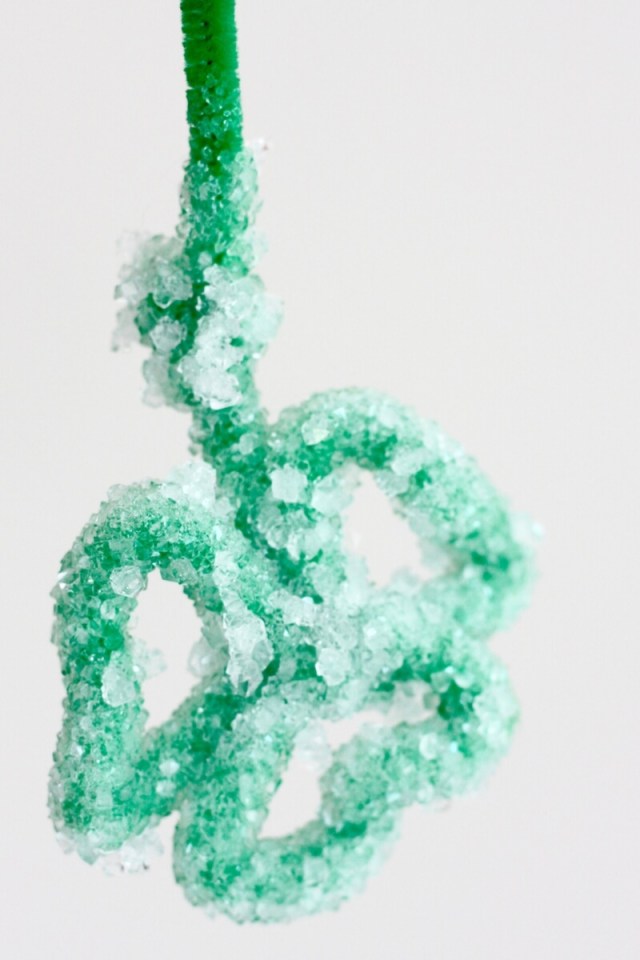
You can't celebrate St. Paddy's Day without a few shamrocks! This year, let science take the wheel and grow a few crystal shamrocks with a few easy steps from Little Bins for Little Hands. All you need is a few pipe cleaners and borax and you'll be on your way in no time.

Leprechaun Sand

Live Well Play Together

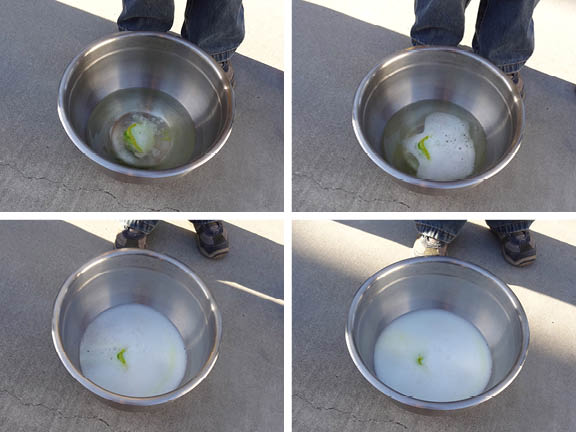
This messy but fun activity from Live Well Play Together lets kids see how baking soda and vinegar interact, in St. Patrick's Day style. With minimal supplies, this is a perfect afternoon activity that involves basic household supplies you probably have already.

Magic Leprechaun Rocks

Gift of Curiosity

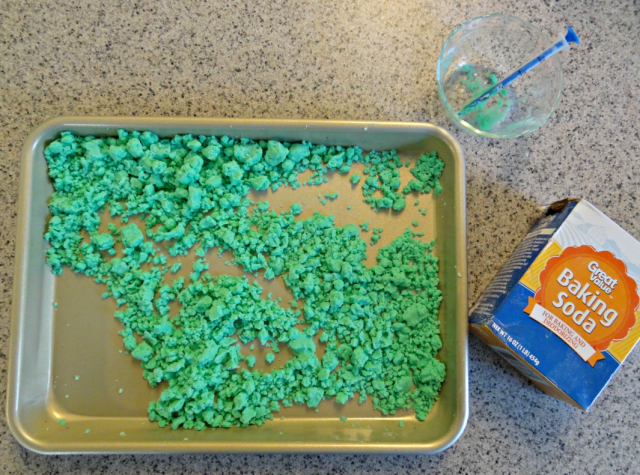
These homemade leprechaun rocks from Gift of Curiosity are a perfect blend of educational and fun! The "magic" rocks are made from green-dyed baking soda and water that conceal a gold coin. You'll have the ultimate scavenger hunt when the kiddos "wash" this at the end!

Rainbow Density Experiment

123 Homeschool 4 Me

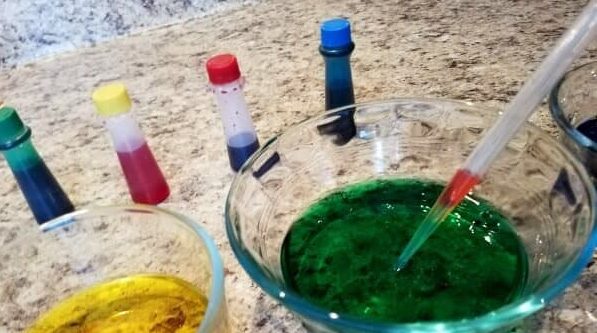
Let rainbows do the talking with this educational experiment from 123 Homeschool 4 Me. Your littles will learn all about density and liquids with this simple activity that involves household supplies you probably already have!

Skittles Rainbow Science Investigation

Taste the rainbow! This delicious St. Patrick’s Day activity for preschoolers from Fantastic Fun & Learning uses everyone’s favorite rainbow candy to explore the impact of water and how it can physically change an object. This is a great (and tasty) afternoon activity for young learners.

Walking Water

This festive-colored experiment is perfect for St. Patrick’s Day. Let your kiddos learn the science behind “capillary action” and how it plays into the real world. Get more details from Walking Cartwright here.

Related: 23 St. Patrick’s Day Jokes for Your Little Leprechaun

Homemade Spectroscope

Buggy & Buddy

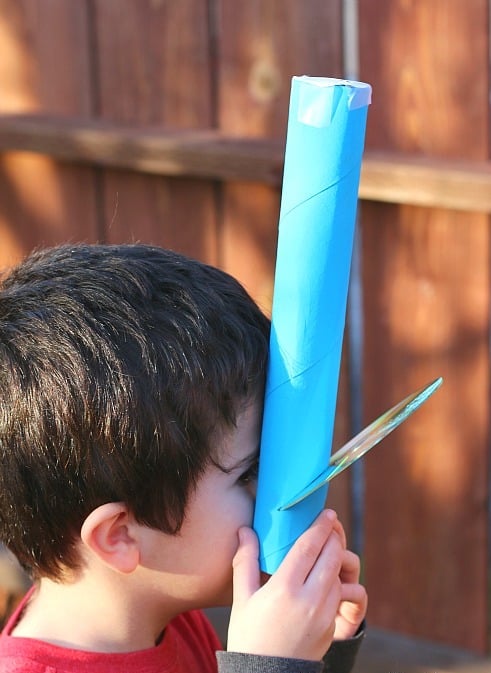
When you craft your own spectroscope, you'll get to see all sorts of rainbows! This easy idea from Buggy & Buddy uses household supplies that come together in a jiffy, but provide hours of fun and learning.

Rainbow Shamrock Salt Painting

Rhythms of Play

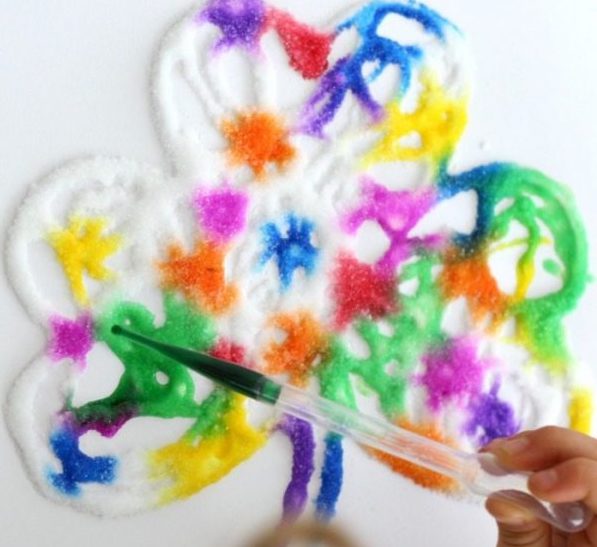
Learn all about the shapes of shamrocks and how colors travel down salt in this colorful project from Rhythms of Play. Kids will exercise their fine motor skills and artistic prowess in this fun St. Patrick's Day science activity. 


From money envelopes to dragons, here are the best Chinese New Year crafts for preschoolers and beyond

We’re squealing with excitement over the upcoming Lunar New Year. This family-centric celebration starts on the first day of the new moon on the Lunar Calendar, and we’ve searched high and low for ways to involve the whole crew. From paper lanterns and red envelopes to lunar calendars and more, find your favorite Chinese New Year crafts to celebrate the Year of the Dragon. We’ve also got fun dragon crafts for kids!

Toilet Paper Roll Dragon

Make this amazing dragon craft with the simplest materials. Tissue paper, pom poms, a toilet paper tube, glue, and googly eyes are all you need for this craft, but let your kiddo be creative and use whatever they’d like.

Origami Rabbit

Chinese new year crafts
Easy Peasy and Fun

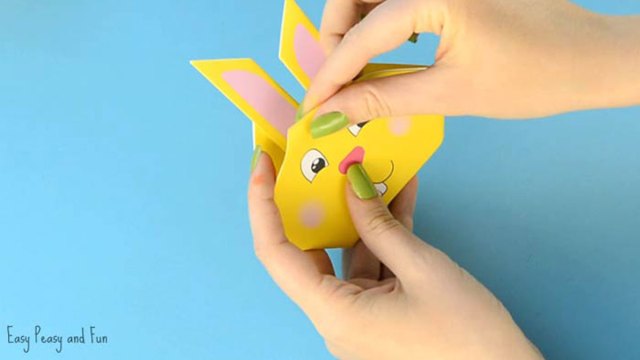
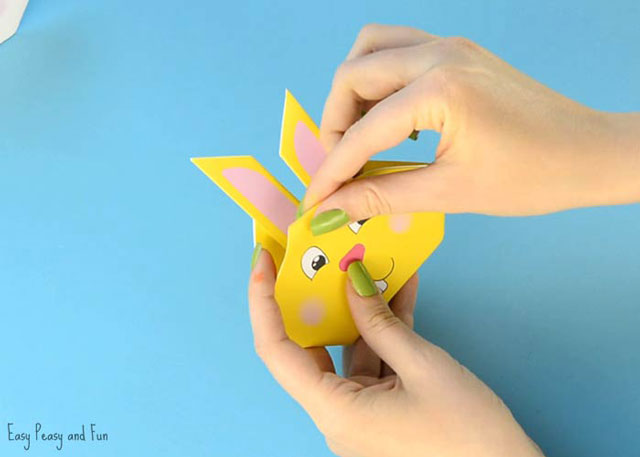
It's the Year of the Rabbit! Celebrate the lunar new year with this adorable origami rabbit craft from Easy Peasy and Fun.

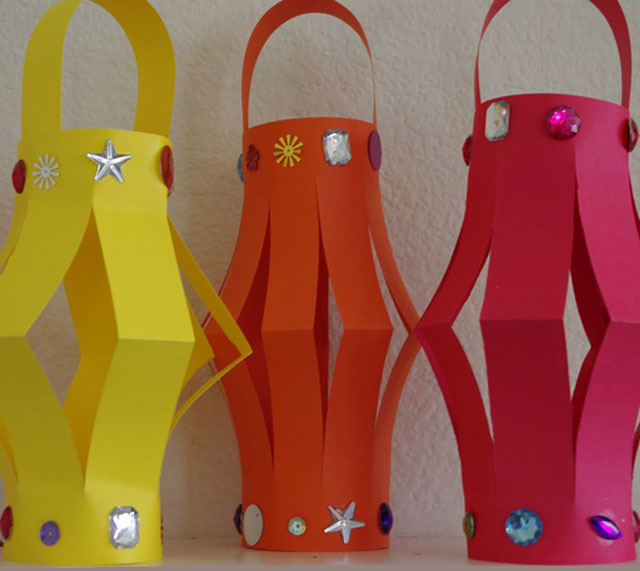
Chinese Lanterns

Happiness is Homemade

Light up your new year with these simple sparkle Chinese lanterns made from colored paper, jewel stickers, tape, and glue. Put them up in pairs, but remember—four is an unlucky number! If your little crafter is on a roll, eight lanterns strung together are lucky and bring wealth. Heidi over at Happiness is Homemade gives us the how-to-do.


Chinese New Year Craft Firecrackers

This Lunar New Year craft sparkles and shines! You can find most of what you need at home, but be sure to click the picture to see the details.

Related: 14 Asian Food Recipes You’ll Think Are Takeout

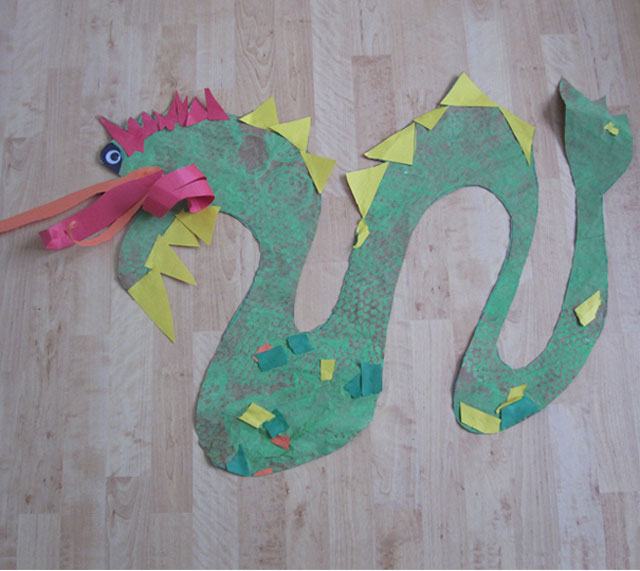
Paper Dragon

Allison McDonald via No Time for Flashcards

Your little reveler can bring good luck and have fun creating this paper dragon craft. It's easy to make with things from around the house: paper, paint, a rolling pin, bubble wrap, and googly eyes. Psst ... this can be an afternoon activity if you make a really big dragon! Get the step-by-step at No Time for Flashcards.


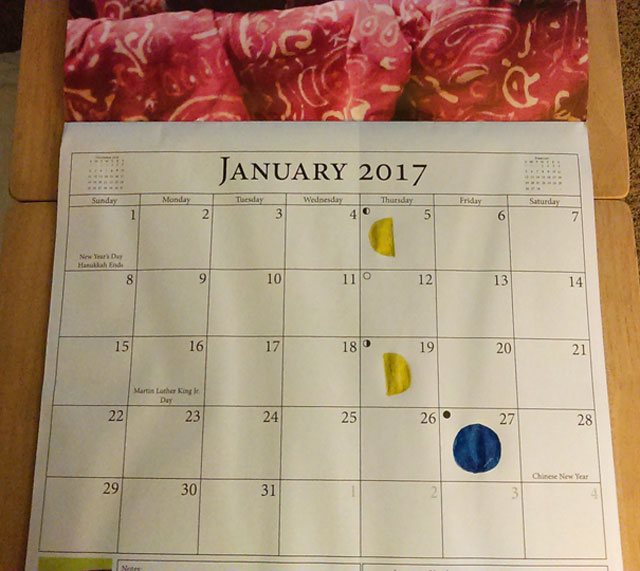
Lunar Calendar

Nikki Walsh

Since the Chinese Calendar is based on the lunar calendar with each month beginning on the first day of the new moon, have your little ones fill out the different phases to see where the New Year's month begins. You’ll need a calendar, circle stickers, and scissors. Find a quick tutorial, here.


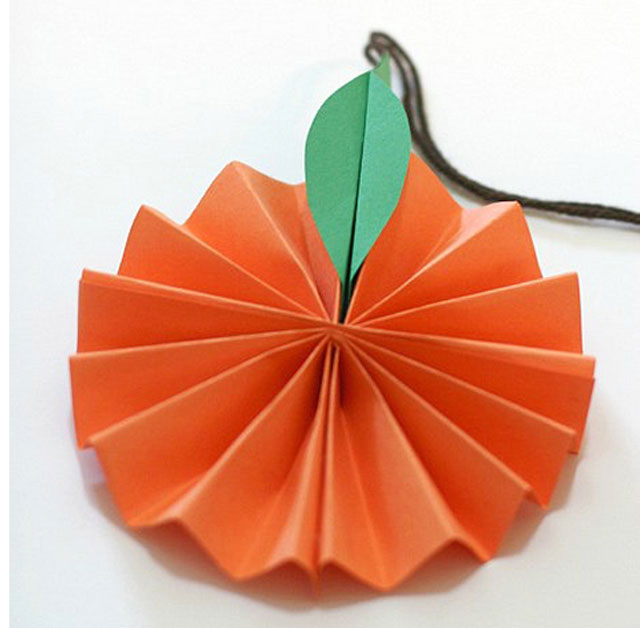
Accordion Tangerine

Buggy and Buddy

Tangerines and oranges symbolize good luck and wealth for the new year. Your little moon can bring this bright and vibrant happy color into the house with this cute Chinese New Year craft by Chelsey at Buggy and Buddy. It’s easy to make with colored paper, brown yarn, scissors, and glue. 


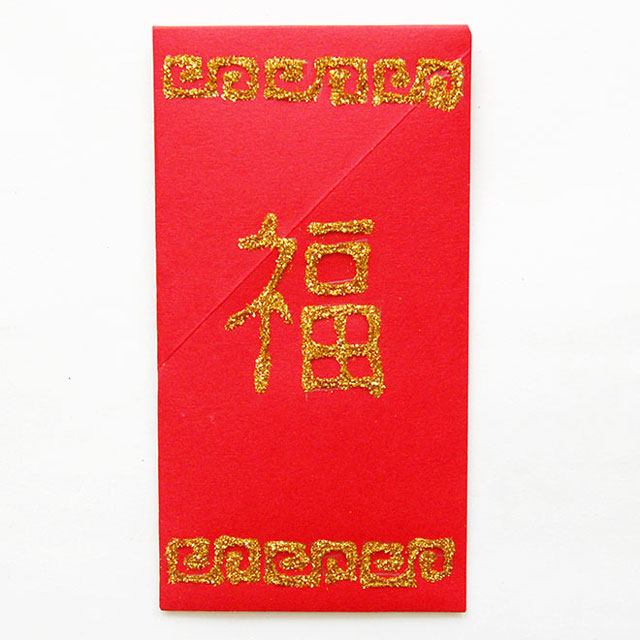
Money Envelopes

First Palette

What tot can resist those red envelopes? Usually filled with money (of even denominations) and given out at the celebratory dinners, if you have time, you and your crew can make these little envelopes and decorate them too. We love the version from Sue over at First Palette because it comes with a printable template!  


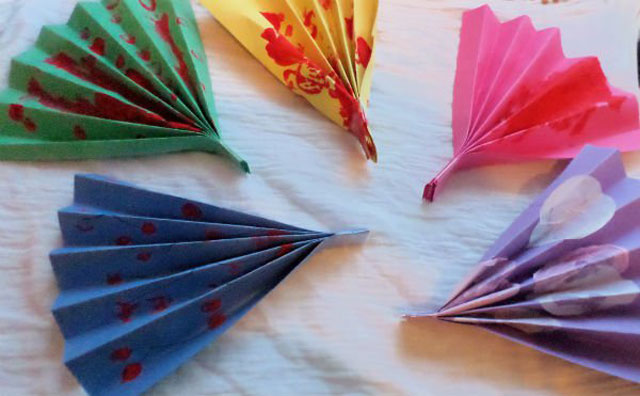
Cherry Blossom Fans

In the Playroom

Lunar New Year is also known as the Spring Festival, so what better way to celebrate than by letting your little artist finger-paint cherry blossoms on Chinese fans? Just grab some colored paper, a black pen, paint, and tape. The instructions can be found over at In the Playroom.

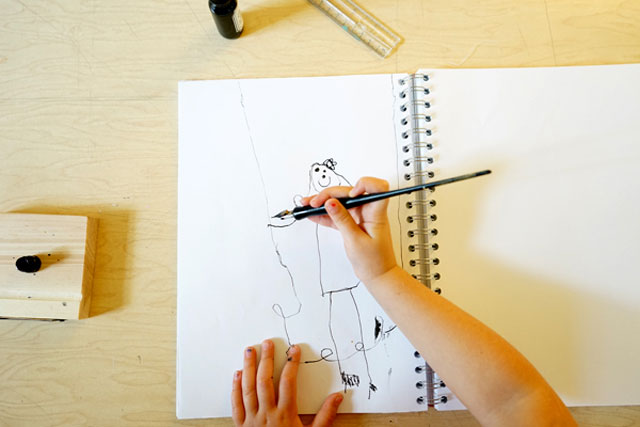
Calligraphy

Chinese new year crafts
Tinkerlab

Your little scribes may not be ready to master Chinese characters, but you can still introduce them to the art of calligraphy. Once you've gathered the basic supplies of a pen, ink, and paper, you can follow Rachelle Doorley's guide over at Tinkerlab.


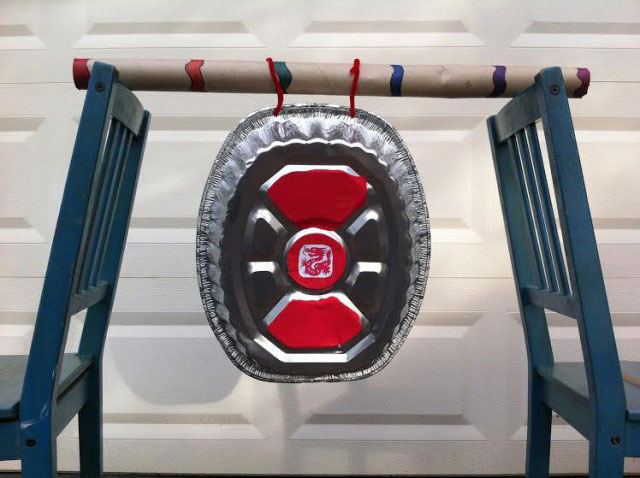
Chinese Gong

Chinese new year crafts
Kid World Citizen

Get musical by making a Chinese-inspired gong, like this one from Kid World Citizen. You can even experiment with different pan sizes for different types of sounds. 

Chinese New Year Sensory Bin

Let littles get hands-on Chinese New Year-style exploring in this sensory bin. First, color the rice red to bring good luck (A quick how-to at Little Bins for Little Hands). Then add chopsticks, old Chinese coins, teacups, spoons, Lunar New Year sayings, red envelopes, and our favorite, a Buddha. Be sure to supervise toddlers while they enjoy this fun experience.

Wondering how to make hot chocolate bombs? It’s easier than you think

One of the best things about the colder months is settling in with a cup of hot cocoa. Rather than waste your tastebuds on a packet of instant mix, why not whip up a batch of something sweeter? Hot chocolate bombs can be made into all sorts of shapes, sizes, and all sorts of flavors, and fillings. Basically, it’s the sweetest afternoon activity. If you’d rather go with a traditional cup of hot chocolate, try these unique recipes!

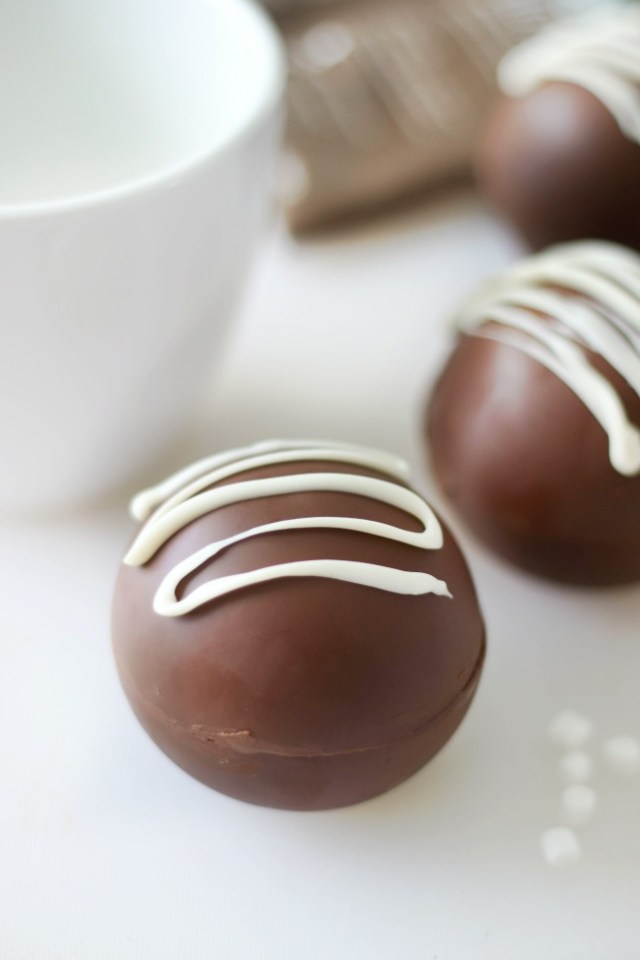
Milk Chocolate Hot Chocolate Bombs

Glue Sticks Blog

Want to start with your basic, delicious hot chocolate bomb? Here's your recipe! It takes just three ingredients and a silicone mold to get your hot cocoa skills moving.

Get the entire recipe at Glue Sticks Blog.

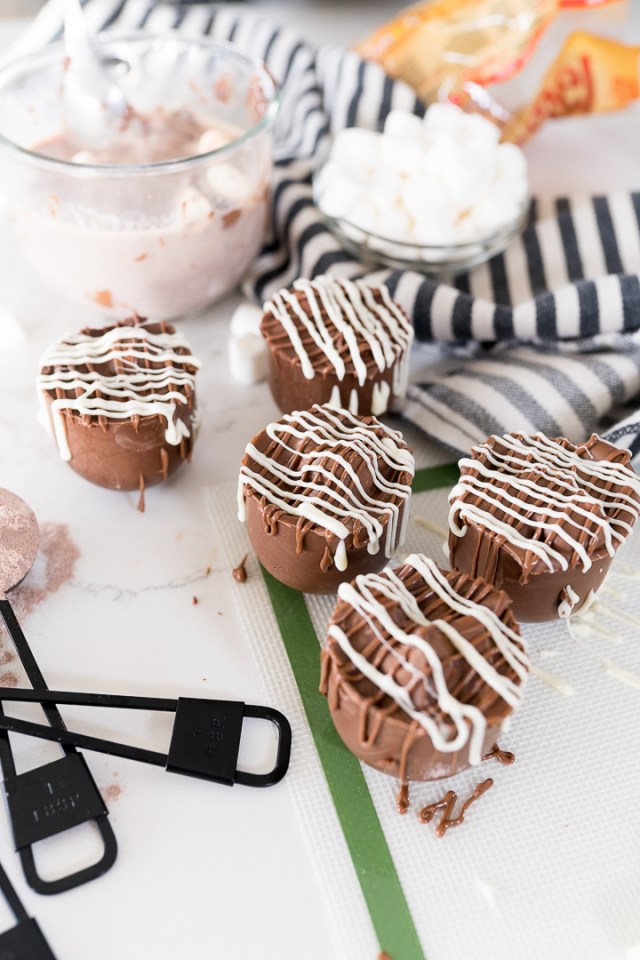
Instant Pot Hot Cocoa Bombs

Cooking with Karli

No need to buy an extra mold when you use this recipe that repurposes that silicone egg mold you have lying around! Grab your hot cocoa powder, marshmallows, and all the fixings you like in your hot chocolate and you have everything you need to make homemade cocoa bombs.

Find the full recipe at Cooking with Karli.

Unicorn Hot Chocolate Bombs

A Magical Mess

These magical treats are almost too pretty to eat. Using some creative icing decorations, unicorn hot cocoa bombs make the perfect treat at a little girl's party or as a gift!

Find all the details at A Magical Mess.

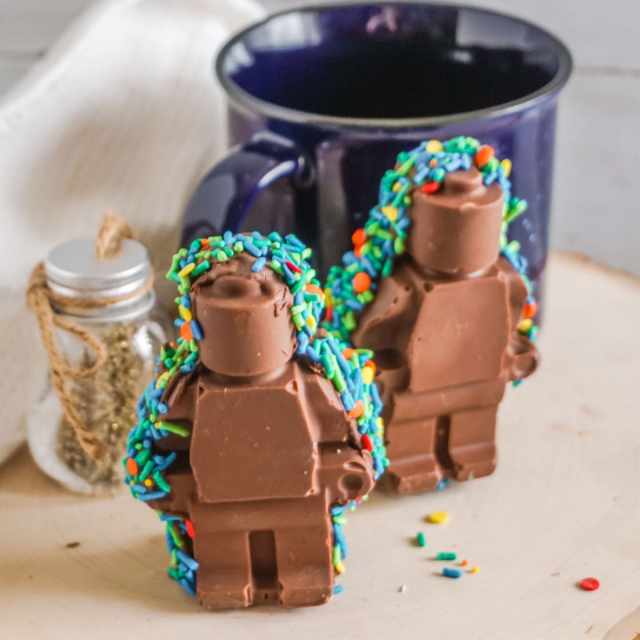
LEGO Man Hot Cocoa Bombs

Mommy Musings

Candy melts are the key to making your own LEGO man hot cocoa bombs. These sweet-tasting treats can be complimented with any number of fillings, especially tons of marshmallows!

Head to Mommy Musings for the complete recipe.

Pink Instant Pot Hot Chocolate Bombs

You can stop looking for a Valentine's Dessert recipe! This adorably pink hot cocoa bomb is kid-friendly, doesn't require sealing two halves together, and uses your Instant Pot!

Find the full recipe at Princess Pinky Girl.

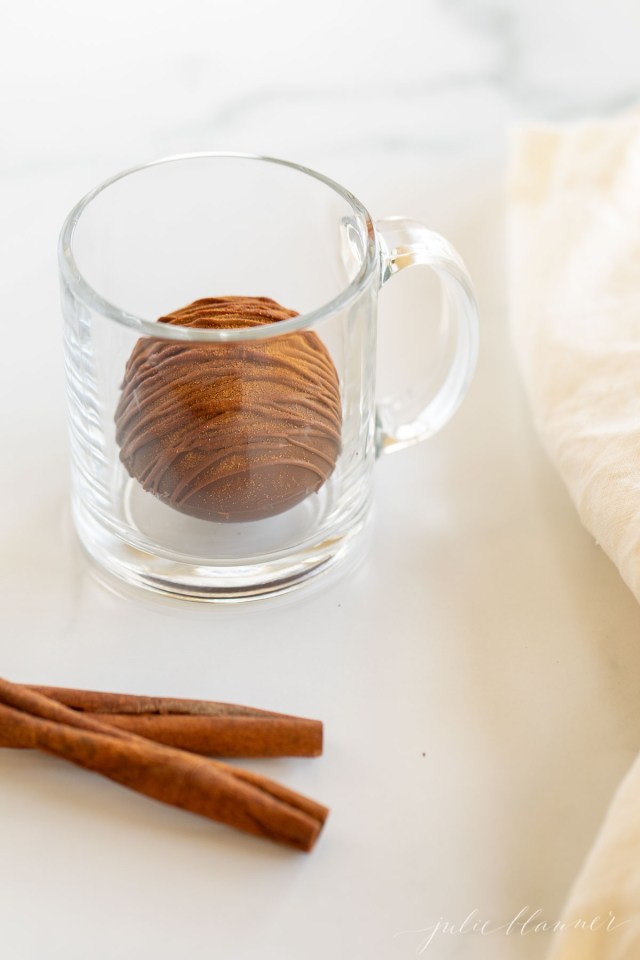
Mexican Hot Chocolate Bombs

Julie Blanner

Warm spices to the rescue! This recipe pairs cinnamon and cayenne pepper which results in a creamy and warming feeling you'll drink right up.

Head to Julie Blanner for the full recipe.

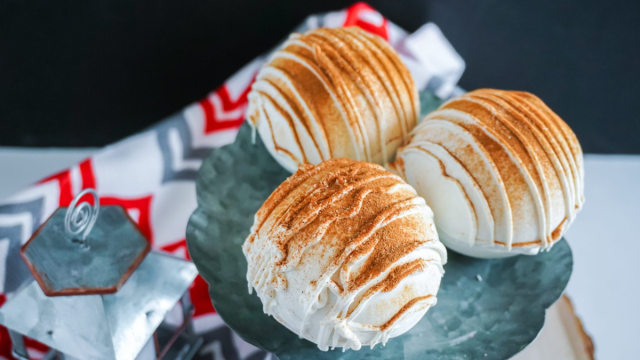
Snickerdoodle Hot Chocolate Bombs

The Denver Housewife

Snickerdoodle lovers: you're gonna want this recipe. White chocolate, cinnamon, and sugar come together that will not only have you gulping down the entire mug but maybe dipping a cookie in, too.

Check out the recipe at The Denver Housewife.

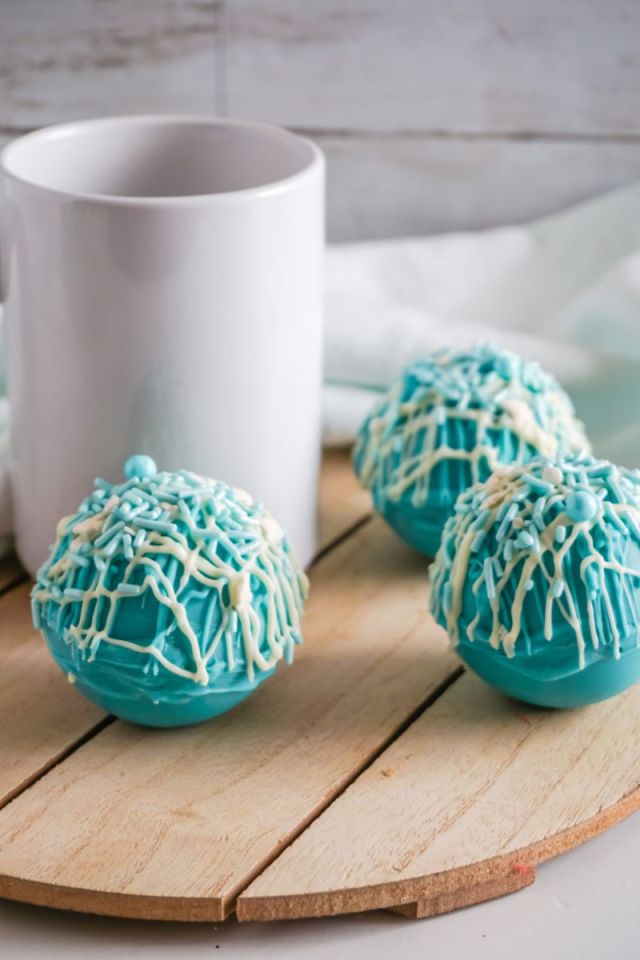
Frozen Hot Cocoa Bombs

Wondermom Wannabe

You won't want to let this recipe go. Frozen hot cocoa bombs are beautifully blue from candy melts that make the entire process a breeze. These are definitely Elsa-approved.

Find the whole recipe at Wondermom Wannabe.

White Chocolate Hot Cocoa Bombs

Scrambled Chefs

Milk chocolate not your thing? This recipe combines white chocolate, almond bark, and peppermint candy to give that holiday feeling, all year long.

Find the recipe at Scrambled Chefs.

Lucky Charms Hot Chocolate Bomb

Hugs & Cookies XOXO

Well, aren't these the prettiest hot cocoa bombs ever? Made with bright Lucky Charms cereal, they make the perfect option for St. Patrick's Day!

Find the entire recipe at Hugs & Cookies XOXO.

Peanut Butter Hot Cocoa Balls

Everyday Family Cooking

Calling all PB lovers! This decadent dessert pairs the world's best creations: peanut butter and chocolate with a simple process using just your microwave.
Head to Everyday Family Cooking for all the instructions.

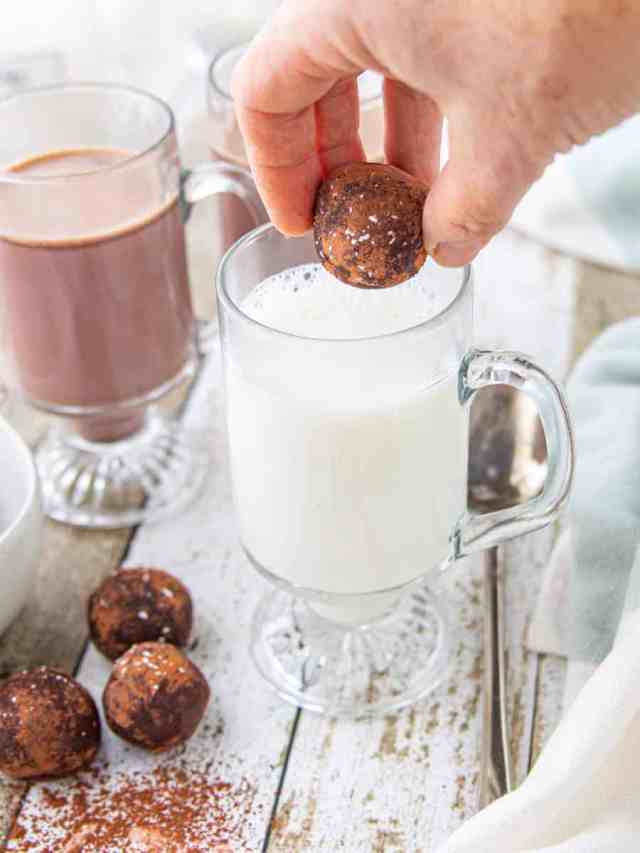
Cocoa Powder Hot Chocolate Bombs

Create Kids Club

Need a little extra kick of cocoa? This four-ingredient recipe is easy to whip up and store in the freezer! When you're having a chocolate craving, just pop in your mug!

Find all the details at Create Kids Club.


Make a slinky skeleton with the kids this Halloween season

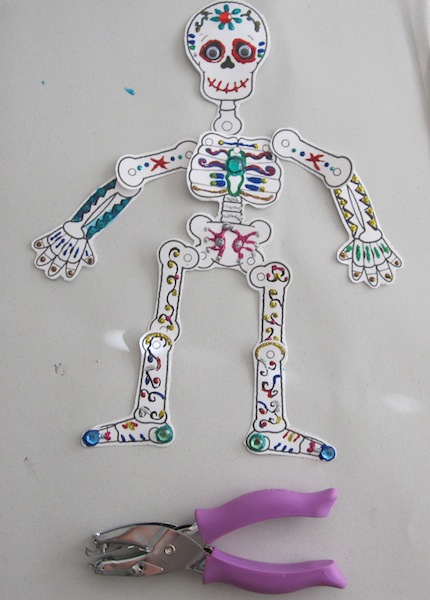
Add a little spooky fun into the afternoon by making a simple (and not too scary) skeleton craft for kids. Keep it classic, or add color and sparkle for Día de los Muertos. Kids of all ages will enjoy creating this friendly bag o’ bones, especially because it adds fun Halloween decor to any home! For more inspiration, check out our favorite Halloween crafts, Halloween treats, and family costume ideas!

Supplies for Your Skeleton Craft

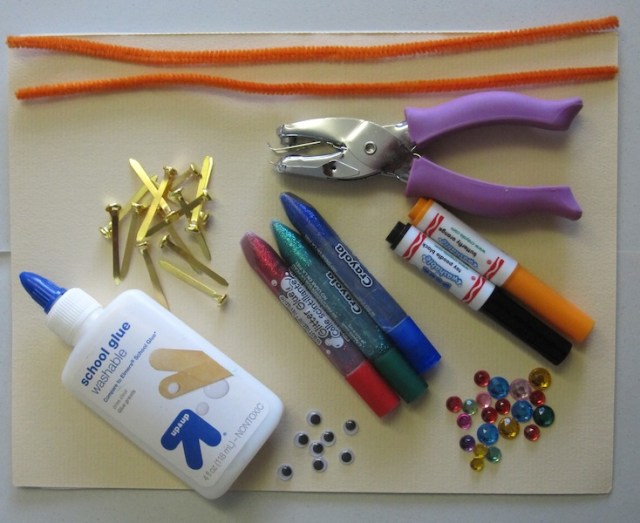
supplies for a skeleton craft

This craft activity is fun, and you probably have almost everything you need at home. Gather the following items: Cardstock quality paper, brass fasteners, pipe cleaners, hole punch, glitter glue, googly eyes, gemstones, markers, ink pens or just about anything else to get a skeleton ready for the holidays.

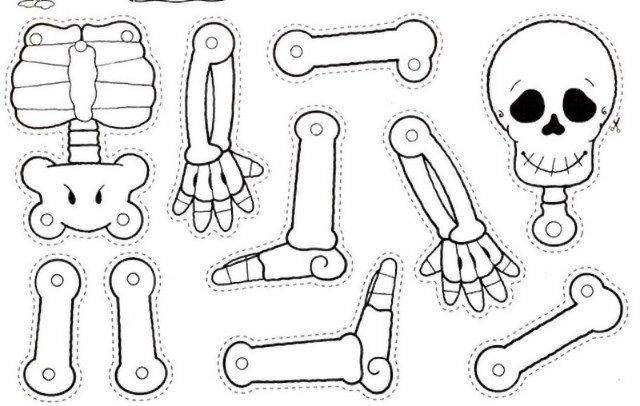
Skeleton Craft Printable

printable for skeleton craft

There are a lot of great (and free) downloadable skeleton templates floating around, so take the time to look for one the kids love. Our pick for an easy download is this happy little guy. His smile and big bones make for easy coloring and decorating; he most definitely won over the artist at our writer's home.

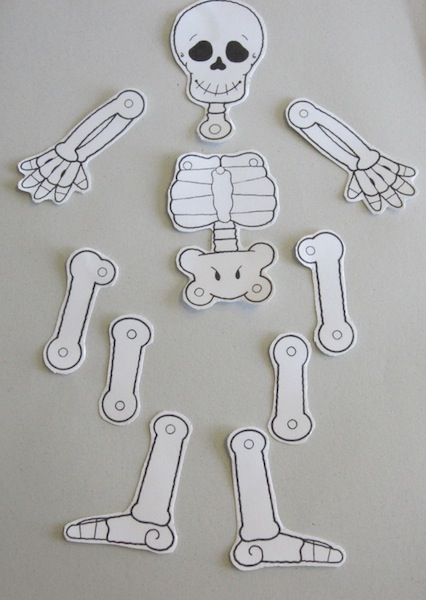
Lay Out the Bones to Decorate

After you've cut out the pieces, lay them out for easy decorating. This is also a great opportunity to squeeze in a little science lesson about bones and the body. 

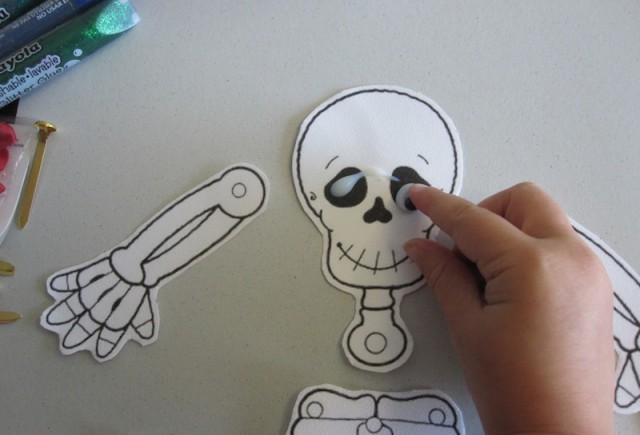
Ears and Eyes and Mouth and Nose

How to decorate a skeleton craft

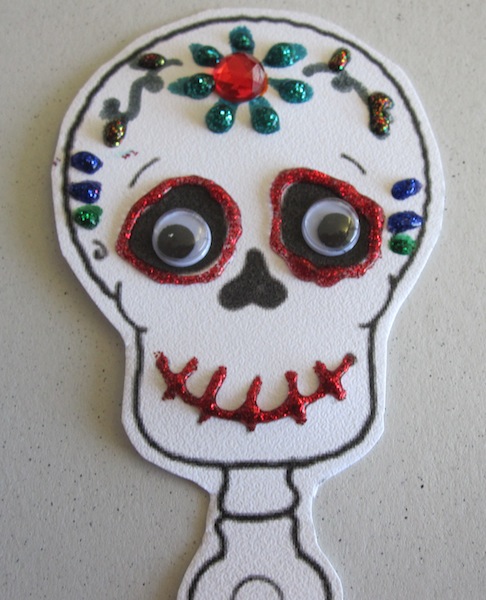
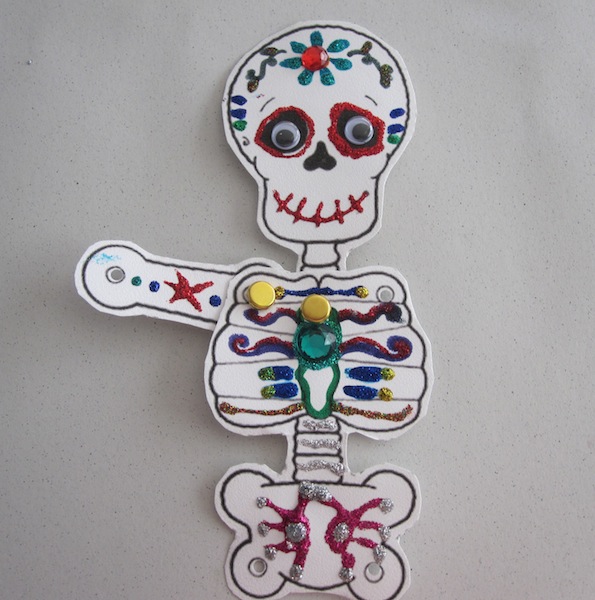
We decided to start with eyes so the skeleton could see "what was going on," but feel free to start decorating anywhere. At this point, kids can go wild with markers, jewels or whatever else they have on hand.

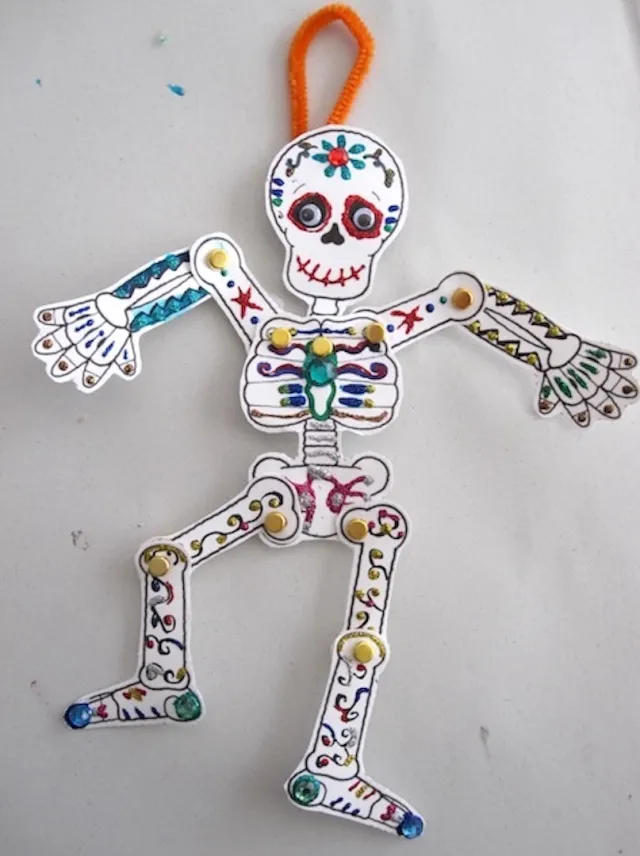
Glitter glue works great for kids who want to create a sugar skull for Día de los Muertos. Add black swirls and lots of color to make it pop.

Punching Time

After everything has dried, grab a hole punch; if there isn't one in the craft box a skewer works well, and make the holes at the designated points on the template.

Get It Together

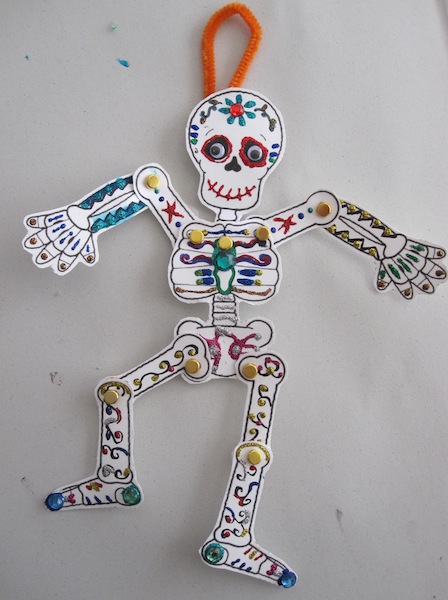
Using the fasteners (also called brads), attach all the slinky pieces to one another. If the fasteners are too long, fold them up on the backside of the skeleton to conceal them.

Silly Dancing Bones

easy skeleton craft

Finally, this slinky skeleton is ready for action. Create a wall hook with a fun colored pipe cleaner; attach it with glue or punch a hole at the top of the skull and loop through. This craft will be a perfect decoration to pull out year after year, and you can even have the kids create a new one each year! 


Have you ever played “Who’s Got the Button?”

If you have a box of random buttons, take it out because they’re your key to fun today. We’ve come up with a few engaging button crafts and ways to play with buttons perfect for toddlers and preschool kids. Each one will fine-tune their observation skills and help them think outside of the box. Bonus points for making gifts that the kids can give away, too.

Note: Make sure your child is old enough to know not to put buttons in their mouth. 

Button Sorting

This isn’t a trick to getting your kids to play Cinderella. Button sorting is actually a great way to teach your colors how to match by colors, shapes, or numbers (how many holes does the button have). Don’t forget to get a box with separate compartments so that you can keep everything organized.

Button Stacking Game

Take a page out of A Minute to Win It game and see how high you can stack those buttons! Let the kids practice and get a feel for stacking first before introducing them to concepts like thinking strategically (e.g. biggest buttons at the bottom). This game is also a great way to practice fine motor skills, especially if you have a box of tiny buttons.

Button Bookmarks

A little hot glue, a little button, a paper clip, and Voila! A little bookmark. It’s a craft that’s easy as one-two-three, all you need is a little patience. They make great trinkets, so as your kids hold their bookmarks together, waiting for the hot glue to dry, ask them to whom they want to gift a bookmark. Note: your crafter will need assistance with the glue gun.

Button Art

The supplies you’ll need for this button craft include a canvas, paint, glue, buttons, and endless imagination. A brown button can be the round body of a horse while a tiny yellow button becomes a bright flower of an outdoors scene. Group a bunch of green buttons together and style a Seuss-esque tree. Think outside of the button!

Who’s Got the Button?

Reign in those observation skills in this classic game. All you need is one button and it’s great if you’re having a party of kids over that day. It’s a bit like Duck, Duck, Goose but without the chasing. Have the kids (except one) get in a circle with their hands behind their backs. Then give the outlying kid the one button and have him or her walk around the circle. He or she should discreetly leave the button in someone’s palm and loop it around a few times before getting in the middle and chanting, “Button, button, who’s got the button?” Everyone will then take turns to guess and whoever guesses correctly gets to be the next person to hide the button!

Related: 27 Adorable Toddler Crafts You Can Pull Out Anytime

Got a paper plate? If so, you can easily make this fun instrument

Give your kids a crash course in music appreciation, and fill an afternoon with creative fun by helping them make a DIY tambourine. Scroll down to find out what you’ll need (a few supplies and lots of imagination!) to make this paper plate tambourine, and your baby Beethovens will be hosting their own jam sessions in no time. Feeling crafty? Check out these other homemade instruments that actually work.

supplies for diy paper plate tambourine

What You’ll Need to Make a DIY Tambourine

1. Stiff paper plates (we used Chinet lunch plates)

2. Curling ribbon— any color

3. Silver jingle bells

4. Marker pens

5. Stickers

6. Scissors

7. Fishing line

8. Hot glue gun (parental supervision required)

9. Hole punch

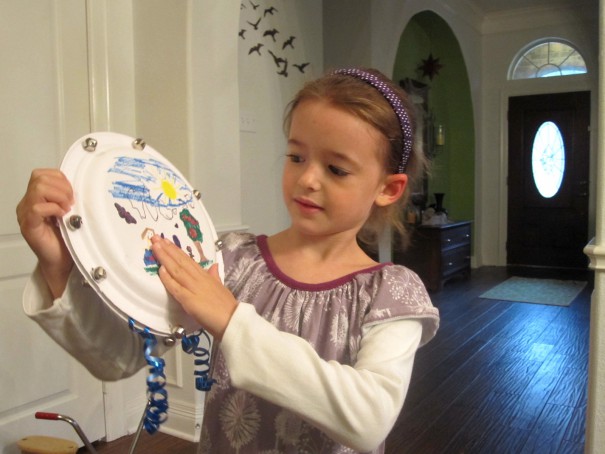
little girl making a paper plate tambourine

Design the Paper Plate Tambourine

Let your kids design their own tambourine using markers and stickers. Each plate will be a side of the instrument.

Assemble the DIY Tambourine

steps for putting together a DIY tambourine
Step One

Measure and punch along the edge of the two paper plates. One spot at a time, use a pen to line up the location of the holes on each side of the tambourine.

tambourine_jinglebellscollage_music_national_redtricycle

Step Two

Using the fishing line, thread two jingle bells through each hole. Continue until every punched hole has two bells strung tightly.

tambourine_ribboncollage_music_national_redtriyccle

Step Three

Curl strips of ribbon with the scissors and then using just a dab of hot glue, insert and secure the strips to the bottom of the tambourine.

Play the Tambourine

They’ll love the impromptu jam session that occurs right after the project is complete!

little kids enjoying a DIY paper plate tambourine


RELATED STORIES: 

25 Musical Instruments You Can Make at Home

10 Music-Making Apps Your Kids Will Love

9 Reasons Learning a Musical Instrument Benefits Kids

Turn open after-school time into a creative adventure in a flash

It’s a weekday afternoon between school and whatever practice is on the family calendar. Kill a few minutes with a quick and easy art activity for kids. With minimal supplies and almost zero set-up effort, we promise you won’t be holding back the urge to scream over complicated steps or time commitments. After all, when it comes to crafts, we’re all about less is more (most of the time). 

Pointillism Art with Q-Tips

We love this one because there’s no need to wash brushes when the kids are done. You can also use a pencil eraser and stamp pads for even less mess and easier cleanup!

Printable Art Activities

little girl enjoying art activities for kids

Let's face it, when it comes to quick and easy art activities for kids, sometimes it's best to print out some coloring pages and toss crayons and markers on the table. That's why we've got tons of free printables for kids like mermaid coloring pages, T-Rex coloring pages, Stegosaurus coloring pages, and one collection that has a little bit of everything.

Tie Dye Coffee Filter Art

Little Bins for Little Hands

Making tie-dye shirts is a multi-day process, so this activity from Little Bins for Little Hands incorporates all the fun of tie-dying without the hassle. Coffee filters are the perfect canvas to watch colors spread and combine, and they dry out pretty quickly too.

Frozen Chalk Paint

frozen chalk paint can be used in art activities for kids
Mini Monets and Mommies

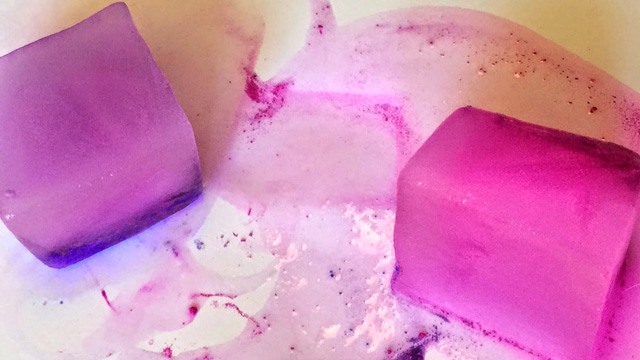
You can make these ice cubes ahead of time and have them ready to go. This art activity for kids is ideal if you have loads of those teeny tiny chalk nubs hanging around the bottom of your art bin. Grind them up, add some water, freeze, and let your child draw her afternoon away.

Ziploc Finger Painting

plastic bag painting is a fun art activity for kids
Shelley Massey

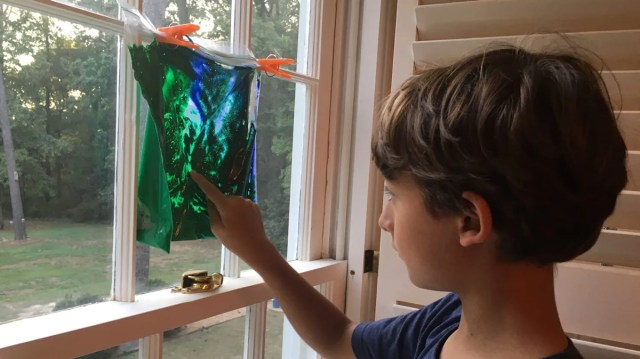
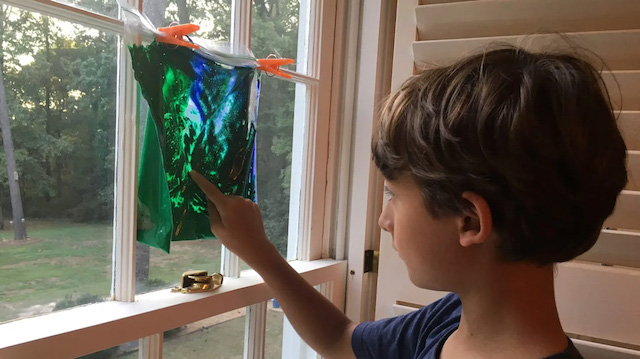
It doesn't get any easier than this, friends. With nothing but a ziplock baggie and paint, you've set your pint-sized Picasso (and yourself) up for endless fun. Another option is to tape the bag to a window or a door so you can see light filter through the designs, or add glitter to bags for extra sparkle.

Clay Finger Paint

Mini Monets and Mommies

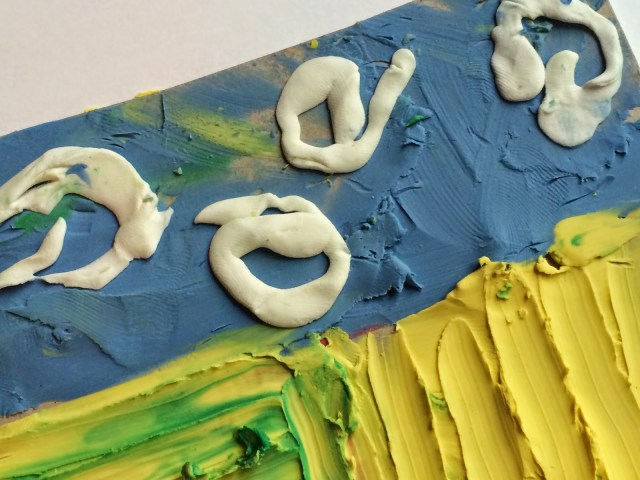
You want your creative kid to go wild with rainbow finger paints. Um, but you’re not into the idea of spending your Monday night cleaning Jackson Pollock-esque splatters from the walls. Swap in soft modeling clay for the actual paints. Pull it into pieces and “paint” it onto cardboard. It’s a totally low-mess art activity that lets your little one create a textured "painting."

Related: 15 Ways to Play with the Kids That Take 10 Minutes (or Less)

Recycled Texture Collage

Mini Monets and Mommies

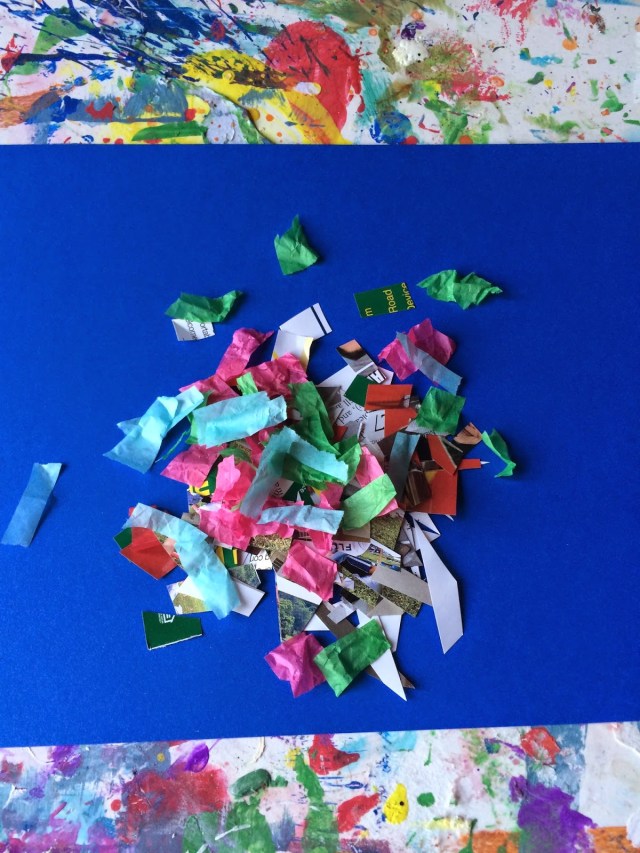
Reuse those old worksheets, tissue paper, and anything else in a collage. Glue these onto a cardboard base, creating textures and patterns. Kids can practice scissor skills, explore through their senses and create collages that are either abstract or look like “something” real.

Plastic Wrap Process Art

process art activities for kids
Buggy and Buddy

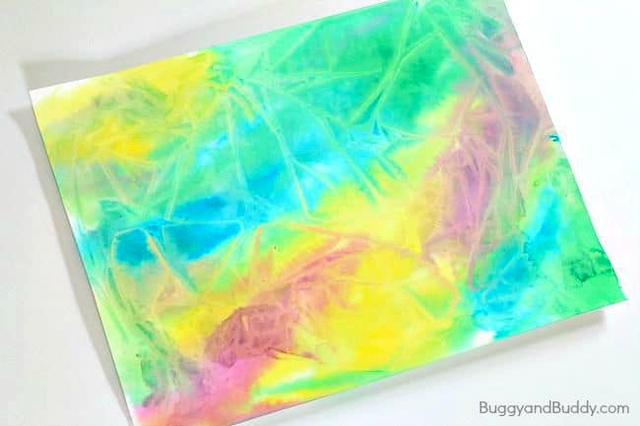
If you've got Saran Wrap at home, you're halfway there with this art activity for kids from Buggy and Buddy. Even better, you'll need to leave the paper alone overnight to dry, so there's less chance of a wet mess. 

Paint with Nature

Hands On As We Grow

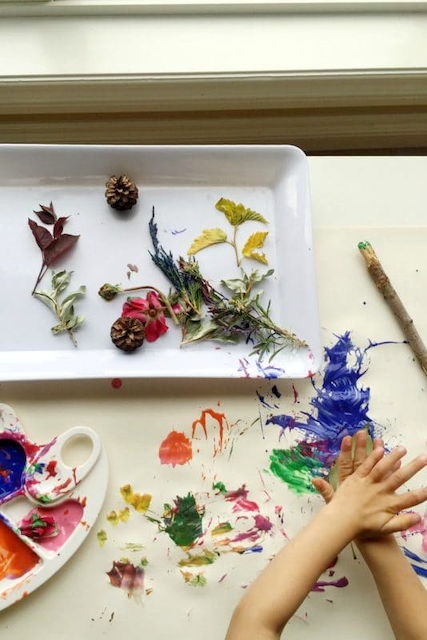
Paintbrushes, who needs them? Not your child. Get some fresh air after school and gather a few natural items. When your child has plenty of pinecones, stems, sticks and other nature-y items ready, paint like Hands On As We Grow did!

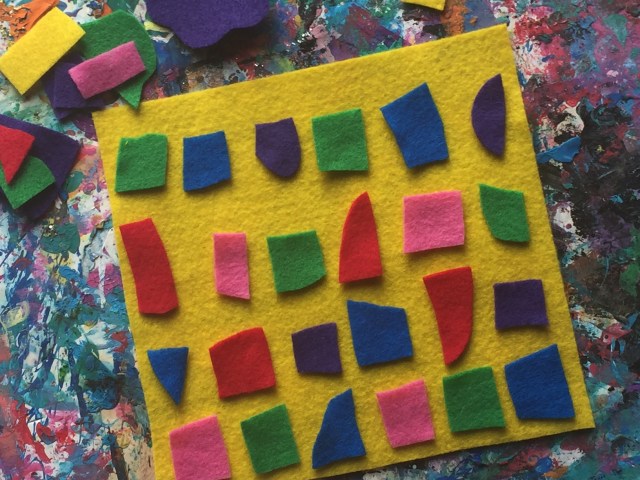
Felt Patterns

Cut shapes out of craft felt in different colors. Your child can press the shapes against a full felt sheet to create patterns. Oh, and this one is reusable too.

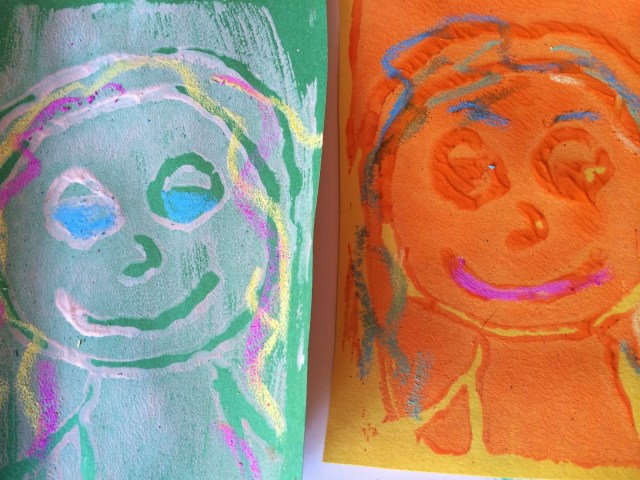
Foam Prints

Reuse Styrofoam plates or trays. Use a craft stick to ‘draw’ a design, add tempera and press onto a piece of construction paper. Wash the plates and reuse them, making as many prints as your child wants—in different colors. When the prints are dry, add onto them with paint, chalk or markers.

Related: 6 Fantastic Benefits of Arts & Crafts for Kids

Handprint calendars are a perfect way to spend a long afternoon between Christmas and New Year’s Eve

Hanging around the house for the holidays? Spend an afternoon or two working on a handprint calendar for 2023. It’s an easy project anyone can complete, and little helpers will love to lend a hand or two. After all, you’ve got a long winter break to fill with activities and printables, and by New Year’s Eve, you’ll have reached the point where painting your kids’ hands sound like a rational idea!

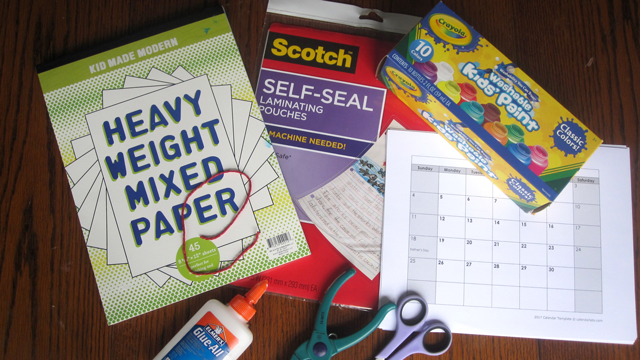
What You’ll Need to Make a Handprint Calendar

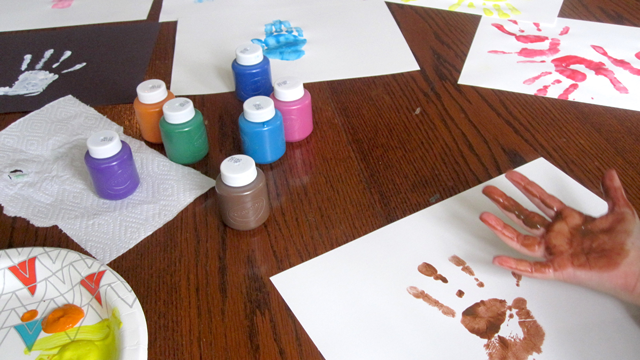
supplies to make a handprint calendar

Heavyweight paper

Washable paint

Paper plate

Brushes

Glue

Laminating sheets (optional)

Hole punch (optional)

String (optional)


Plan It Out

We love this project because there’s no right way to make one. Keep it simple, or get super crafty— it’s all up to your kids’ imagination. Use the guide below to get started, and decide in advance what you’ll make out of each handprint. This is much easier to do before your little helper has paint all over their hands!  

Related: How to Make a Vision Board for Kids in 2023

The Painting Part

how to make a handprint calendar

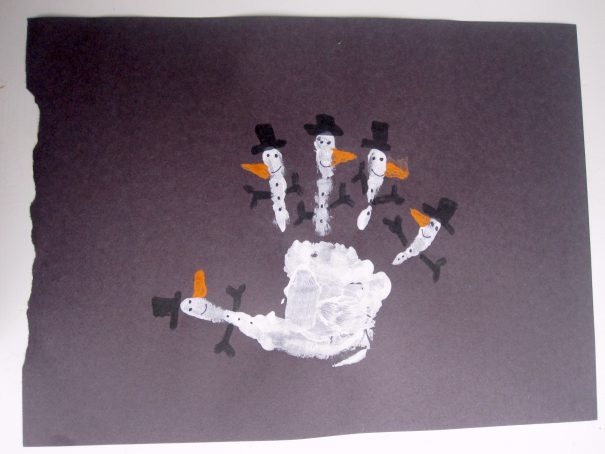
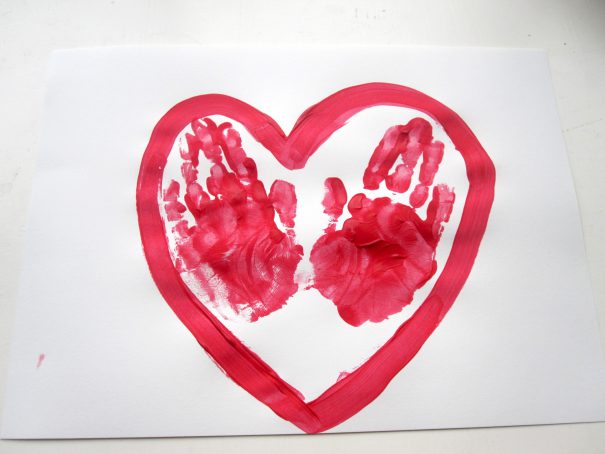
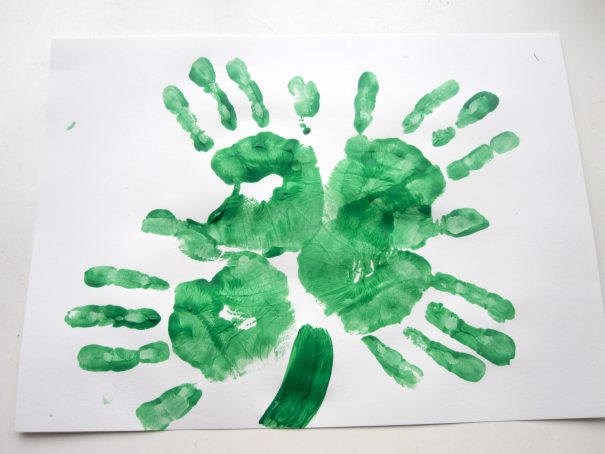
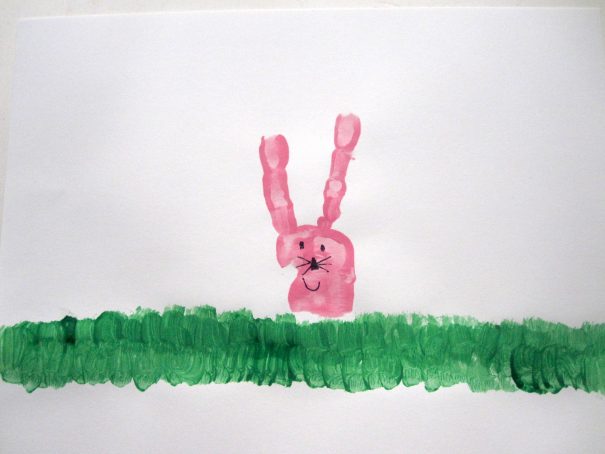
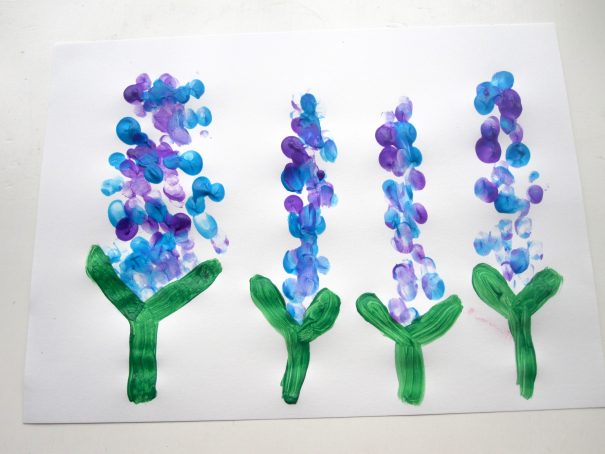
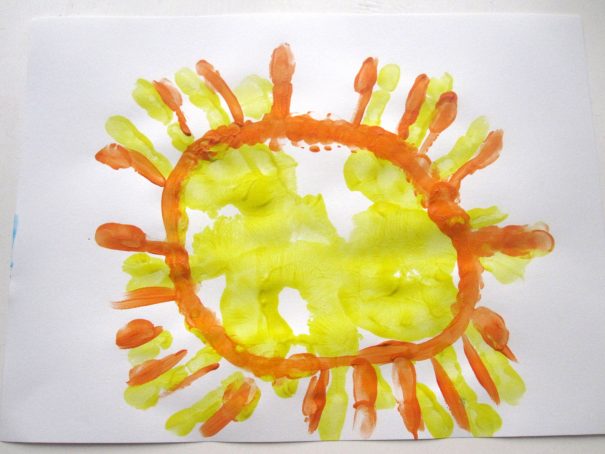
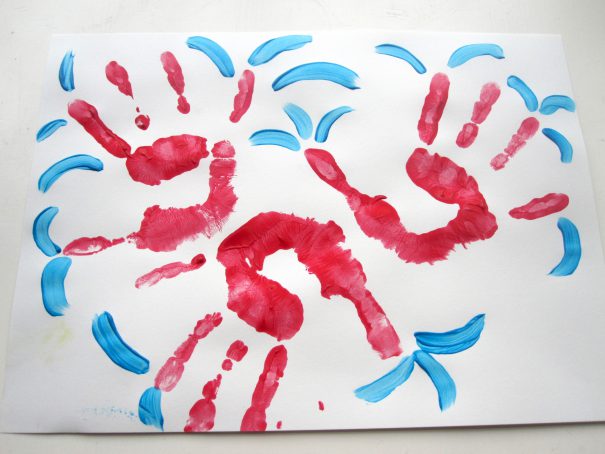
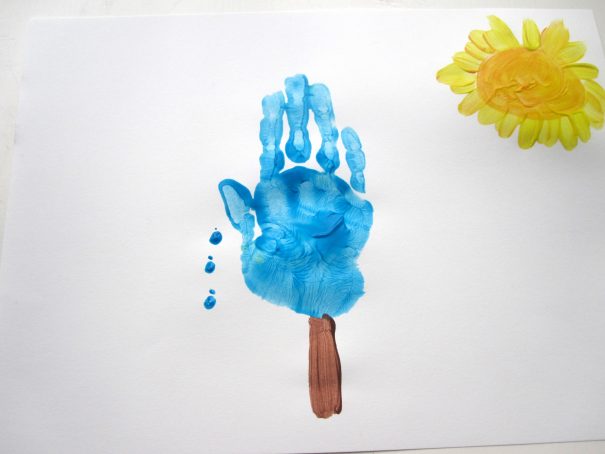
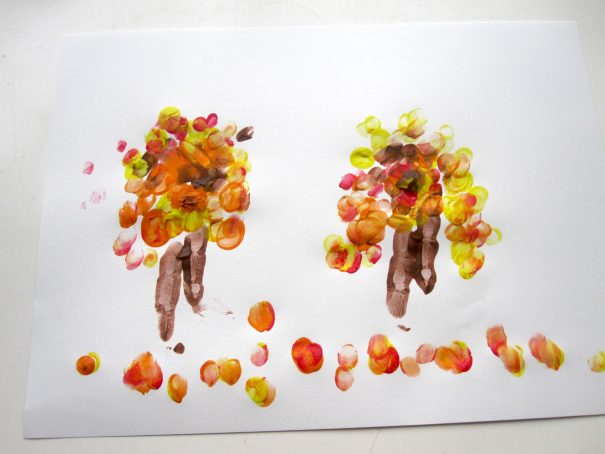
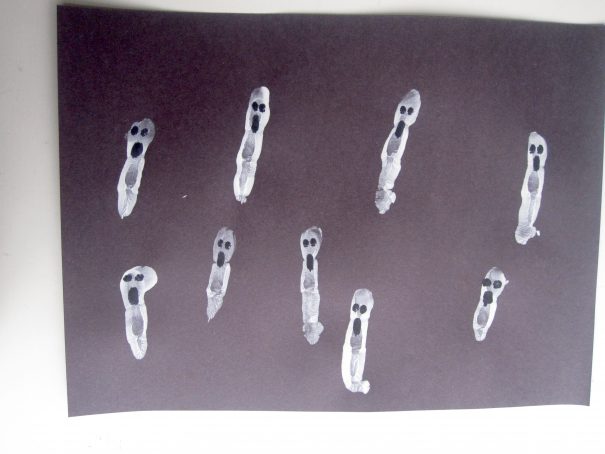
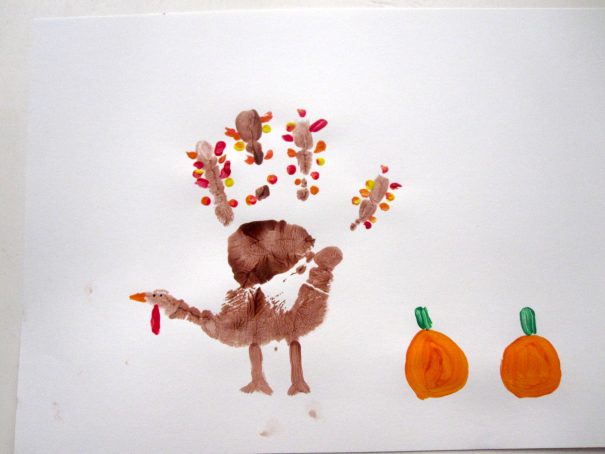
Paint your kids’ hands with the selected colors and have them make a print on each piece of paper. Colored paper is also an option if you want to use white paint (see January and October). Depending on your design, you may need just one handprint, a fingerprint, or even a footprint. Be sure to wash and dry your hands between each month, and continue through the year, from January to December. If you think it doesn’t look like much, don’t worry! After each month has dried, and you add the details, it’ll look awesome.

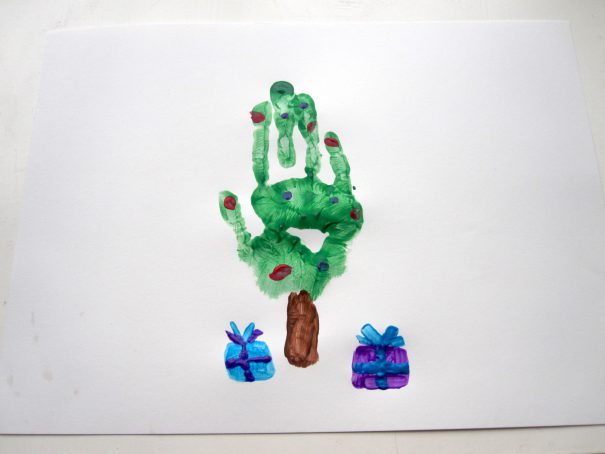
Insider Tip: Let your kids have some input with this project. While you may have a perfect vision in mind for how to execute a gorgeous Christmas tree using their sweet little hands, they might have another idea, and that’s okay. 

Put it Together

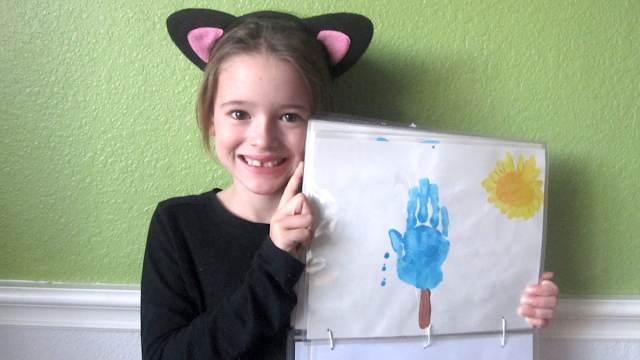
little girl showing off her handprint calendar

Now that you have all of the months ready to go (and dry!), it’s time to put your calendar together. The easiest way to go is to order a ready-made blank calendar, such as this blank wall calendar from Amazon. For under $10, you won’t have to mess with binding or stapling, or fussing with the assembly of the calendar—glue or use double-sided tape to attach your own homemade monthly pictures to the blank template and you’re good to go.

Related: New Year’s Eve Confetti Poppers You Can Make with the Kids

If you want to DIY your handprint calendar, check out the simple steps below.

Print out a blank 2023 calendar from Calendar Labs. One by one, place the pages behind the handprint so that when it flips upward, you’ll have the right picture and month. For example, the calendar days for January should be glued to the February picture, the calendar days for February should be glued to March, and so on.

Insider Tip: Make sure to place the calendar month on the backside and bottom of the handprint, so as you flip each month, the painted picture is positioned the correct way.  

making a handprint calendar

Once you’ve glued all the calendar pages to the handprints, use the laminating sleeves to seal each one. Follow the instructions on the package, and use a ruler to eliminate any air pockets or creases.

making a handprint calendar

Using a hole punch, make three holes at the top of each page (the calendar month should have the holes at the top) and one hole at the bottom (this is where the calendar will hang on the wall).

Then, using string or thin twine, run a length through each of the three holes and tie it up like you would a book (it should open from the right side). That’s it! You’ll have a fun keepsake that will hang around for an entire year.

Flip through the gallery below to look at each month of the calendar!

January

  • January handprint calendar
  • February handprint calendar
  • April Handprint calendar
  • May handprint calendar
  • July handprint calendar
  • August handprint calendar
  • October handprint calendar
  • December handprint calendar