The Easter Bunny is getting ready to hop up to your house—and we have just the thing to add a little magical fun to your Easter celebration. Check out these creative Easter ideas for Easter Bunny fun, like making a bunny trail and the Easter Bunny tracker. Once you know how he’s going to make his arrival, be prepared with Easter games for kids and hilarious Easter jokes.
Easter Bunny Tracker
Track the Easter bunny on your smartphone! Compatible with both Apple and Android phones, download the app and then, on Easter Eve 2024, March 30 at 5 a.m. you'll be able to follow the Easter Bunny as he delivers treats to kids around the world.
Set Up an Easter Bunny Tree (and Leave Carrots)
We know there will be some eye-rolls over this idea for Easter Bunny fun, but how cute would a pastel-themed Easter tree be? It’s also a fun place to have the furry guy drop Easter baskets filled with goodies. Go for an all-white tree like this one, and go wild with Easter decorations. This is also a perfect place to leave a plate of carrots the night before!
Bunnies for Breakfast
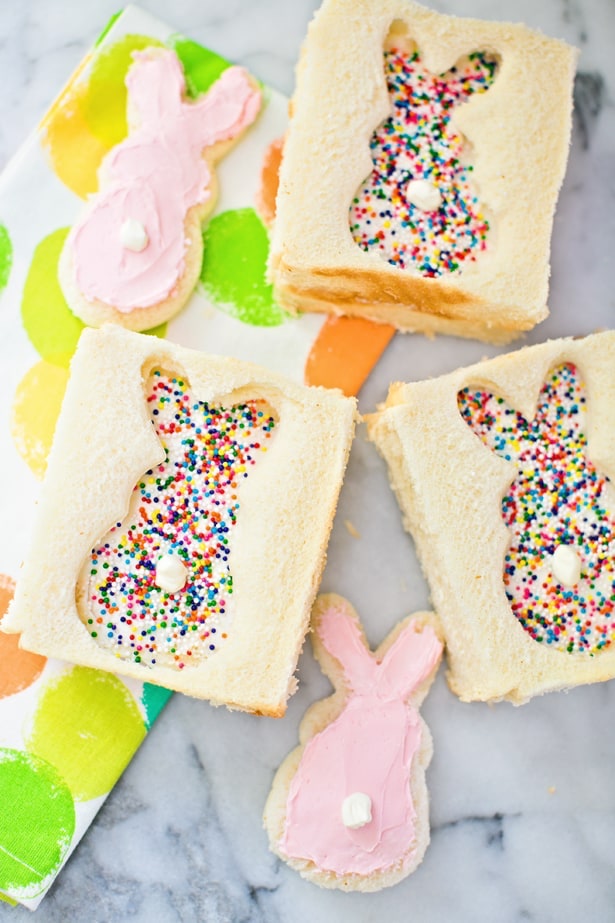
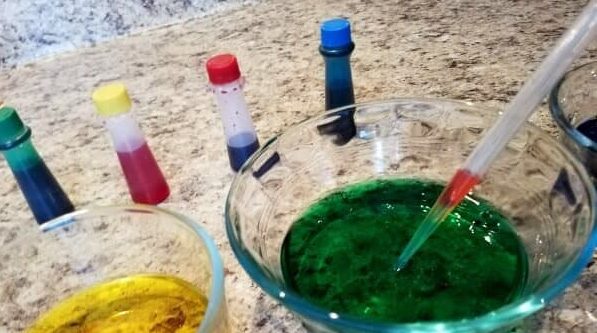
The Easter Bunny can drop a winding trail of jelly beans to the kitchen—with this delicious bunny fairy bread serving as the treat at the end of the trail. Skip over to Hello Wonderful to find out how to set up this easy idea for Easter Bunny fun. Pair it with pastel-colored milk made with a few drops of food coloring in your little one's morning glass of milk for a festive breakfast. Note: if you have animal friends who'd gobble up a jelly bean trail, the Easter Bunny can leave a trail of inedible white cotton balls through your house instead.
Treasure Hunt
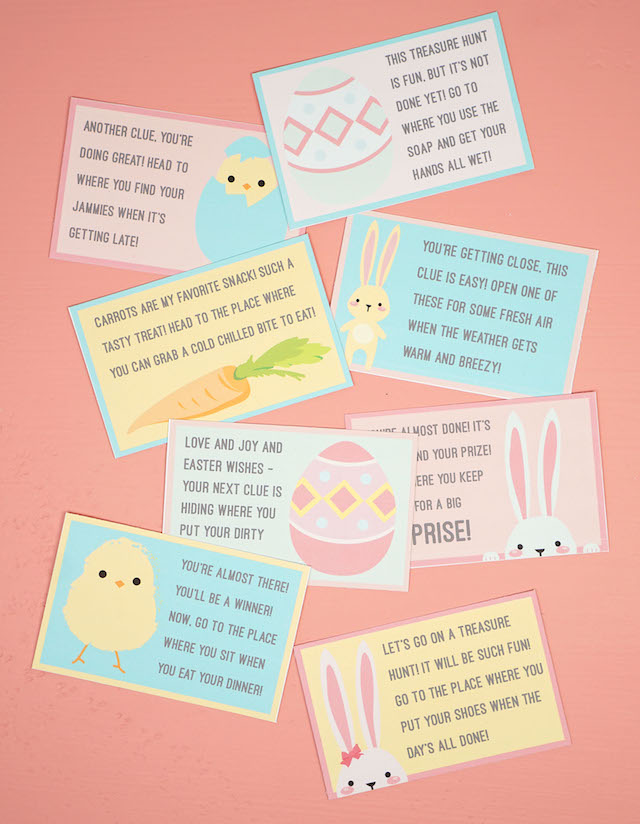
The clever Easter Bunny doesn't leave baskets out in the open: he hides them at the end of a tricky scavenger hunt. Happiness is Homemade put together a free printable packed full of treasure hunt clues, with each one leading to the next. You'll be able to drink your morning coffee while your kids decipher the clues.
Related: 14 Creative Easter Egg Hunts You Can Do at Home
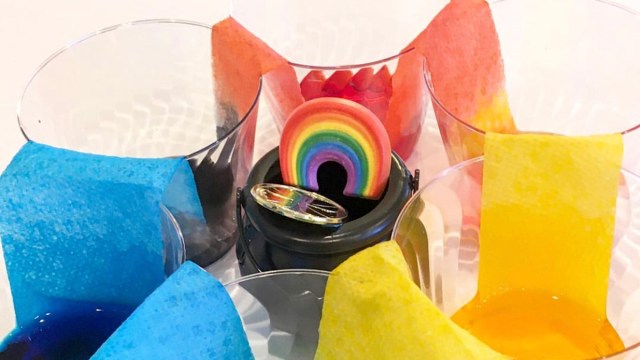
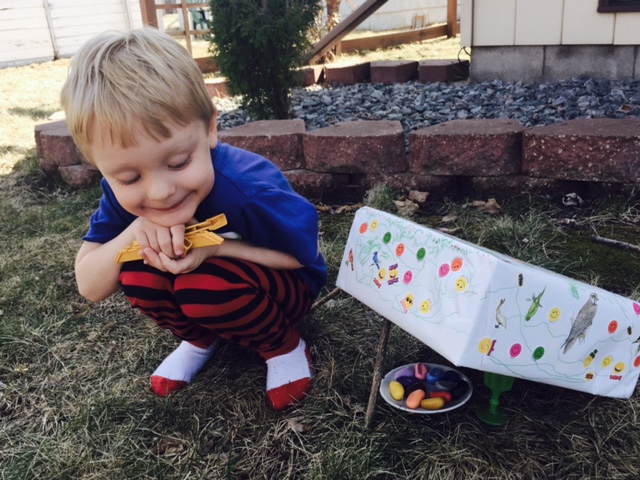
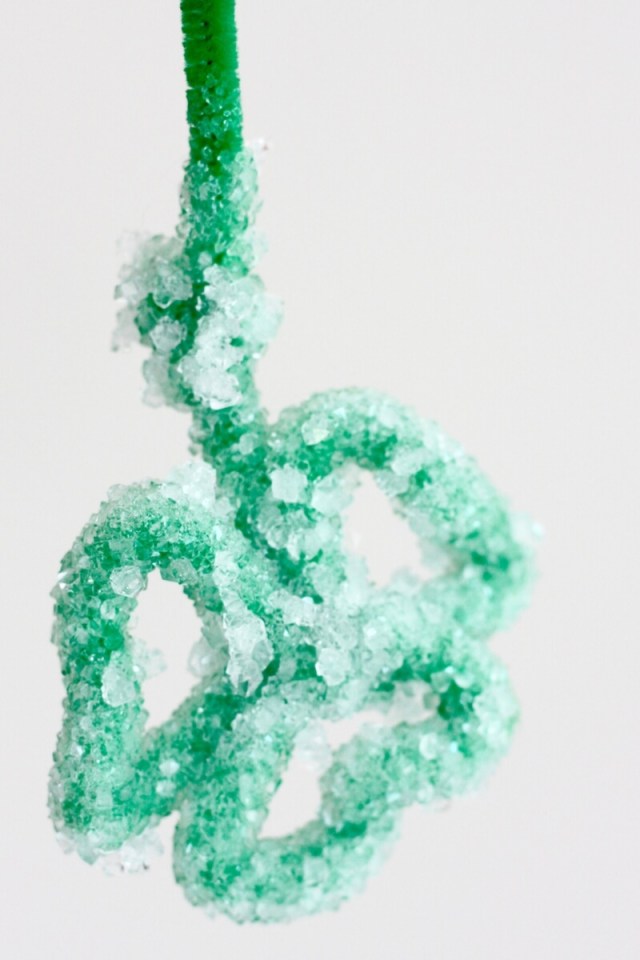
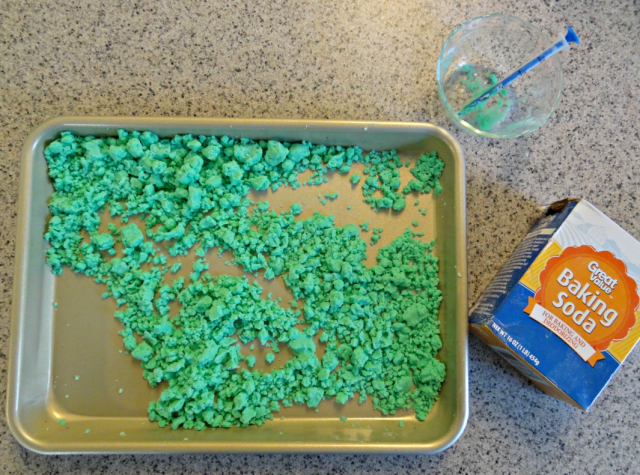
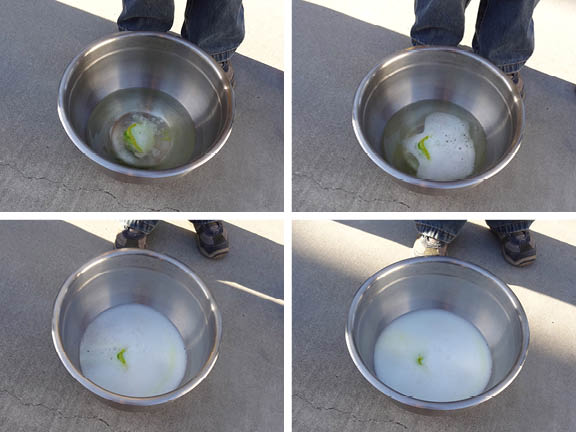
Magical Jelly Beans
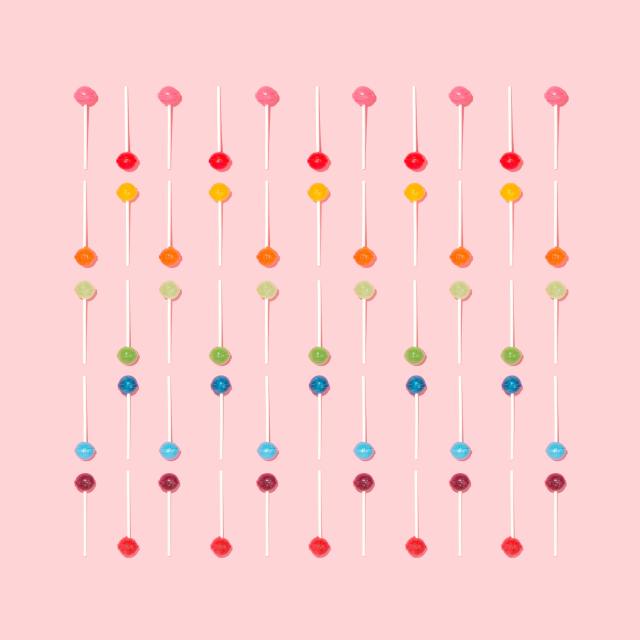
We love this extra-sweet tradition for Easter bunny fun! Simply gather a handful of jelly beans and, with your little one, plant them outside. While your bunnies sleep, you can swap out the beans for lollipops. Voila! Your kids will wake up to a magical lollipop garden on Easter morning. If you're worried about your dog gobbling up the jelly beans outside, or if it's too chilly for an outdoor planting session, you can bring the magic jelly bean fun inside with this easy lollipop garden craft.
Paw Prints
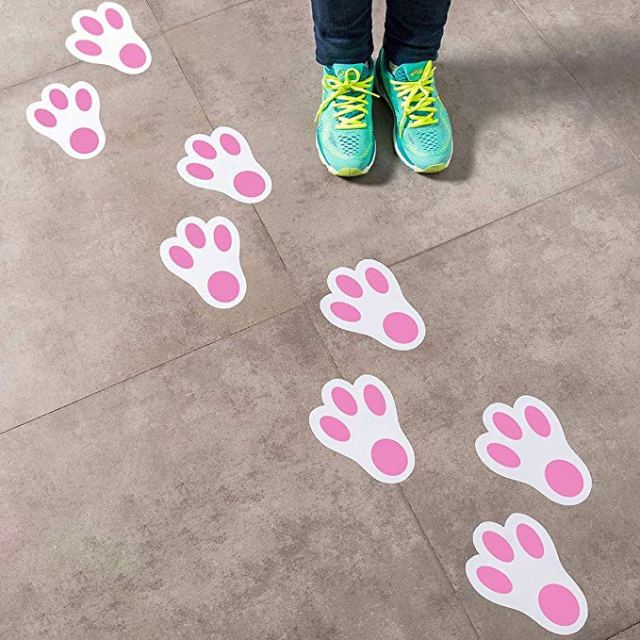
What will the Easter Bunny be sure to leave as he hops through your house? Paw prints! You can create a bunny trail that leads through your house with a template and white flour. It's an affordable way to sprinkle a little egg-stra magic on Easter morning. Find all the DIY tips here. If your bunny's in a hurry, simply pick up a pack of oversized pink-and-white paw print decals and spread them out on the floor. Get them here.
Bunny Funfetti
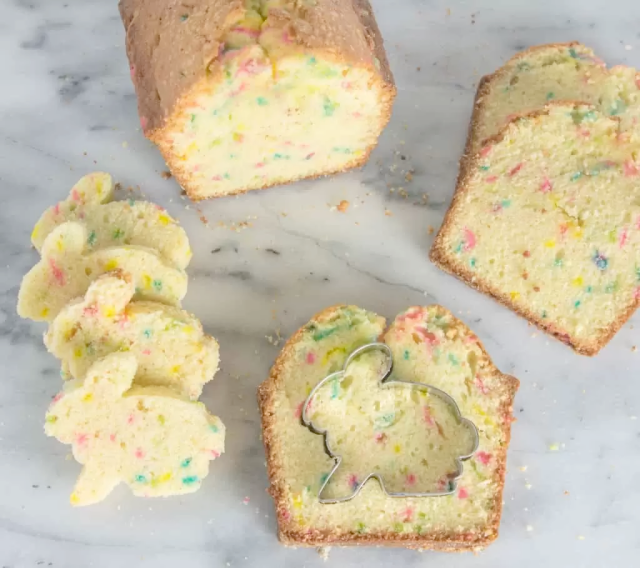
The Easter Bunny's surprises don't have to end with candy-packed baskets. Bake a hidden bunny chocolate and vanilla funfetti cake for a sweet Easter brunch finale. It's easier to make than it looks! The Itsy-Bitsy Kitchen has step-by-step instructions to guide you through the process for this fun Easter idea for kids.
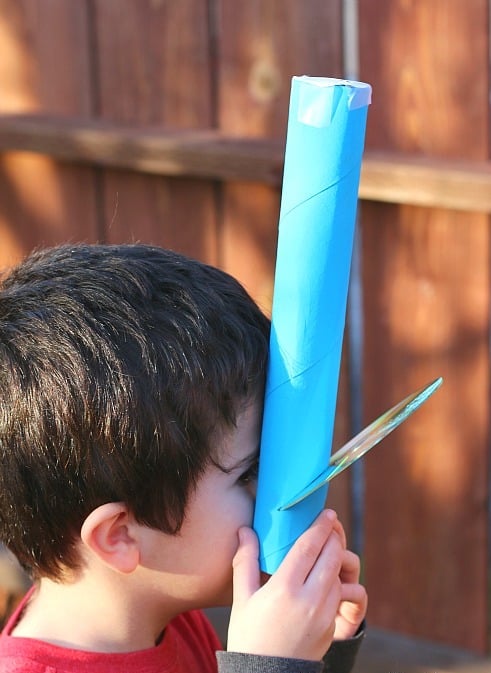
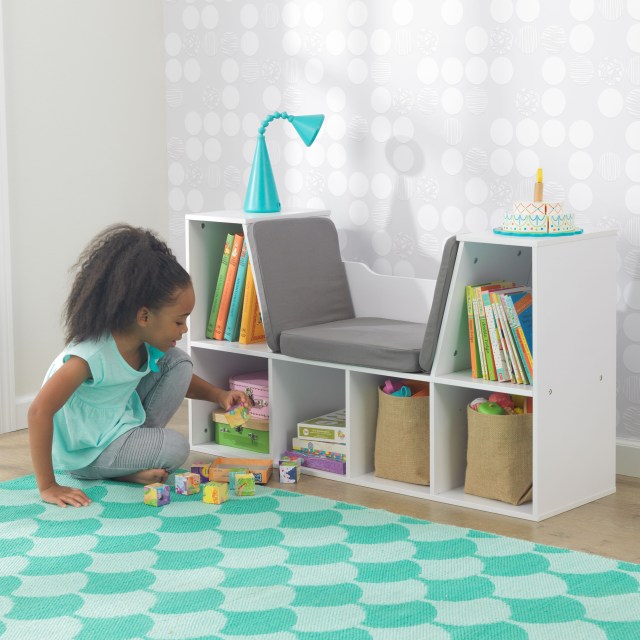
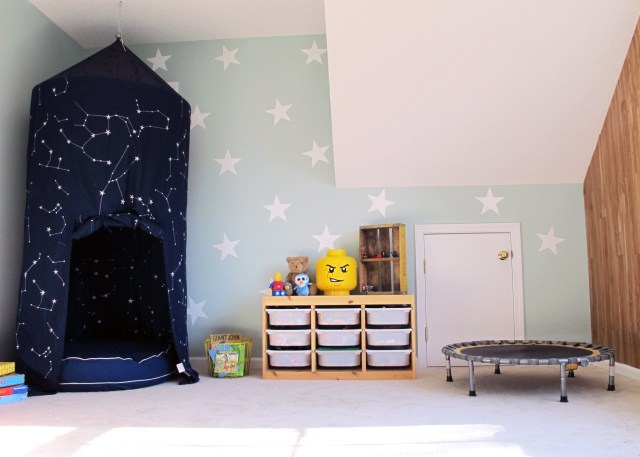
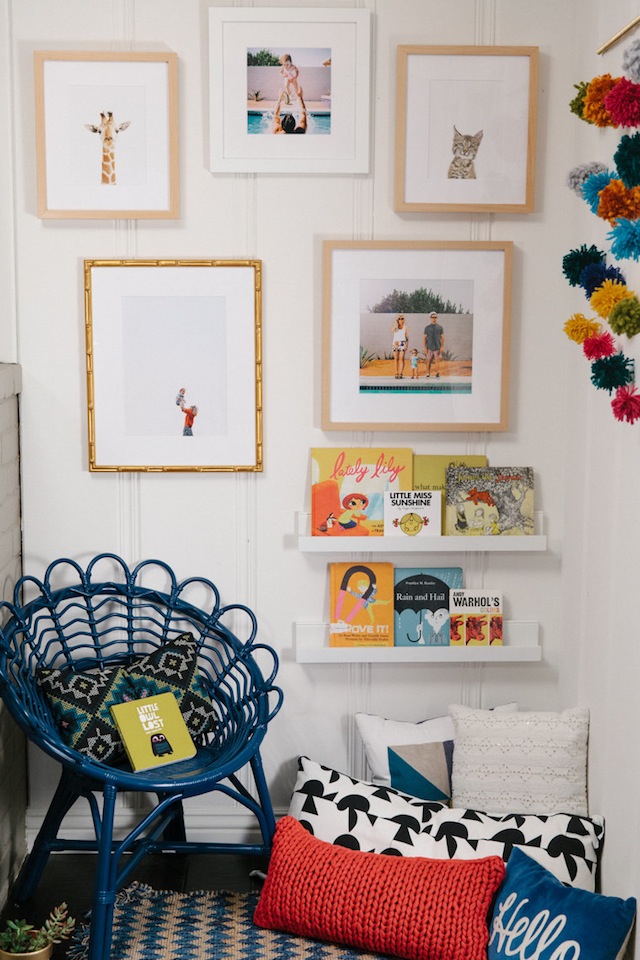
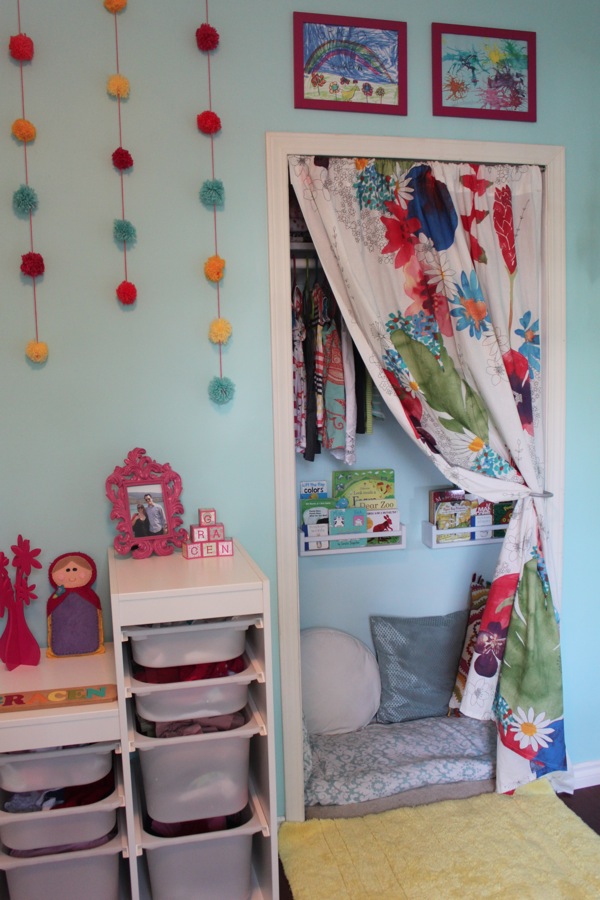
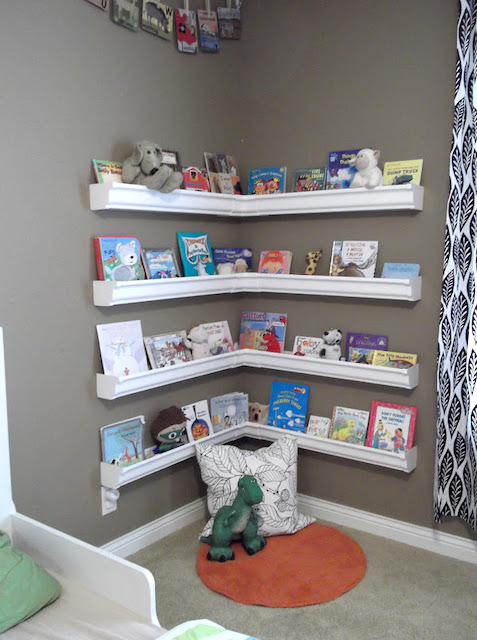
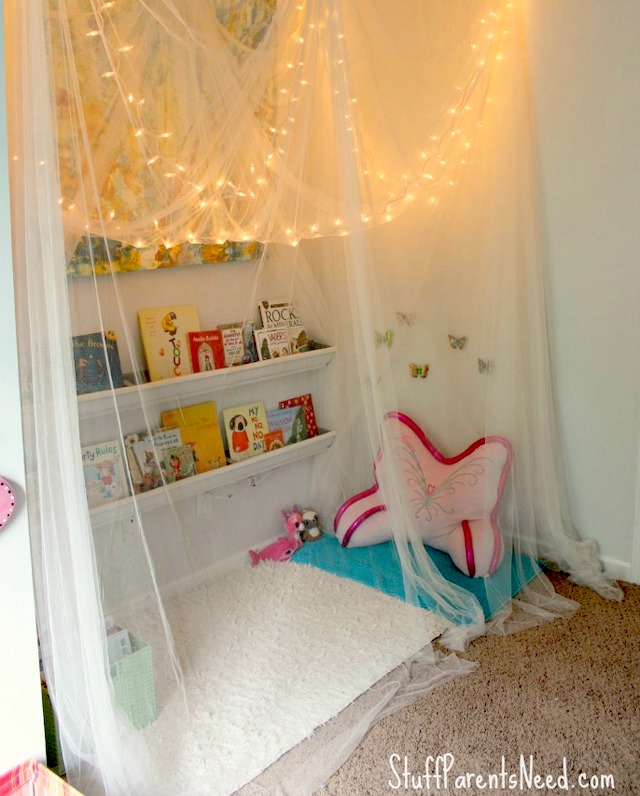
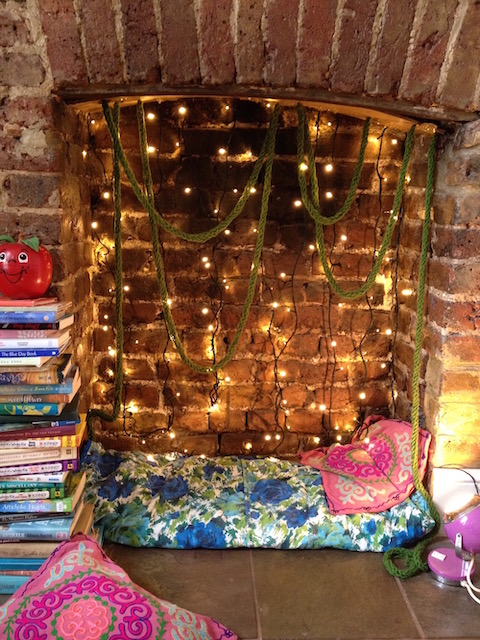
DIY Bunny Hideaway
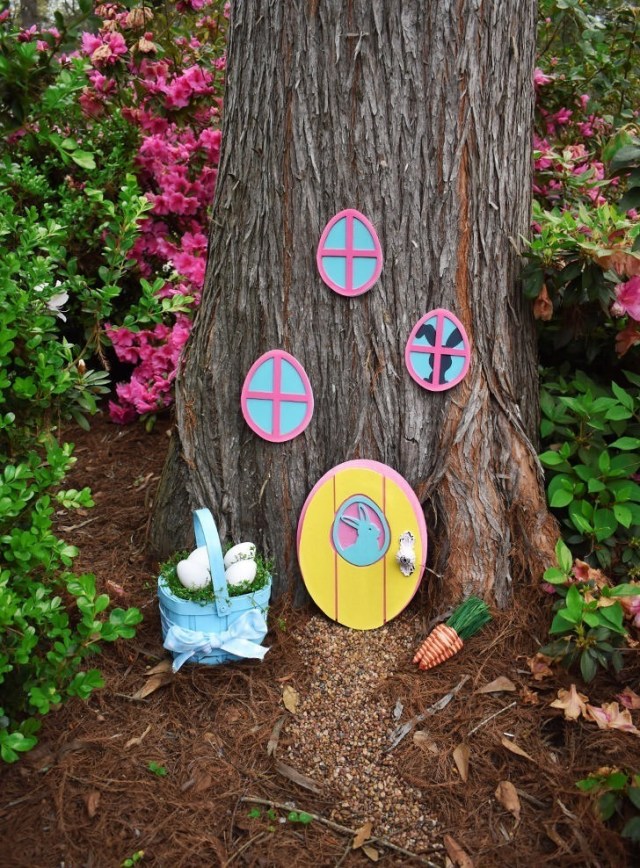
Make your own Easter Bunny fun hideaway with these super fun steps from Allison Murray from Dream a Little Bigger. You can simplify with some paint and stencils for a quick DIY project.
Related: 13 Easter Games That Go Way Beyond an Egg Hunt
If you buy something from the links in this article, we may earn affiliate commission or compensation.