This savory snack is perfect for the holiday season or anytime, really
If you’re looking for an appetizer or a snack-worthy finger food, try this recipe for ham and cheese puff pastry. Courtesy of The Clever Carrot, whipping this dish up is like making a sandwich, but filled with melted cheese and ham. The pre-made puff pastry dough makes the process quick and simple.
Makes 12-16 squares
Ingredients for Ham and Cheese Puff Pastry:
1 package (2 sheets) frozen puff pastry, defrosted*
2 tablespoons Dijon mustard
¼ pound black forest ham, thinly sliced
½ pound Gruyère cheese, grated
1 egg
flour for dusting
*Defrost overnight in the fridge before you begin.
**Puff pastry sheets are available in the frozen section of most grocery stores. If you cannot find them, you can use a whole block of dough instead. On a lightly floured work surface, roll out the dough and cut it into two sheets measuring approximately 10 x 12 inches (use a ruler if necessary). Transfer to a piece of parchment paper and proceed with the rest of the recipe.
Method:
1. Preheat your oven to 450 F.
2. To make the egg wash, lightly beat an egg with 1 tbsp. of water. Set aside.
3. Place a piece of parchment paper onto your work surface and dust lightly with flour. Lay one sheet of puff pastry on top of the paper. Using the back of a teaspoon, brush the dough with mustard leaving a 1-inch border around the edge. Use a ruler if necessary.
4. Staying within the border, add the sliced ham in overlapping layers. Add the cheese. Brush the border with some of the egg wash to create a seal.
5. Place the second sheet of puff pastry on top of the filled pastry lining up the edges.
Using a sharp knife, trim the dough so that the edges line up and the square is even. It’s just like cutting the crust off of a sandwich. Make sure to cut the dough in a swift downward motion (think paper slicer). If you drag your knife, it will not rise properly. Press down lightly.
6. Brush the top with more egg wash and cut a few slits in the top to allow steam to escape.
Transfer the dough to a baking sheet by lifting up the parchment paper.
7. Bake for 20 to 25 minutes, until puffed and golden brown. Allow to cool for a few minutes and cut into squares (about 12-16 depending how large you want them). Serve hot.
Recipe and photo courtesy of The Clever Carrot. For more great family recipe ideas, head on over to the blog by clicking here.
This easy blueberry muffin recipe is a favorite with our kids
For breakfast fare that never goes out of style look no further than this easy blueberry muffin recipe. Any home cook can whip up a batch of these classic blueberry muffins in about 10 minutes without any unusual ingredients or pro kitchen tools. The secret twist to this delectable eat? The streusel topping that adds a layer of cinnamon sugar goodness to this irresistible grab-and-go muffin.
Makes about 14 muffins
Ingredients:
2 Cups Flour
2 tsp baking powder
1/2 tsp salt
1 1/2 cups wild blueberries (Frozen are ok)
1/2 cup butter softened
3/4 cup sugar
2 eggs
1 tsp vanilla
1/2 cup milk
For the streusel top:
2 Tbs Flour
2 Tbs Sugar
1/2 tsp cinnamon
2 tbs butter chilled
Method:
1. Combine the flour, baking powder, and salt. Set aside.
2. In a separate bowl beat butter and sugar until light. Beat in eggs and vanilla. You can either use an electric mixer or mix by hand with a wooden spoon.
3. Add the dry ingredients to the wet ingredients alternating with milk until combined.
4. Coat the blueberries lightly with flour then fold the blueberries into the mixture.
5. Spoon batter into greased or paper-lined muffin tins.
6. To make the streusel topping, combine the flour, sugar, and cinnamon. Cut in the butter until crumbly by using your fingers or a knife and fork. Sprinkle over muffins.
Here’s a hint: a pizza cutter can be used for more than just pizza
When it comes to feeding a crew of hungry kids, we’ve never met a shortcut we didn’t like. This is why, it being the season of busy weeknights and early bedtimes, we want to give you as many cooking hacks (scooped from resourceful parents everywhere) as possible. From meal-prep advice to the easiest way to get an egg that peels with ease, here are 36 clever food and cooking shortcuts that’ll save you tons of time.
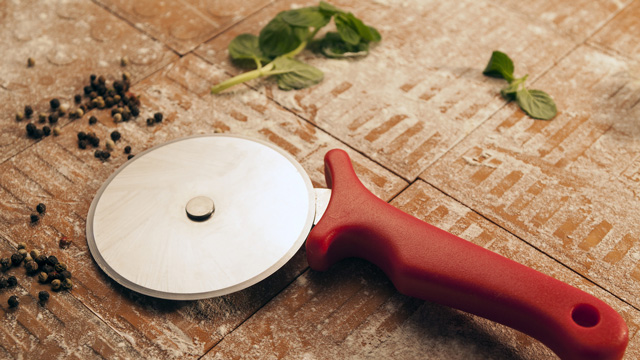
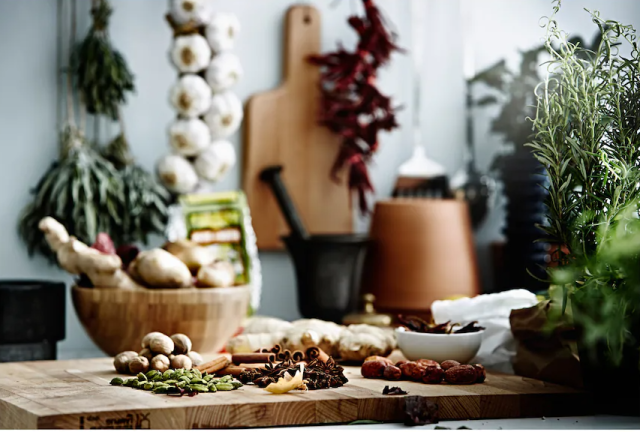
Pizza Cutter for Herbs
iStock
Having fresh herbs in the house is nice for creating marinades, dressings, and more, but finely chopping those herbs can be difficult. The good news is, there’s a way to make the process easy. Place the herbs on a cutting board, and roll a pizza cutter through them. Don't worry about cutting in a perfect line, just roll through the bunch as many times as you want.
The skin of a mango is pretty thick, and the peeling process usually involves careful knife skills. We found another way to get that pesky skin off with ease. All you need to do is slice the mango in half and grab a tall glass. Using the rim of the glass, get between the skin and the fruit at the bottom of the slice. Push down, and the skin will slide right off. Voila! You've got a perfectly peeled mango.
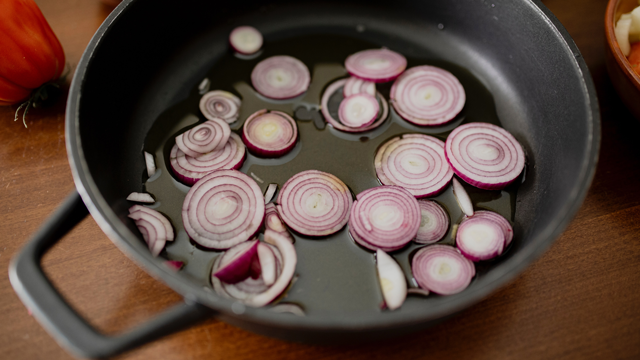
If your onions are on the verge of burning, throw an ice cube into the pan. It'll evaporate quickly and give the veggies a hint of moisture to avoid being overcooked.
Have you ever just chopped half a stalk of celery or bulb of cauliflower, and had to put it back in the fridge where it immediately starts to wilt? If you want to keep your partially chopped veggies fresh, we recommend putting them right in the freezer. This locks in the freshness, and they’ll be ready to jump into the frying pan after a little defrosting time.
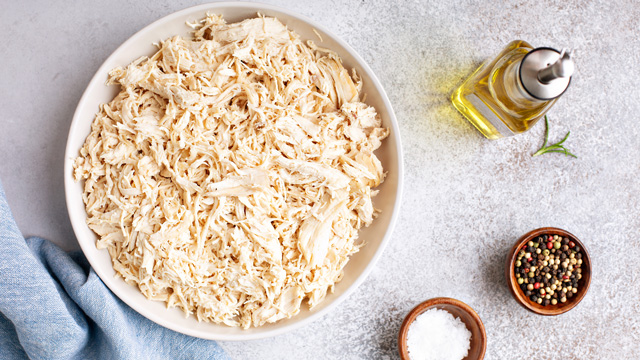
Shred Chicken in Your Food Processor
Shutterstock
From tacos to salads, casseroles, and beyond, shredded chicken is a staple for family meals. But shredding it all by hand or with a pair of forks can take forever! Amazingly, there’s a quick fix for that—just toss boiled or baked chicken breasts in your mixer, and you’ll have expertly shredded chicken in seconds.
Put Water in Your Microwave to Preserve the Moisture
iStock
Whether it’s leftovers or meal-prepped treats, your microwave is a powerful tool. But you’re always at risk of drying out your food when you use it. We’ve got a simple way to avoid that. Toss a glass of water into the microwave with your food to give it a little extra moisture.
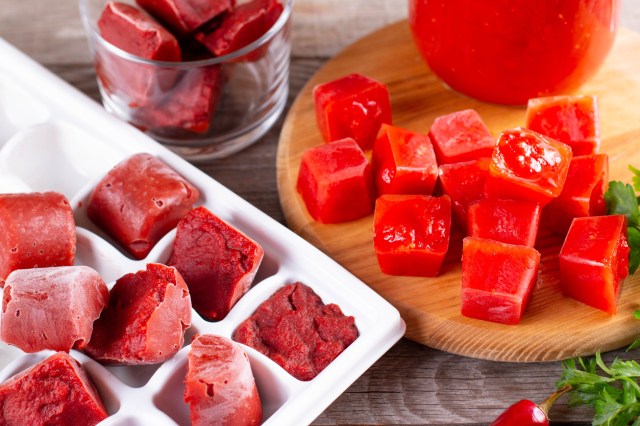
Freeze Sauce in Ice Cube Trays
iStock
We’re all about making cooking easier. With this meal-prep hack, you’ll be able to create perfectly portioned sauces days or weeks in advance and use them whenever you want. Just mix up your favorite sauces, put the liquid in your ice trays and freeze. Keep the portions frozen until you're ready to use them.
From fries to mashed potatoes and chips, everybody LOVES potatoes. But, for a lot of recipes, peeling the potatoes is a must, and using a potato peeler or knife can be time-consuming and difficult. We have an easy fix! Boil the potatoes, let them cool, and the skin will peel off in seconds.
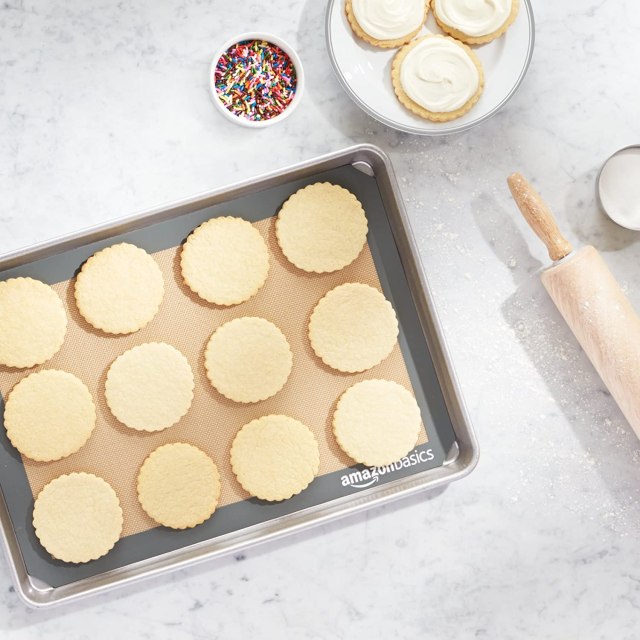
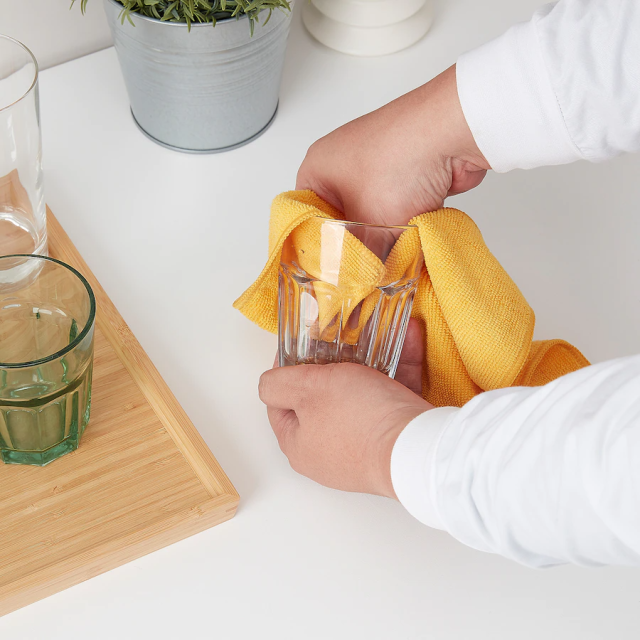
Do you hate cleaning cookie sheets? We know that cleaning them can be difficult because the grease and grime are baked in deep. Using a silicone baking sheet, which makes removing all of your tasty morsels as easy as pie, will change your life. We like this one.
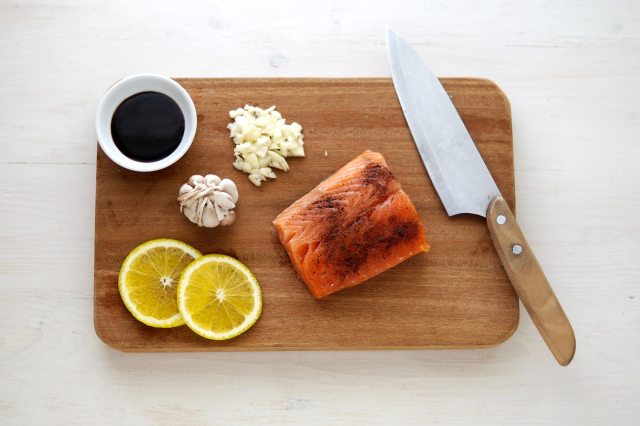
Your filet of salmon will stay intact much easier if you line it with slices of lemon. Plus, the juices will seep up, making a flavorful dinner. See one of our favorite recipes here.
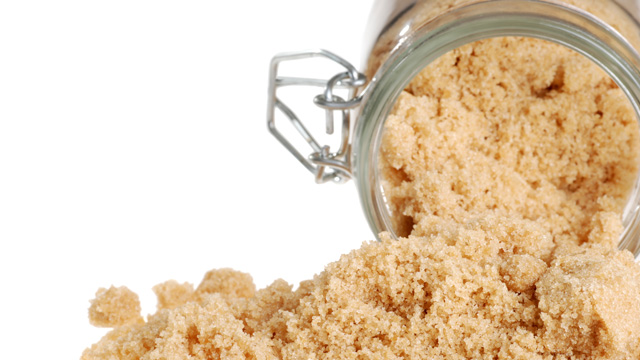
Put Marshmallows in Your Brown Sugar
Shutterstock
Brown sugar is a baking necessity for cookies, cupcakes, and pies, but unlike white sugar, it can dry out very quickly, which means you’ll be stuck breaking up hard blobs of sugar when you want to use it. But, there’s an easy fix for this. All you need to do is throw a few marshmallows into the airtight container with your brown sugar to conserve the moisture and make it easy to scoop.
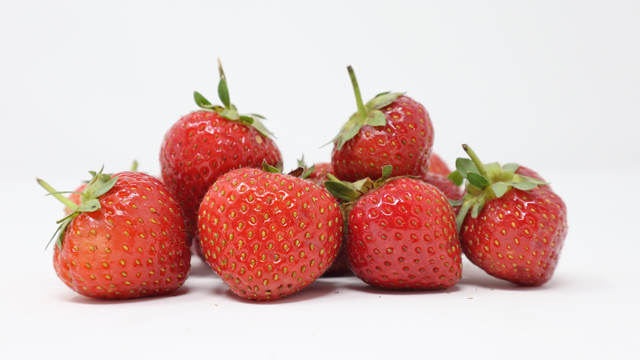
Strawberries are healthy and delicious. But chopping the green tuffs off the top of every piece of fruit takes so long! Use this fun trick to get them off without a knife: Take a straw and push it from the bottom of the fruit to the top in one swift motion—it'll pop those little green leaves right off.
Flatten Ground Meat
iStock
No matter how hard you try, it seems like there’s never enough freezer space. We have a fun way to help you create extra room. Take your ground beef out of its package, put it in a Ziploc bag, flatten it, and put it back in the freezer; you'll be surprised by the extra open space. You can also write the expiration dates on the bags to make sure your meat is always fresh.
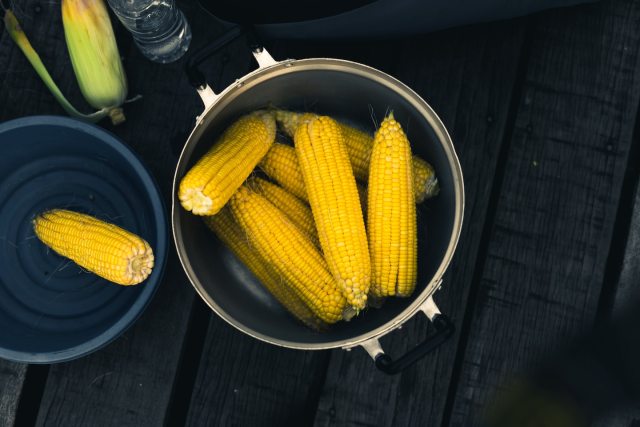
Let’s face it, chopping fresh corn is a pain, mostly because the kernels get all over the counter. But there’s a way to make sure it never happens again. Grab your bundt cake tin, flip it upside down, stand the corn up in the middle, and slice the kernels off; they’ll fall perfectly into that round tin, so cleaning up is a breeze!
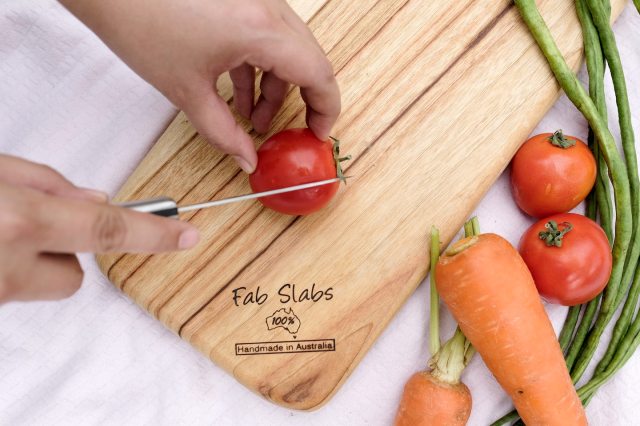
Slicing and dicing are a big part of cooking, which means you’re always reaching for the cutting board. But it’s important to make sure that it isn’t slipping and sliding all over the place, so make it stable by putting a damp dishtowel underneath it. It'll keep it in place and make clean-up even easier.
Cupcake Liner Catches Popsicle Drips
Allison Sutcliffe
Popsicles are a childhood fave, but they can turn into a bit of a sticky mess. Prevent all of that dripping by slipping cupcake liners onto the bottom of your kids' popsicles. Slide the liner up so that it cups the bottom of the popsicle to make sure it catches all of those little drips.
Cheesecake is a dessert that kids and parents love, but cutting it equally can be difficult. Well, we've got an easy way to slice it perfectly every time. Try using dental floss. Just make sure the dental floss is unscented, so you don’t get a minty surprise with your dessert.
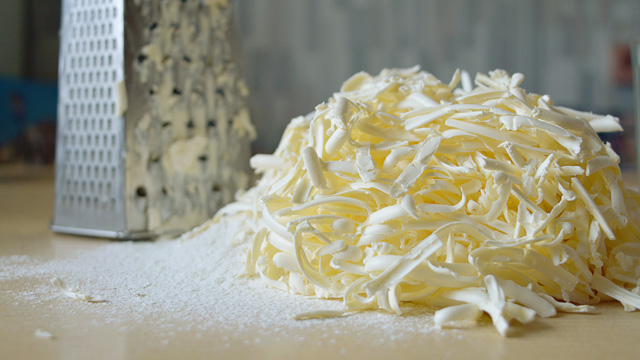
Grate Your Butter
Shutterstock
Softened butter is a staple for all bakers out there, but putting solid butter in the microwave isn’t always the best way to get that soft consistency you're looking for. Try grating it with a cheese grader instead.
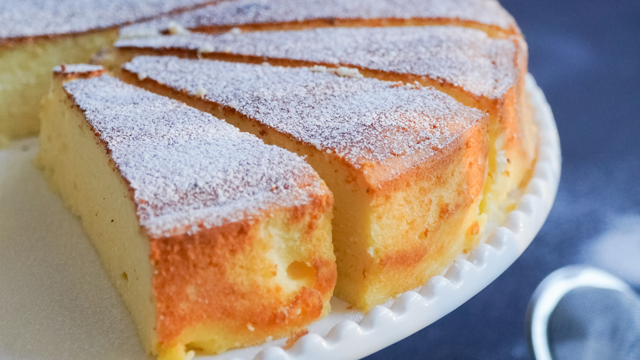
Use White Bread on Your Birthday Cake
iStock
Birthday cake is yummy, but when the party’s over, you're left with half a cake that'll be stale by tomorrow. What if there was a way to preserve this delectable sugar overload? Try putting slices of white bread on the interior sections of the cake where you cut into it—the bread locks in moisture.
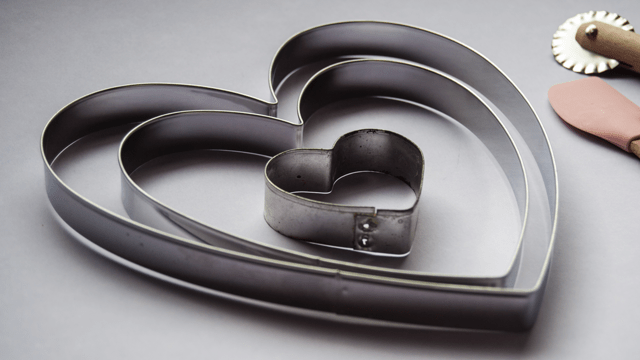
No matter what time of year it is, you can always use cookie cutters. And they can be used for much more than just cookies. You can also use them to create pancakes or eggs with designs like flowers, cartoon characters, and more.
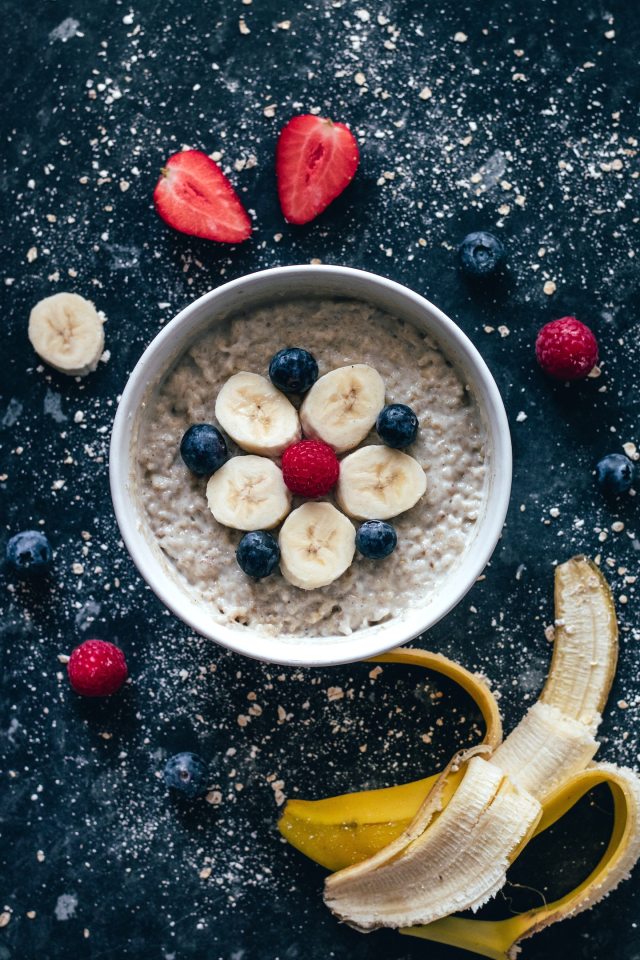
Oatmeal is a warm alternative to cold cereal, but it does take a little more time to make in the morning. Try using your rice cooker to make the oatmeal instead. This way, you don’t need to worry about watching, stirring or remembering to turn off the stove. Just put everything inside, and within minutes you’ve got scrumptious oatmeal.
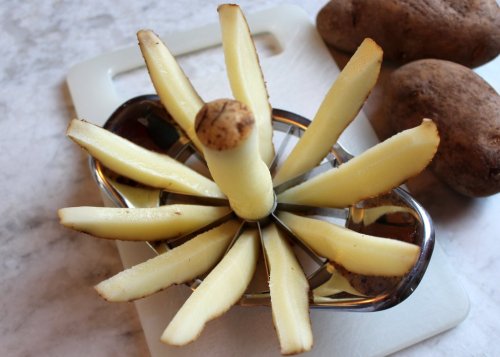
An apple corer/slicer can instantly transform a plain potato into everyone's favorite side. That's right, you can make homemade fries in a snap with a utensil you may already have in your kitchen drawer. Grandma's Brief has all the delicious details.
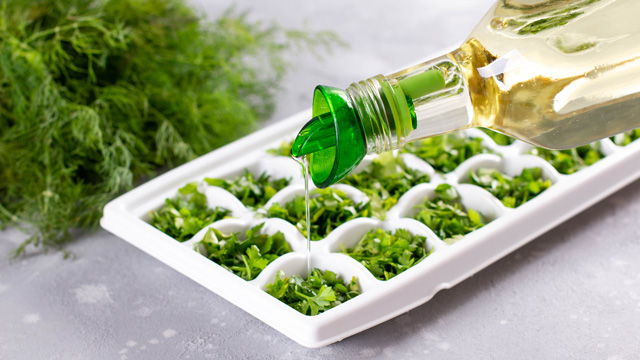
Freeze Herbs in Ice Trays
Shutterstock
Want fresh basil, thyme, and rosemary all year long? No problem. This cooking hack is worthy of Martha Stewart, sans the effort. Just put fresh herbs in ice trays, add oil, and freeze. Freezing the herbs in oil also prevents them from turning brown or getting that dreaded freezer burn.
Wedges are so 2022. No, not the ones you wear on your feet; those are still fabulous. We're talking about watermelon wedges. Instead of slicing the melon into wide wedges that inevitably get juice all over everyone's face and chin, cut the fruit in half, then slice it in a grid. You'll get evenly sized slices that each have just enough rind on the bottom for little hands to grab.
It is a literal Egg McMuffin. Nick of Macheesmo shows us how to make a breakfast sandwich even more amazing by simply baking the eggs in a muffin tin. Best part? You can add other ingredients to the eggs (think spinach, ham, cheese) and then freeze the whole thing for busy on-the-go mornings. Find the original recipe here and the updated version here.
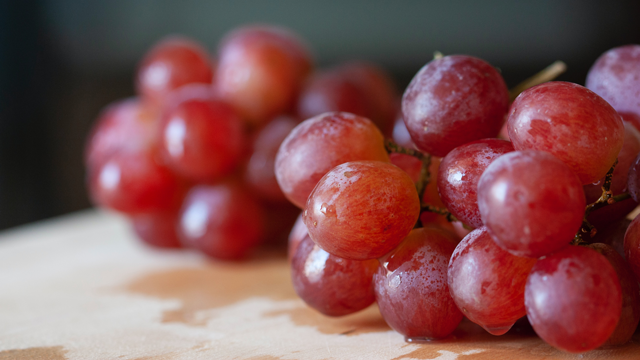
Pop grapes into the freezer for a sweet and crunchy treat that tastes like candy. A refreshing snack any time of the year, this is also a great way to make sure you always have fruit on hand.
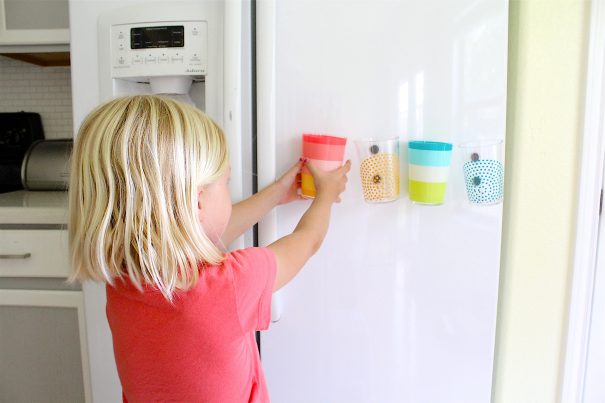
Talk about having a “why didn’t I think of that” moment. If your kids are anything like ours, then you probably go through a few water cups every day. Cut down on needless dishes with this awesome cup hack from Dana over at Made Everyday.
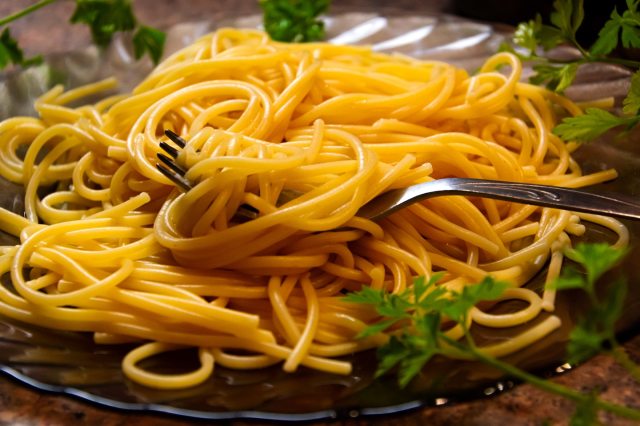
Use your noodle: Cut up spaghetti, linguine, and ramen with scissors. Smaller bites and shorter bits will ease frustration at the dinner table and make after-dinner clean-up easier.
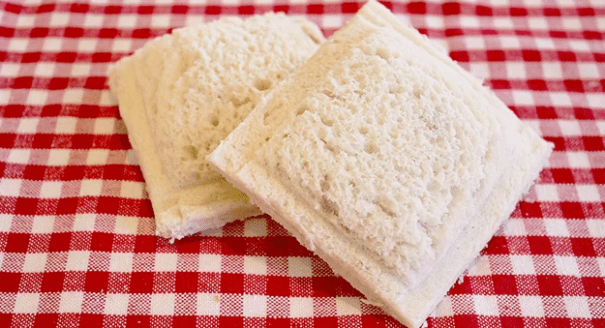
You like the idea of making PB&J (or some "other butter" and jelly) ahead of time but don't really know how to make a good freezer version. Good news! One Good Thing by Jillee explains the how-toand shows you how to seal that sandwich—no fancy gear needed.
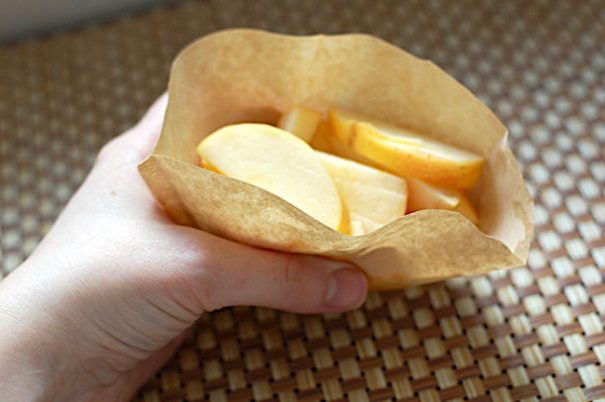
A brilliantly simple idea from The Nourishing Gourmet, swap out plastic baggies or even bulky reusables in favor of a biodegradable coffee filter. Psst! If you’ve gone Keurig, we’re betting you’ve got a box of these collecting dust somewhere in your kitchen.
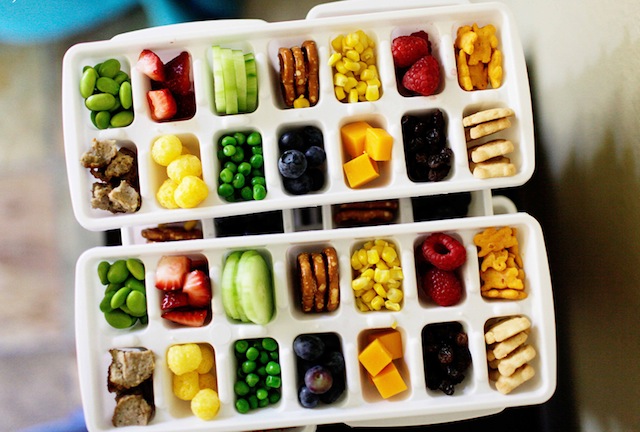
Having a stash of snacks is a must for every parent. But, having a bunch of different canisters, bags, and boxes on hand is difficult for travel and storage. Well, we’ve got the perfect hack for you! Try using silicone ice cube trays as snack trays for at home or on car trips.
Use Binder Clips in the Fridge and Freezer
If you need an easy way to keep all of your favorite munchies fresh in the fridge, may we suggest binder clips? Yes, you read that right. Grab some binder clips, and clip all of your bags of food directly onto the rungs of each shelf. This saves space and keeps everything nice and fresh. This works for bags in the freezer as well.
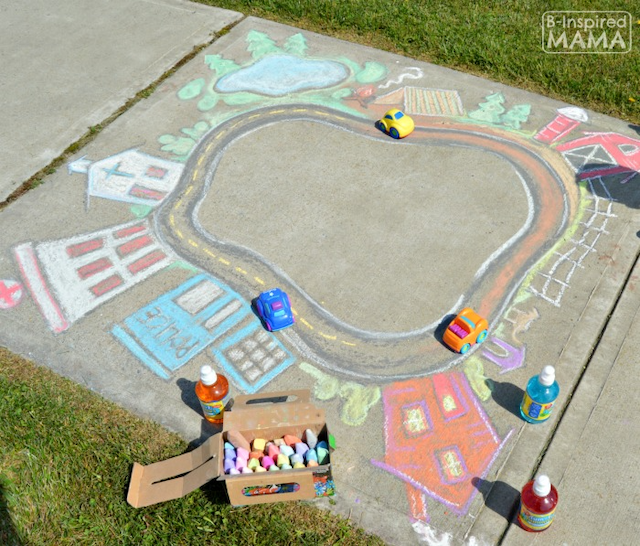
Wondering what to draw with chalk? There are tons of creative ways to use this fun outdoor art supply
Sidewalk chalk is the Swiss Army knife of summer, and when the days get longer, there’s no better tool we’d rather have in our pockets. From straightforward to seriously creative, we’ve got an idea that will turn your sidewalk into hours of fun. Here are not only cool things to draw with chalk but also some of our favorite ways to make your mark (and then erase it).
1. Draw a backdrop for a picture. Bonus point for scenes where they’re flying or underwater. Need inspiration? See the amazing chalk creations we found around the globe, here.
2. Make silly silhouettes. Trace each other with chalk. And then fill in the details for a fun self-portrait.
3. DIY your own chalk. It’s easy to make an endless amount of summer’s favorite supply. See our tutorial, here.
4. Your sidewalk’s got game. Make a life-sized game board of their favorite game (Chutes & Ladders, Candy Land, checkers, etc.) and let your little gamers be the game pieces.
5. Let chalk hold court. Draw a makeshift tennis or basketball court, and let them practice their swings and dribbles like Princess Pinky Girl did.
6. Get wet. Hose down the driveway and let them experiment with chalk on a wet surface. They’ll love the new effect.
7. Chalk that’s todye for. Need to freshen up your look? Turn sidewalk chalk into hair chalk in a few easy steps. Find out how at One Creative Housewife.
8. Go 3-D. Tired of a two-dimensional driveway? Turn your sidewalk chalk into foam paint. The Tip Toe Fairy shows you how here!
9. Be city planners for a day. Make a sidewalk chalk town and roadway. Look for inspiration at B-Inspired Mama.
10. Do some trolling. Turn the patches of grass growing through cracks in the driveway into the hair for your own pet trolls. Just add a body and let the fun begin!
11. Make an Olympic-worthy course. Measure out a long jump board, mark each milestone, and start training!
12. Make chalk pops. Make sidewalk chalk on a stick (they look like real treats!), then turn the kids loose to design a masterpiece. See how Project Nursery does it, here.
13. Create your own put-put. Draw a mini golf course and use a hockey puck or rock and a stick to play a round!
14. Decorate the walkway. An ode to the Wizard of Oz’s Yellow Brick Road—only with more color.
15. Make it glow. You can make a batch of your own glow-in-the-dark chalk, like Coffee Cups and Crayons.
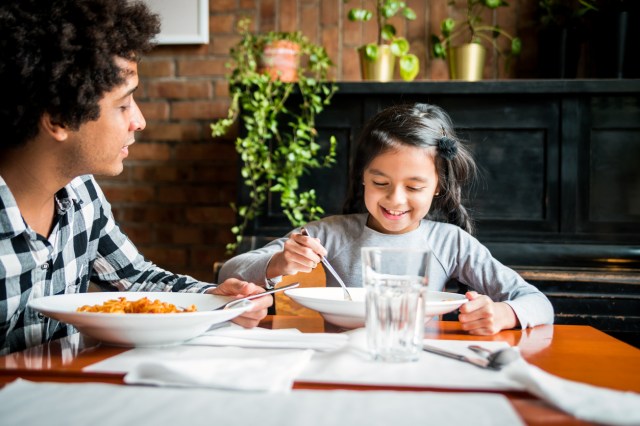
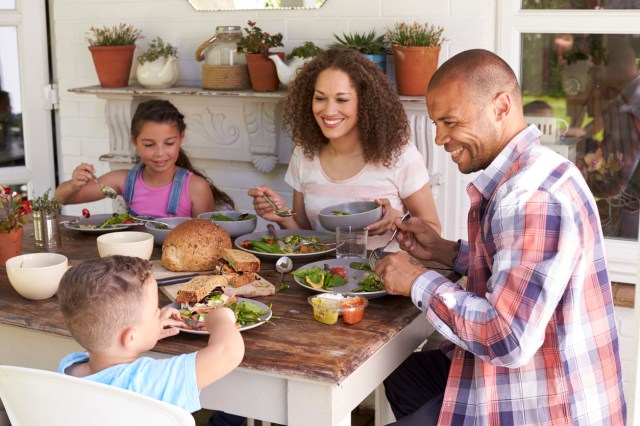
This list of classic table manners is great for formal holiday gatherings
If you remember your parents raging against elbows on the table when you were a kid, you’re not alone. While these memories may now seem old-fashioned, having good manners will never go out of style. Use the holiday season as an opportunity to help your kids to practice proper etiquette (if they’re old enough to understand the concept). From putting a napkin in their lap to clearing their plate off the table and everything in between, here are the table manners that’ll encourage the best behavior when dealing with a more formal dining situation
iStock
1. Come to the table with a clean face and hands.
Bite-sized etiquette: Especially given the fact that kids will be sharing serving utensils with others, a quick wash really won't hurt.
2. Place your napkin in your lap before eating.
Bite-sized etiquette: Little kids can fold their napkins in half to make them smaller and keep them in place. Having something in the kids' lap is a great reminder not to lick food off their fingers!
3. Unless told otherwise, wait until everyone is seated and served to begin eating.
Bite-sized etiquette: This rule varies based on how formal or casual the meal is, whether it's buffet-style or if the kids are actually old enough to wait. Some hosts will also insist you start eating immediately if the food is hot (so it doesn't go cold while you wait). If they aren't sure, teach kids to show consideration by asking if they can start their meal once served or whether they should wait.
4. Try to hold your cutlery properly and (for older kids) cut your food with a fork and knife.
Bite-sized etiquette: Once your kids are old enough (toddlers get a hall pass!), teach them how to cut their food using a fork and knife and show them how to bring food up to their mouth instead of leaning over to eat. Here's a guide to fork and knife etiquette.
5. Don't talk while there's food in your mouth.
Bite-sized etiquette: This seems simple enough, but even adults sometimes have trouble waiting to say something until they've swallowed their food. Remind kids to chew with their mouths closed and not to burp with abandon.
6. But do talk to everyone at the table.
Bite-sized etiquette: It's fun to have a one-on-one with someone, but not always when there are two, three, or more people at the table. Encourage kids to engage with everyone sitting down to dine, whether it's just mom or dad or includes others like grandparents, family, or friends.
Bite-sized etiquette: With so many hand-held foods in the mix on a regular dinner night (think tacos, fries, nuggets, pizza, hard-boiled eggs, etc.), kids may find it tempting to play with their meals. Let young diners know they should stick to eating their food instead of making it double as a toy (you can make exceptions for littler ones and picky eaters who are learning to eat new foods).
8. Double-dipping is a no-no.
Bite-sized etiquette: To avoid sharing germs and to practice common courtesy, don't double-dip! Instead, if you spot salsa, ranch, guacamole, or hummus, serve yourself the amount you want onto your own plate and then dip as much as you want into that individual portion. Think it's no big deal to plunge that bitten chip into the guac a second time? Read this to see why even science says you shouldn't do it!
Bite-sized etiquette: Avoid leaning over the table to access an out-of-reach item. Say "Please pass the peas" and wait for the person closest to the dish to send them your way.
10. Don't complain about the food.
Bite-sized etiquette: This is a huge one! Every parent has cooked a meal only to be met with moans and groans once served. Appreciation and respect for what's prepared starts at the home table. Kids may be a guest at grandma's or a friend's house, and they need to learn to be grateful and have good manners for what is on the table (Note: this advice is in the absence of food allergies or diet restrictions—in this situation, kids should always voice what they can and can't eat).
Bite-sized etiquette: We all do it, but when screens at the table aren't appropriate, practice what you preach and don't allow smartphones, electronic devices, or toys anywhere near the dinner table. Also, refrain from answering phone calls, emails, or texts until the meal is over. Recent studies show that almost half of parents share fewer meals with their families today than they did as kids, and "57% of parents agree that even when they eat together as a family, some of their family members are distracted by technology."
12. Stay at the dinner table until everyone finishes eating or ask to be excused (then clear your plate).
Bite-sized etiquette: Family dinners should include everyone enjoying each other's company until the last person has finished eating. If the kiddo needs to leave the table before then, they should ask for permission to be excused. At the meal's end, have kids clear their plates and offer to clear others if necessary, then end the meal by saying thank you.
Kids may think potty humor is hilarious, and you might even be forced to swallow a giggle sometimes, but the dinner table isn't the optimal place to hear jokes about flatulence.
14. Say thank you for the meal.
Bite-sized etiquette: Someone, whether it was you or a family member or friend, put a lot of effort into cooking the food, and kids should recognize and give props to the chef.
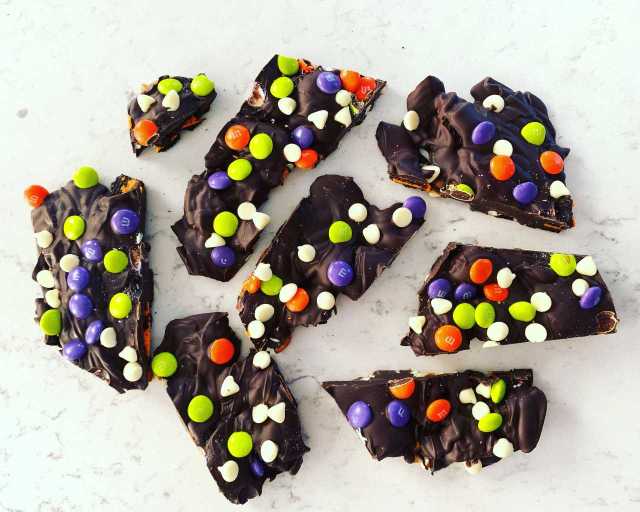
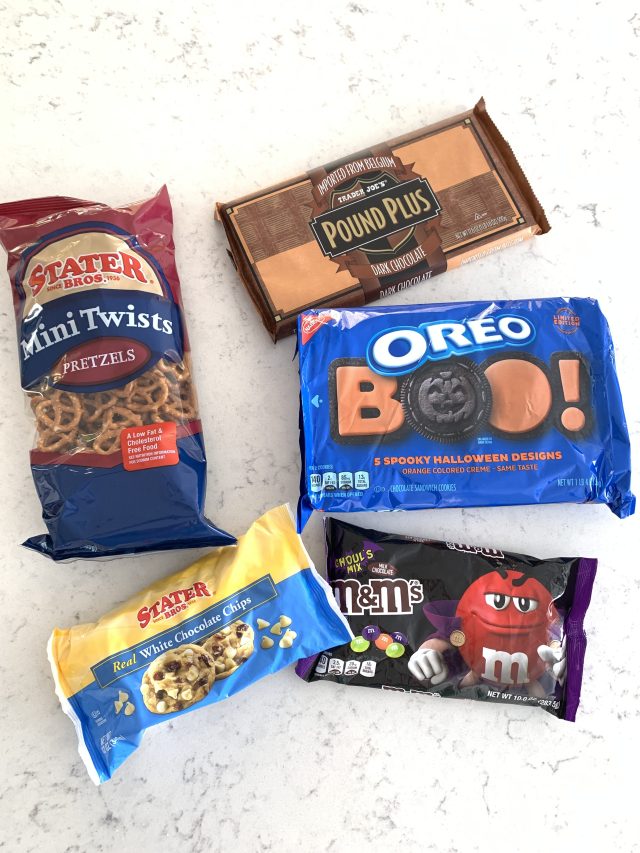
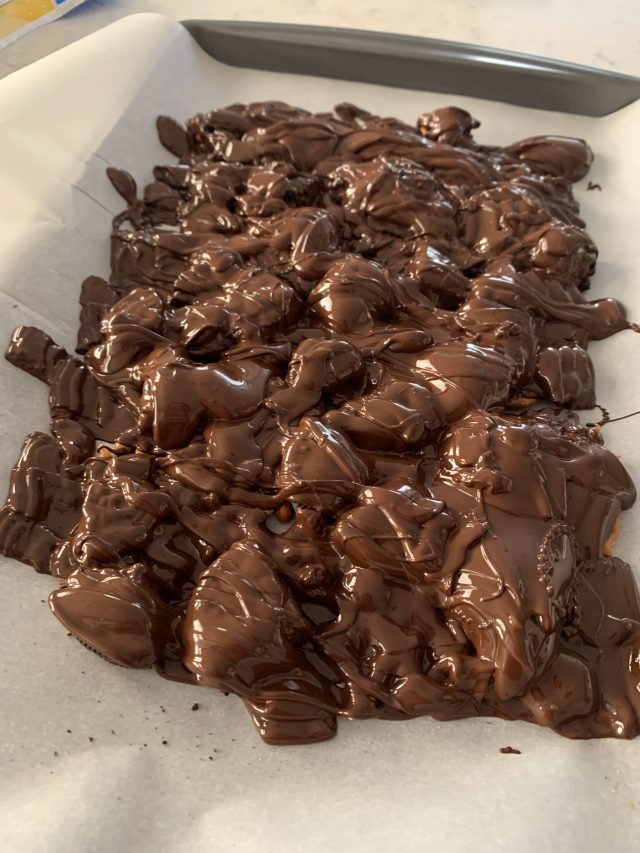
Looking for a festive treat to welcome the spooky season? This Halloween bark recipe uses just five store-bought ingredients, requires no oven and whips up faster than you can say “boo!” Nut-free and perfectly customizable, it also makes for a great teacher gift. It’s also a great afternoon activity that you can do with the kids that results in one tasty dessert.
-One pound of chocolate (Look for bars, not chocolate chips)
-Pretzels
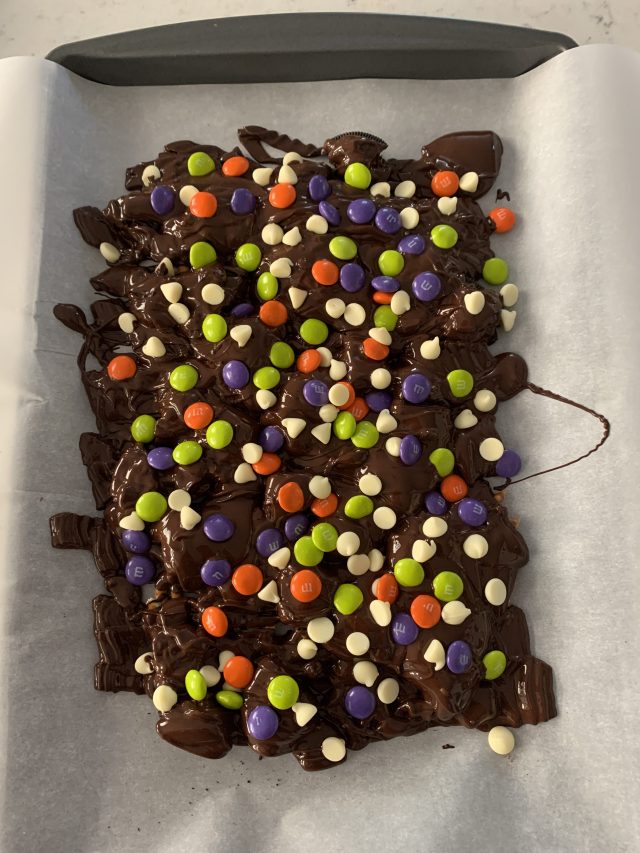
-White chocolate chips
-OREO cookies with festive-colored creme
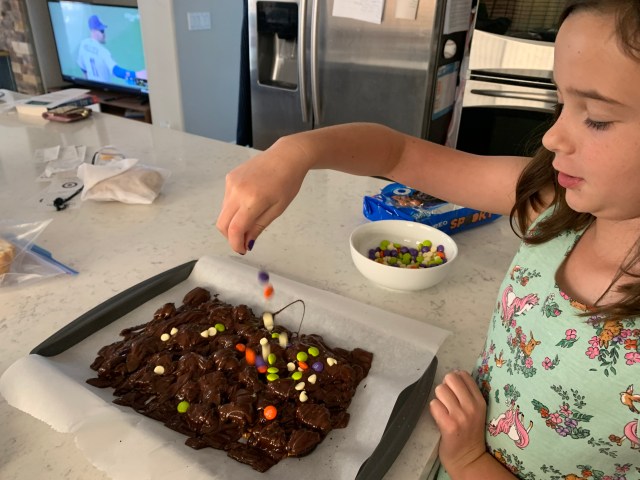
–M&M's in a fun color
Other supplies:
-Cookie sheet
-Parchment paper
-Microwave Safe Bowl
-Spatula
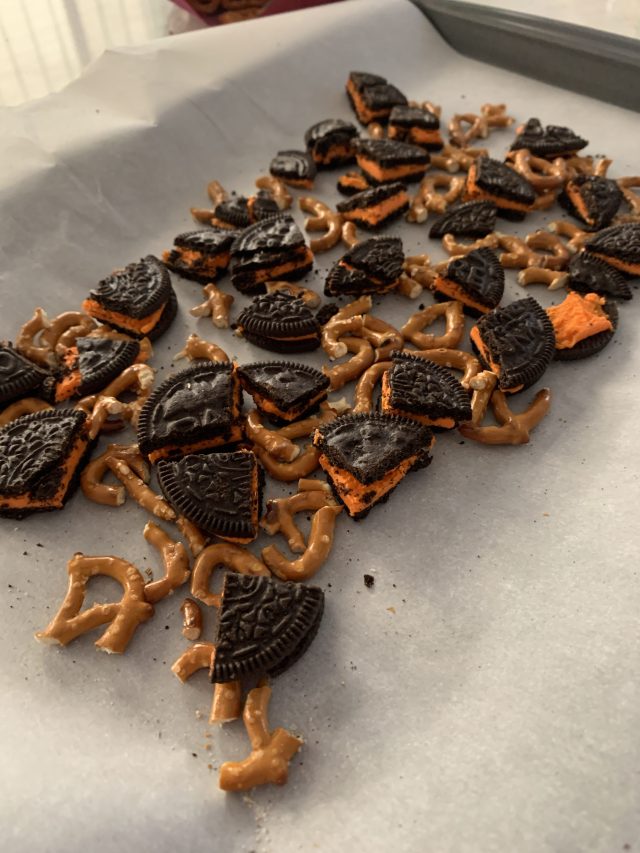
Step One
Line a baking sheet with parchment paper, then start snapping pretzels into small pieces. Try not to pulverize them! Then take 8-10 OREO cookies and cut into quarters. Don't worry if they don't cut cleanly, it's ok if they crumble! Just be sure to evenly scatter both the pretzels and the cookies on the baking sheet.
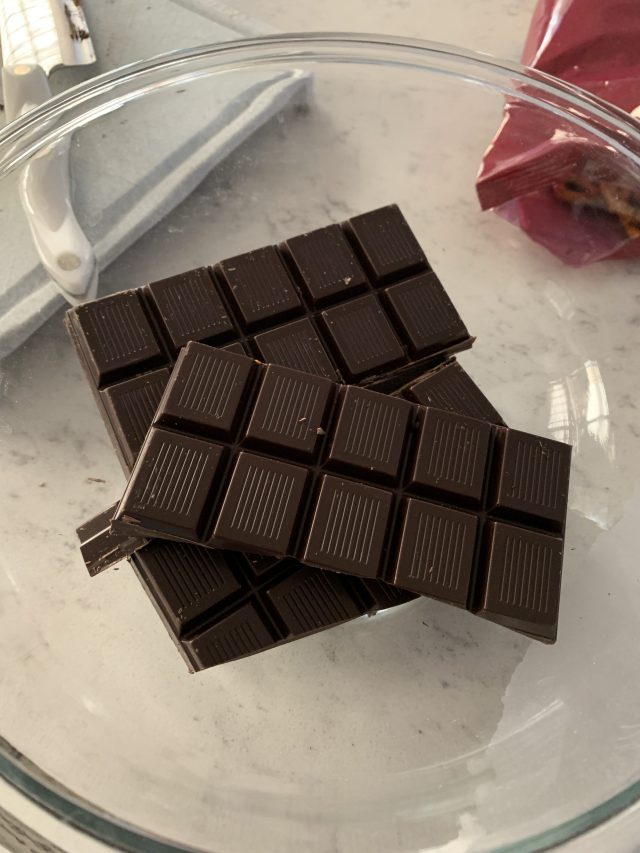
Step Two
Break chocolate into smallish pieces and place in microwave-safe bowl.
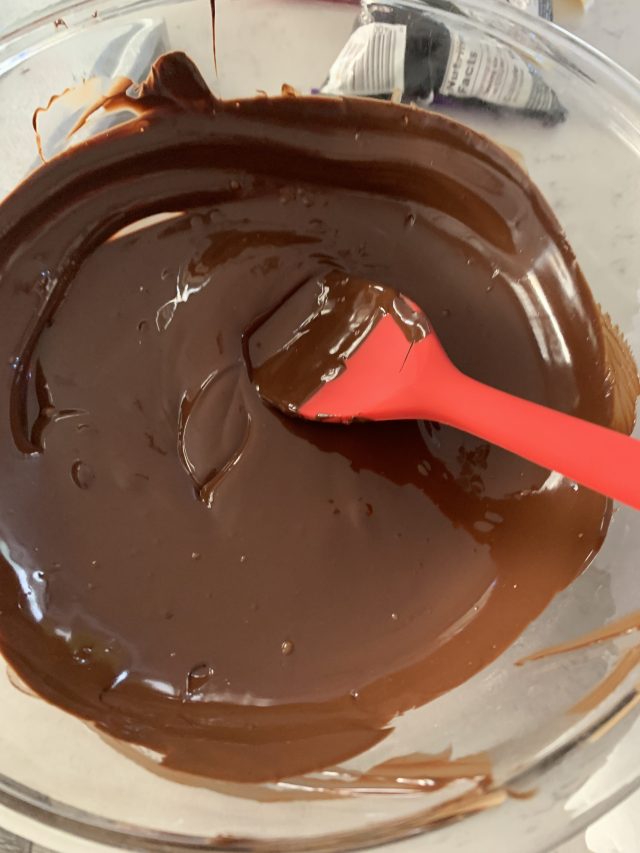
Step Three
Microwave for 45 seconds, then remove and stir. Continue microwaving in 30 second intervals, and stirring until the chocolate is completely smooth.
Place your baking sheet in the refrigerator for about an hour, or until the chocolate has cooled and hardened.
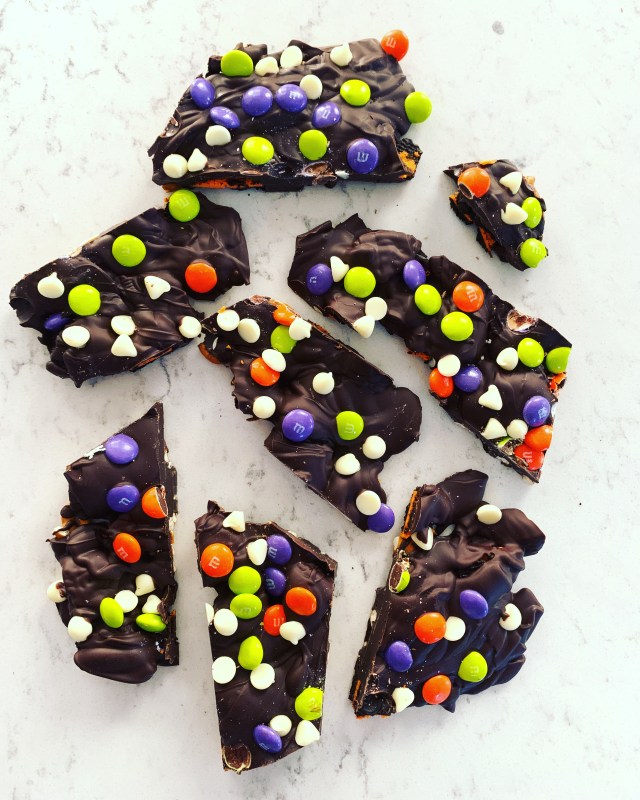
Step Seven
Once your bark is completely solidified, carefully cut into smaller pieces with a sharp knife. Keep portioned bark in the fridge until you're read to enjoy!
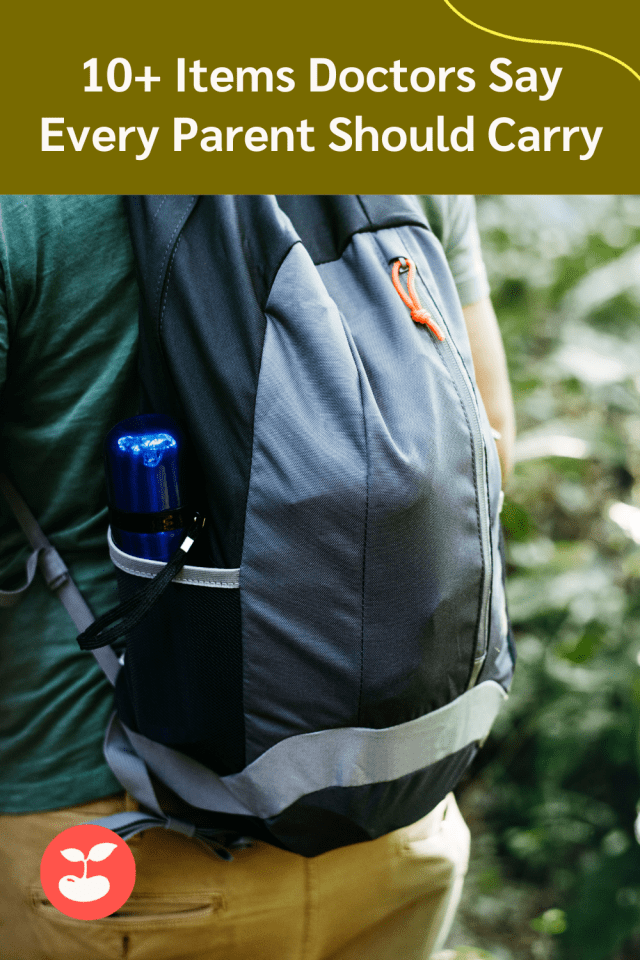
No matter how careful you are, parenting means it’s impossible to avoid the occasional worrisome scenario. While most parents tote a basic first aid kit, doctors recommend carrying these 12 items to treat wounds and stop bleeding if you find yourself too far from a medical professional, as well as preventative items such as sunscreen and hand sanitizer.
Hand Sanitizer
Zoey Naturals
Unless you're hiding under a rock, you can't go a day without hearing another Coronavirus aka Covid-19 update. You've also probably heard the best way to prevent the spread of any illness is frequen, thorough handwashing (for at least 20 seconds) and healthy dose of hand sanitizer. If you're concerned about the chemicals in some sanitizer, we recommend Zoey Naturals, which is baby-safe and paraben, sulfate and phthalate free, while still killing 99% of germs. Hello Bello also makes a hand-sanitizing spray (not recommend for babies but great for kids). We also like Clean & Well's disinfecting wipes for surfaces.
(Editor's note:, at the time of this writing all products were in stock).
It may seem like the only time to keep sunscreen within hands reach is during the summer, but it actually comes in handy in the case of an emergency, too. If you find yourself injured on a trail or even stranded on the side of the road from car issues, slathering on the protective cream will prevent an undue sunburn and one less thing to worry about.
While it may seem scary to have a survival knife in your back pocket, it definitely can come in handy. Cut gauze or bandages, fashion a walking stick in a pinch, or cut away brush. A knife is no laughing matter, but it can save your life in an emergency. Be sure to keep it far away from small hands and fingers. This one's for grown-ups only.
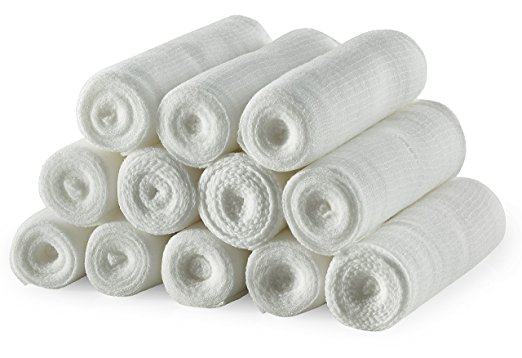
You never know when you'll incur a scratch, bite or cut while out hiking or camping, and that's why keeping a stash of gauze is a great idea. Use it to clean wounds, staunch bleeding or to cover from the elements. Gauze is a clean and breathable material you can't afford not to have when heading out for an adventure.
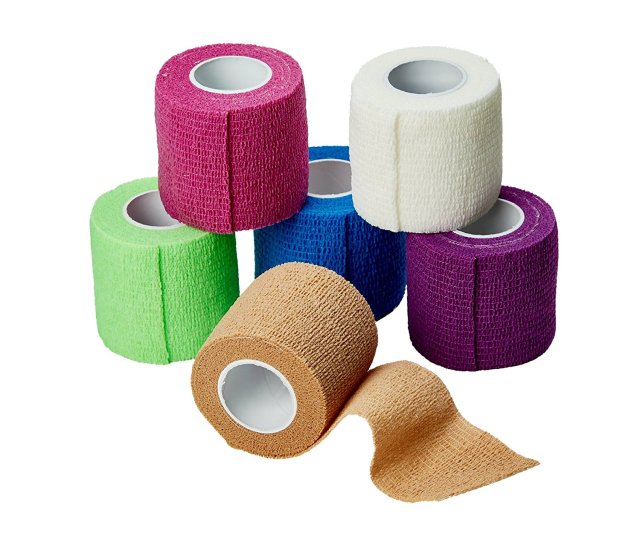
Apply pressure to wounds and keep them clean and bandaged with elastic wrap bandages. They are a small in size, but can take care of a multitude of injuries, from sprained ankles to keeping gauze in place. Take it one step further and purchase self-adhering bandages like these from Amazon and you can rest easy until you can find a doctor for treatment.
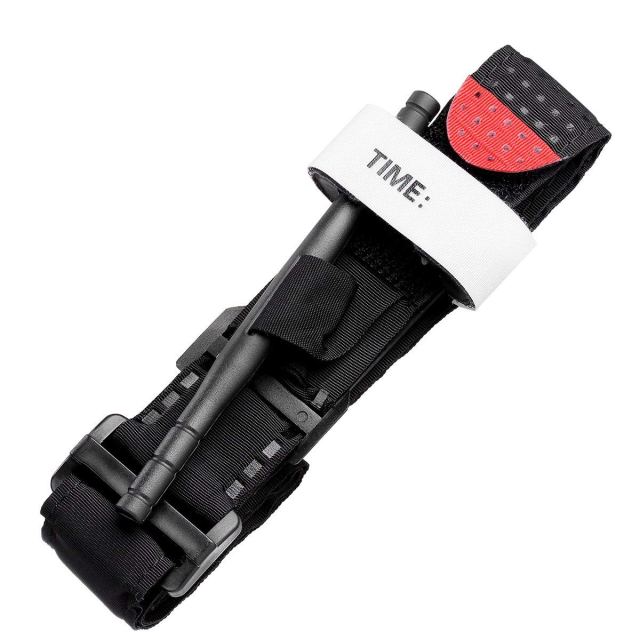
Serious injuries never happen when we expect them, but preparation can save lives. Keeping a tourniquet on hand can do just that––not only save a loved ones life from a serious bleeding injury but also give you piece of mind. You don't need to worry about tearing a strip of fabric or tying it tight enough––purchase a simple medical tourniquet and let it do all the work for you!
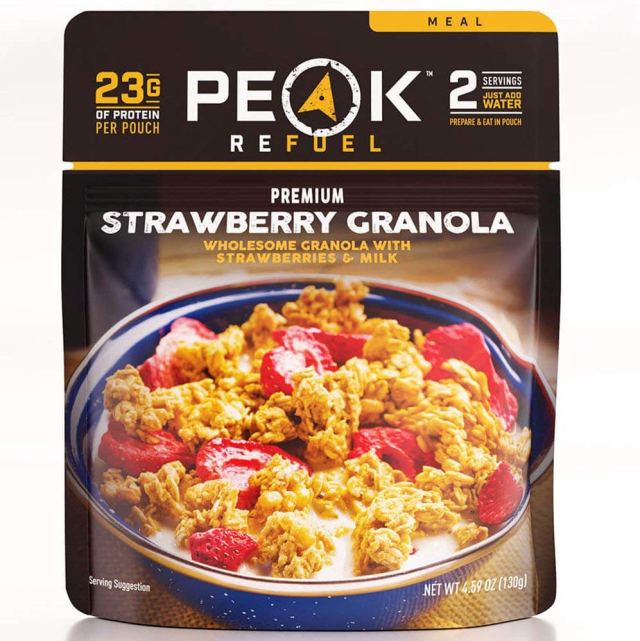
Getting separated from your tour group or being hindered by the elements can mean an unexpected longer time in the wilderness. Protect your family against hunger-related issues by packing simple protein food pouches that can be eaten on the run. They are quick to prepare and contain wholesome ingredients to keep you fueled and ready to press on towards home.
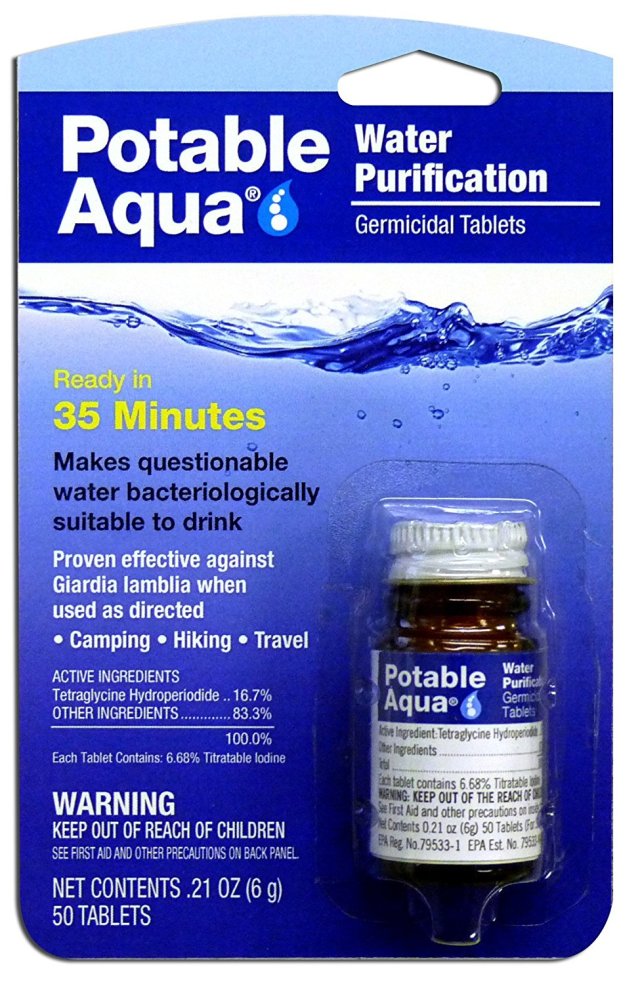
Finding drinkable water in the natural elements can be difficult, and that's why keeping a bottle of water purification tablets is a must. The iodine tablets purify contaminated water in 30 minutes, killing off bacteria. Staying hydrated while in the great outdoors and injured is key––this product is a no-brainer! Check out these leak-proof water bottles for you next excursion.
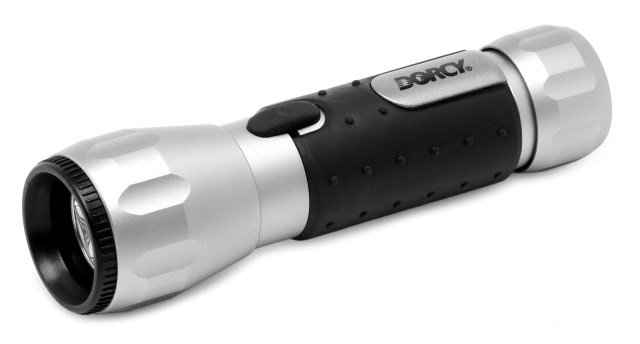
In case you end up staying out longer than expected, always keep a flashlight with fresh batteries on hand. Whether you're handling an injured family member or are just exhausted from a long day out with the kids and its getting dark, you can never go wrong with a flashlight in your day back or car trunk. (Also handy for playing flashlight games f you're bored).
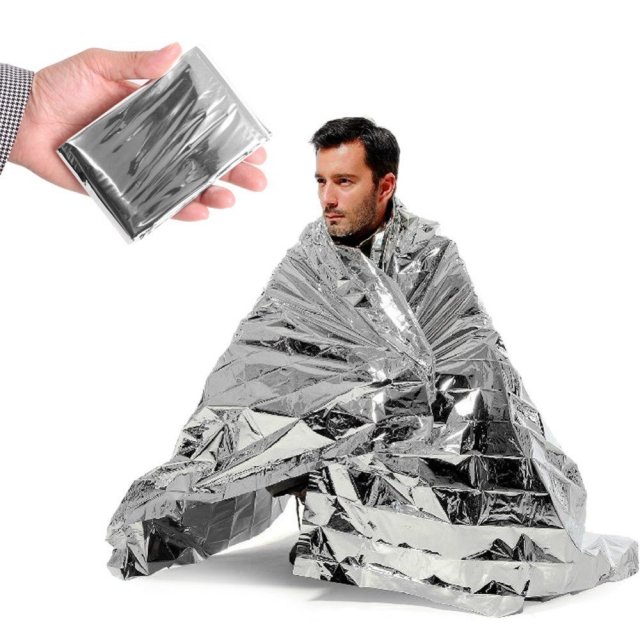
Keep loved ones who are injured and in shock warm when you keep foil blankets on hand. They are tiny––only the size of a credit card when folded up—and can be easily carried in purses, diaper bags or backpacks without any added weight. They are great for disaster kits and perfect for keeping in your car if you encounter a car accident or other scenario when someone needs a blanket to stay warm.
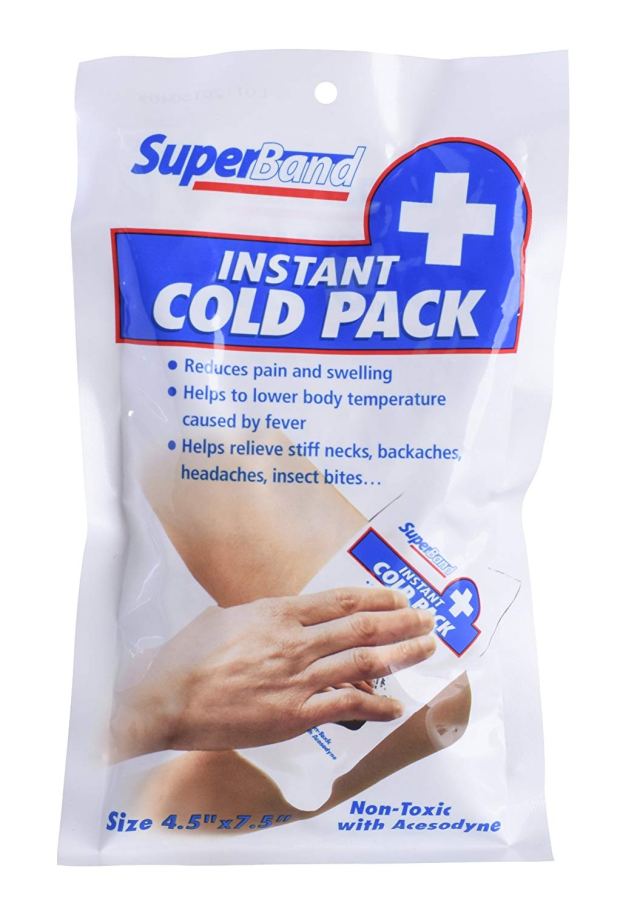
Lower fevers, relieve bug bites and treat swollen limbs with an instant cold pack. Carry in your backpack and snap to start the chemical reaction that makes these ice packs cold. No need to freeze in advance, and no melting bags of ice!
The year’s almost over—what was your favorite part? Have your kids ask themselves that question and others with this easy DIY time capsule. Of course, while building a time capsule makes a fun New Year’s Eve craft project, it can be done any time of year. Give your kids the gift of nostalgia! Read on for the simple instructions.
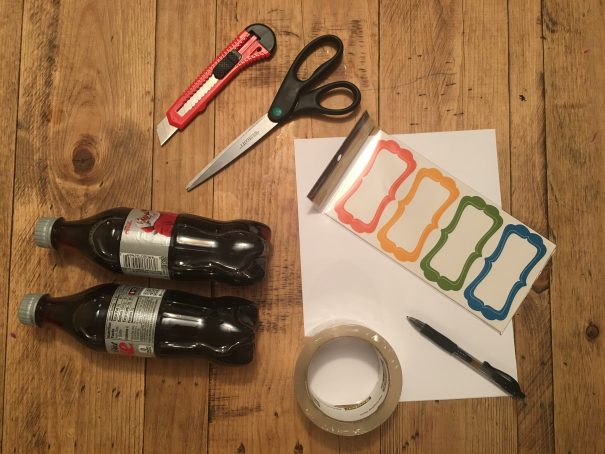
What you’ll need:
Two 16 oz plastic soda bottles
Box cutter or craft knife (XActo knife)
Scissors
Labels
Clear packing tape
Paper, pens, paint, ticket stubs, knickknacks, etc. to help fill your time capsule with memories
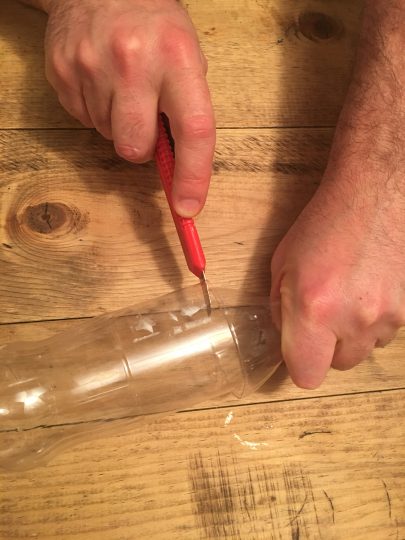
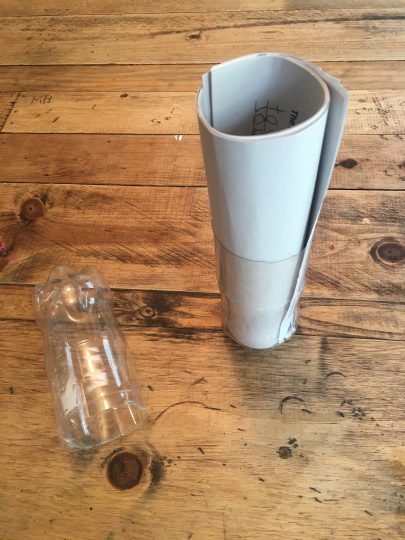
Step One: Cut your “capsule”
Remove the labels from two clear plastic soda bottles. Then, using a box cutter or X-ACTO knife, (parents!) cut the bottles where the flat side meets the sloped top as shown.
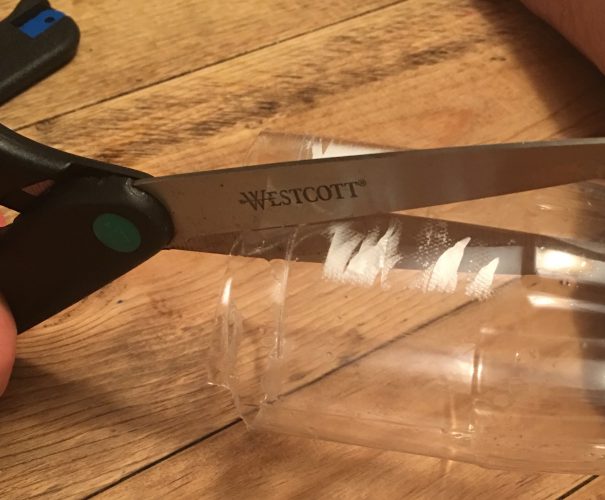
Step Two: Cut notches in one of the bottles
Use scissors to cut four notches in the rim of ONE of the bottles. This will make it easier to squeeze one bottle into into the other to make the capsule shape.
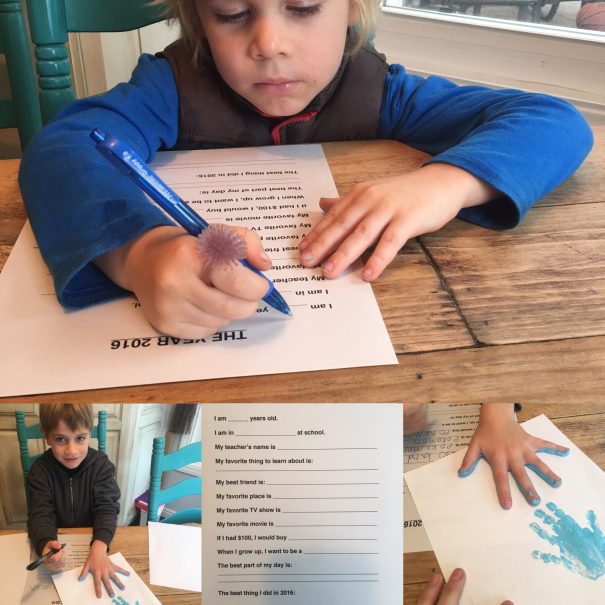
Step Three: Now, freeze time!
Now that the capsule is prepped, it’s time to find ways to fill it. Talk to your kids about their favorite moments from the year — then see if you can find small items or photos to represent those moments. Some recommendations: Have your little memory-makers put their handprints on paper; it’s a fun way for them to see how they (and their hands) grow from year to year. Also: A simple questionnaire is a must for recording your kids’ current faves. Not sure what questions to ask? Try this easy printable from Uncommon Designs Online.
You could also have your kids write a letter to their future selves, give advice to their future selves, or make a hypothesis as to what their future selves will be doing in exactly one year (or whenever you’ve decided to open your time capsule). Have fun with it!
.
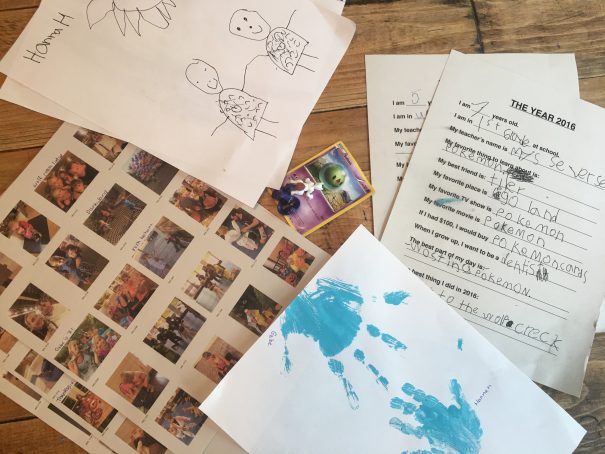
Step Four: Gather all your materials
Make sure you’ll have enough space to fit all your year-end goodies into your capsule. Our capsule included: Handprints of all three kids; a 2016 questionnaire; four pages of thumbnail-sized photos of our year; some Pokemon cards and figures; and two self portraits.
Step Five: Pack it up!
Roll up your papers and photos and slide it into one end of the capsule. Insert any small items in the middle. Then, close the capsule by sliding the two bottles together (the notched side should squeeze right into the other side). Seal your capsule with clear packing tape.
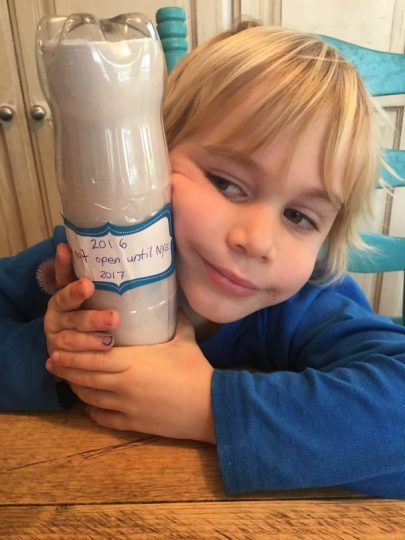
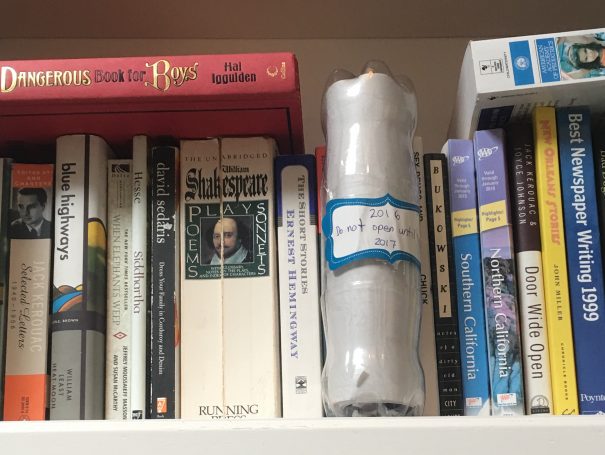
Step Six: Label and decorate
Label your time capsule with the year and the appropriate instructions as to when the capsule can be opened.
Step Seven: Hide (or bury) it somewhere until next year
Want to bury your time capsule? Go for it! As long as your capsule is completely sealed, it should last underground for a year or two without a problem. Not up for digging, or don’t have the proper yard for burying? Place your time capsule high on a shelf or drawer, out of reach of prying hands. Open it next year… in five years… whenever you’re ready for some instant nostalgia.
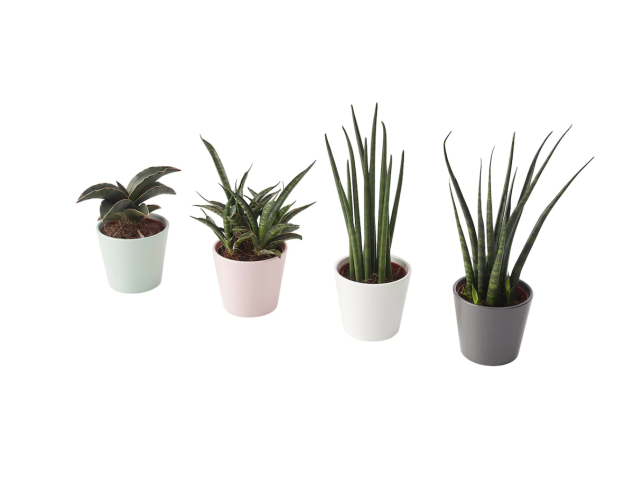
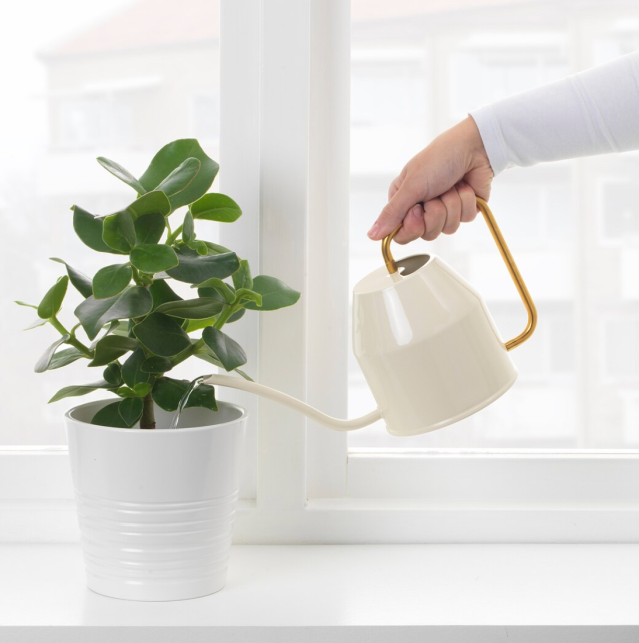
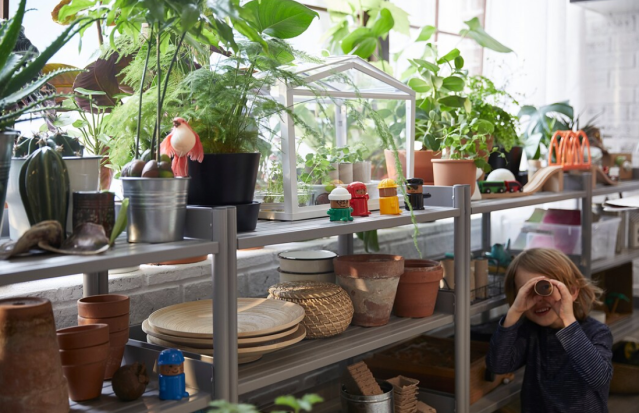
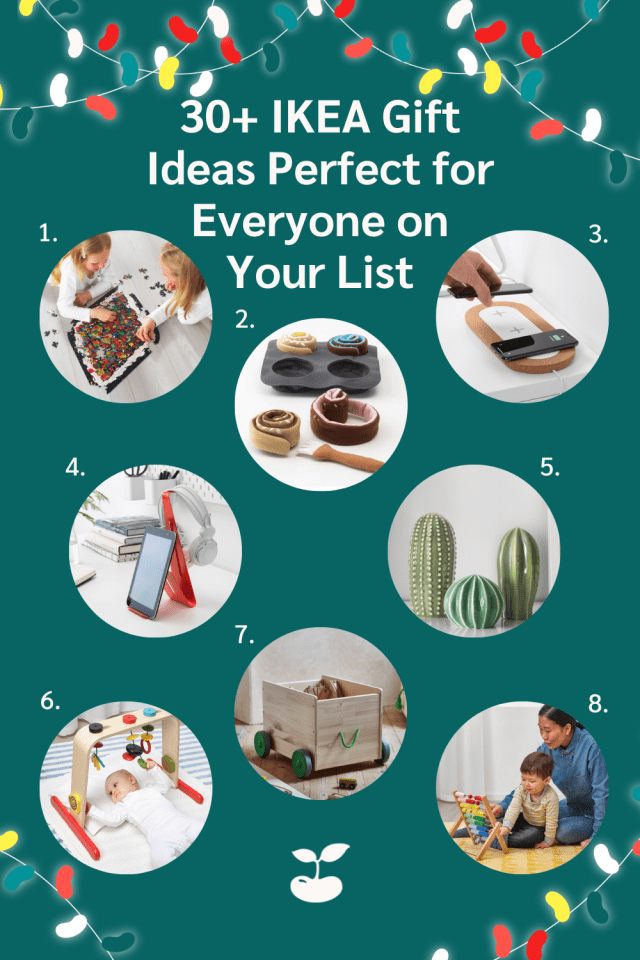
When it comes holiday gifts, IKEA is a one-stop-shop, and really, who doesn’t need that in their life during the holidays? From toys and IKEA furniture to interior design decor, there’s a unique gift idea for everyone in your life. We’ve curated our top picks for Christmas gift ideas, you’ll find treasures for kids, foodies, plant lovers and more. Keep reading to see the list—Santa would approve.
For Kids
JÄTTELIK Soft Dinosaur Toys
Whether your kiddo wants a triceratops, or is more of a brontosaurus kind of kid, this new line of dinosaur toys will be their new old best friend in no time.
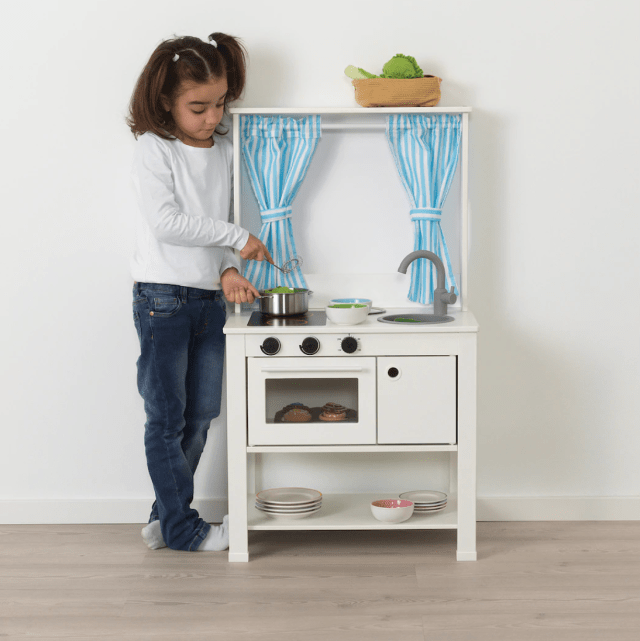
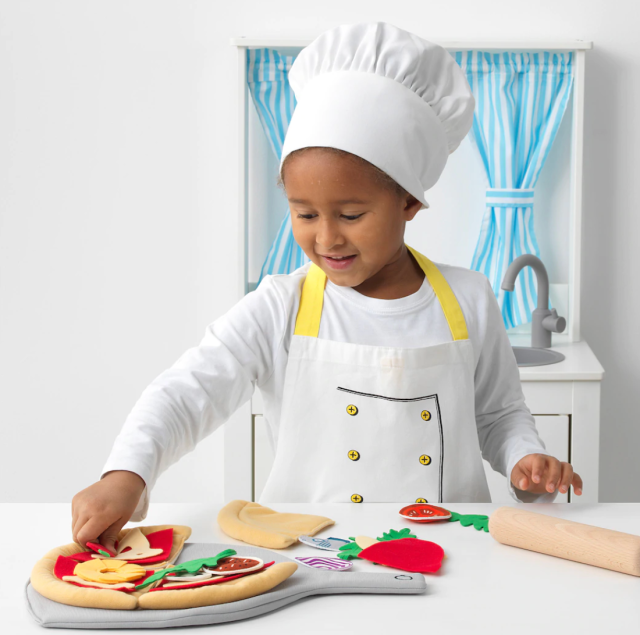
A love of food begins at an early age, especially if someone else in the family likes to cook. Get your little one set up with a kitchen space of his very own. This set comes with curtains, so from puppet shows to playing restaurant, the possibilities for pretend play are endless. We also love the chalkboard for writing down the daily specials!
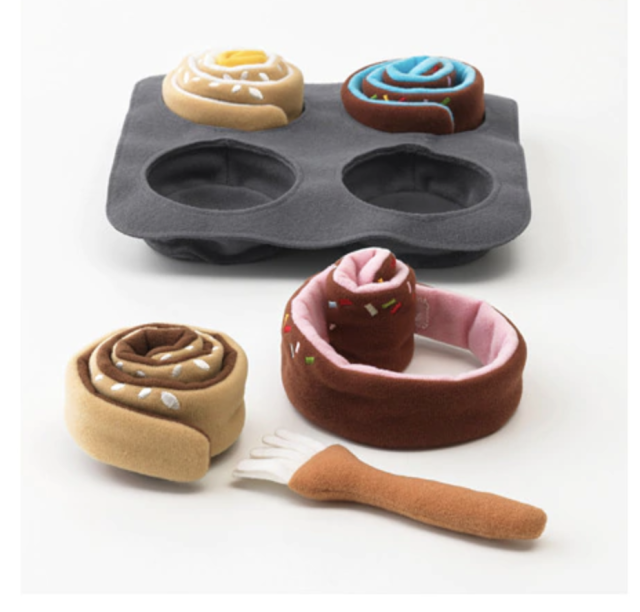
And speaking of pretend play, these perfect little felt cinnamon rolls will hit the spot, especially when served hot out of the SPISIG play kitchen's oven!
Complement his new kitchen with a soft pizza set. Kids can add toppings, toss and "eat" to their heart's desire. It comes with 24 pieces, including sauce, cheese, arugula, pepperoni and more.
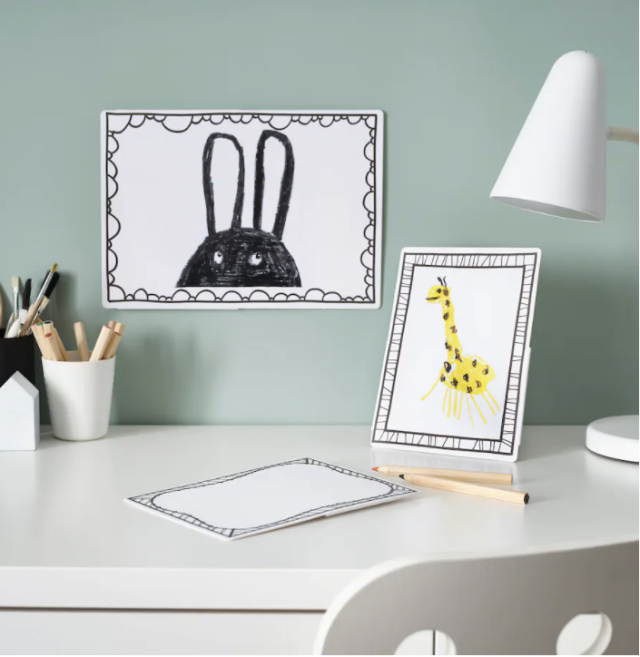
Go next-level with that refrigerator art and make it wall-worthy with framed drawing boards. Buy them here, $2.
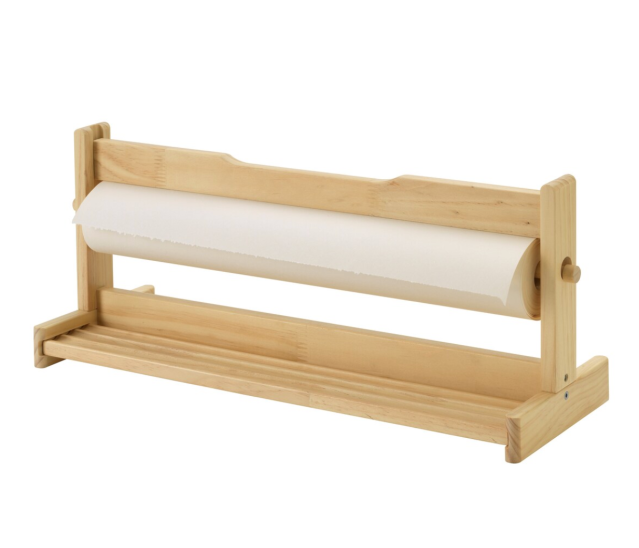
Paper Roll Holder
For artists of any age, having paper at the ready is a must. We like this paper roll holder for its simple design and that kids as young as three can easily use it.
Refresh that supply of dried-out pens with this set of 24. Buy it here, $3.
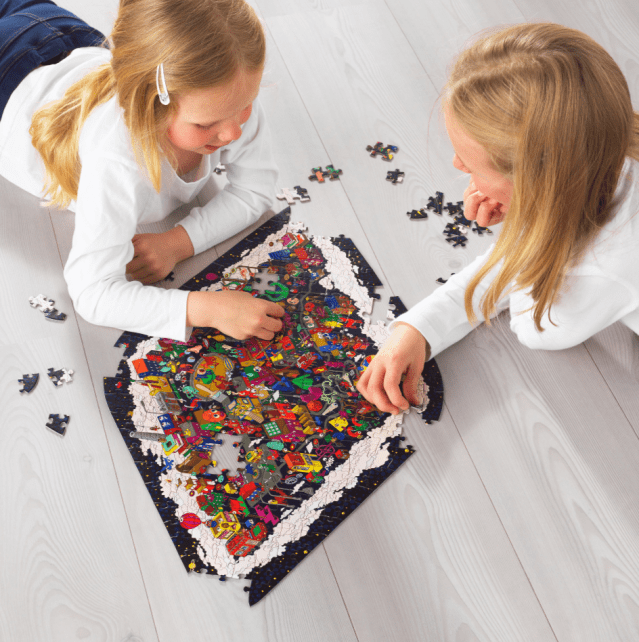
Wacky Puzzle
A puzzle is a puzzle, but this one will throw you for a loop. Not only are the details teeny tiny, but the puzzle pieces come in different sizes. How's that for family night? Best for ages six and up, it comes with 23 large, 88 medium and 100 small pieces.
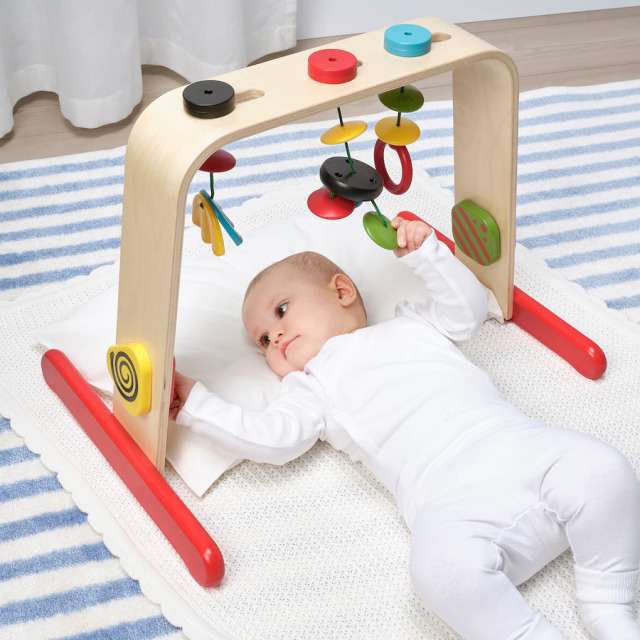
This brightly colored abacus will help your toddler learn her numbers and colors, plus it helps to develop fine motor skills. Recommended for kids ages 3 and up, it's a great looking toy that'll stand the test of time.
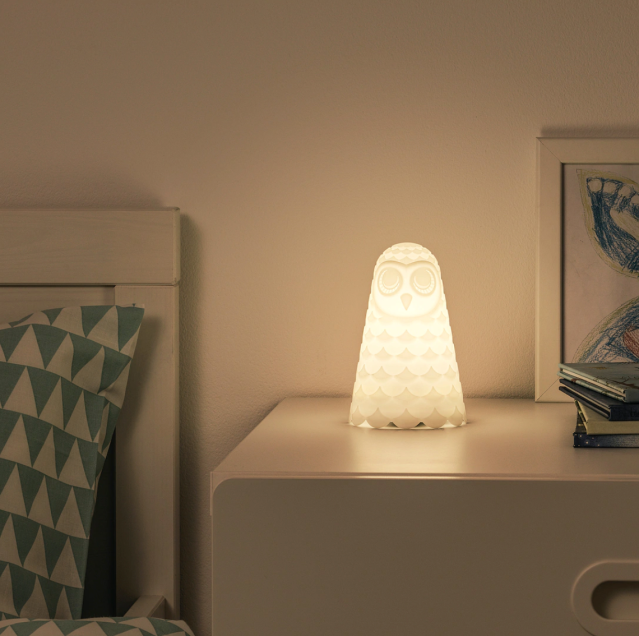
Another way to help your kids find their way to dreamland is to set up a soothing night light. This adorable owl light is six inches tall, has an LED light, and can be used as room decor during daylight hours.
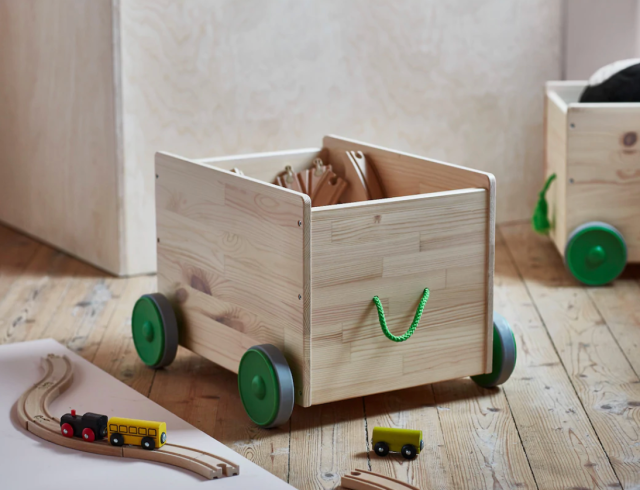
Get your kids involved in the clean up early in the game by making it fun. Not only is this storage bin equipped with wheels for easy moving, but its charming style will also feel like a toy in itself.
Do you need a party activity/favor? Are your kids in need of props for the play they're writing? IKEA can help you with that. These paintable masks come in human and dog form are waiting for your kids' creative minds.
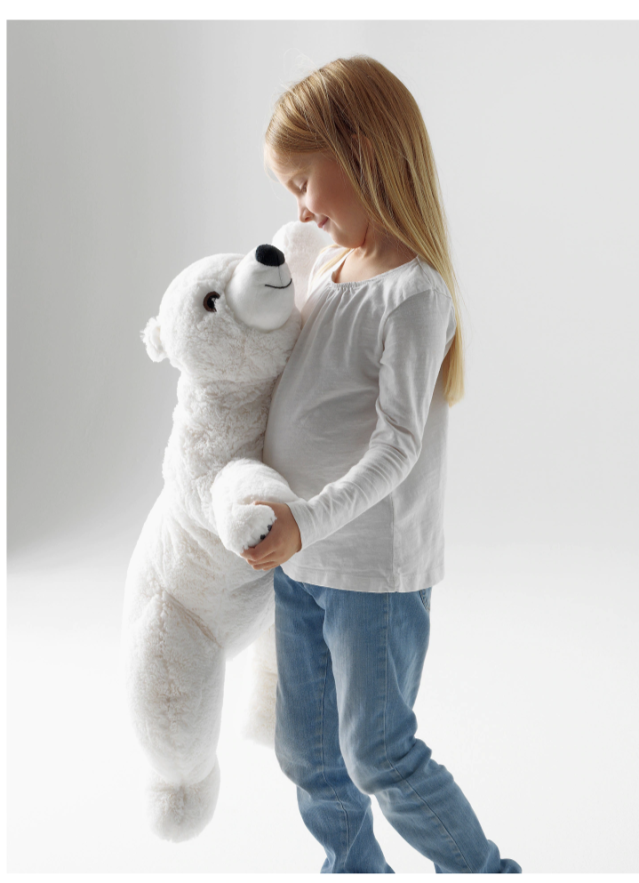
IKEA seems to manage to produce some of the snuggliest creatures around—from woodland foxes to petite pigs, and now they've introduced a polar bear into the mix.
Back-to-school desks just got brighter! Illuminate their study space or maybe just use it as a night light; either way, this pencil-like lamp will look sharp.
Finally, it’s okay for your kids to throw stuff at each other. This tag-like game is designed for two players and comes with two velcro vests and felt balls that kids can belt at one another. This could be the solution to all those sibling squabbles, amirite? Recommended for kids ages 6 and up.
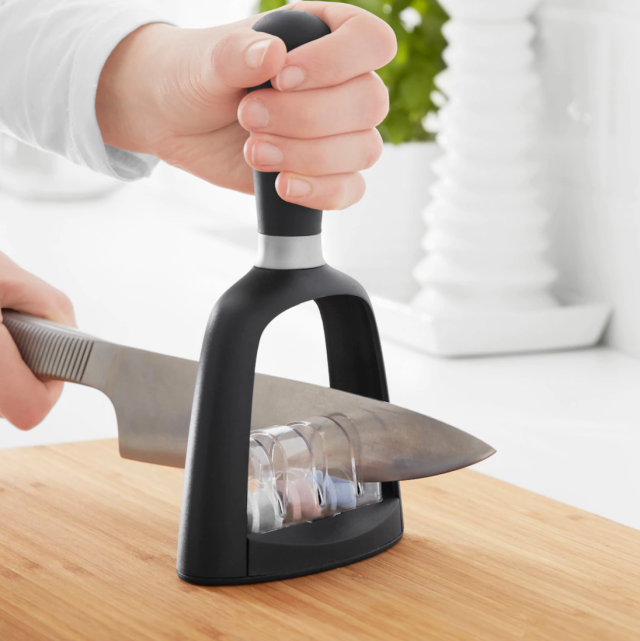
For the adult foodie at home, a knife sharpener is key. Although this might seem like a ho-hum gift, real cooks know that a sharp knife is a must. There are three slots for fine, medium or coarse sharpening.
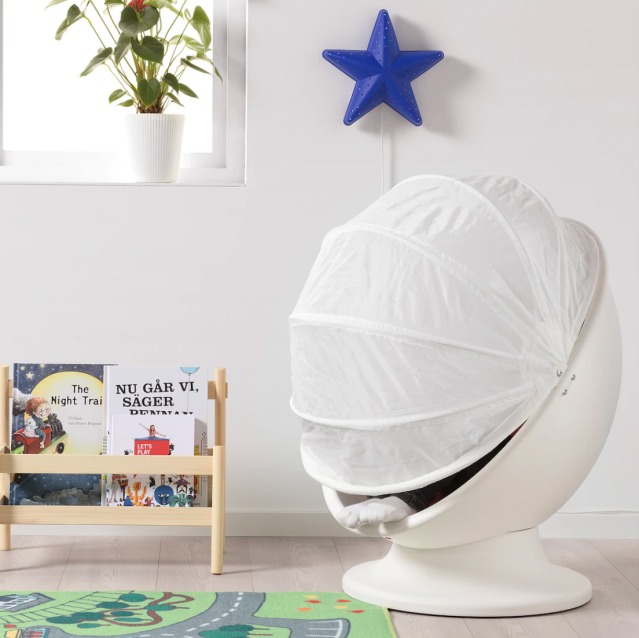
A gift for kids and design-savvy parents alike, this dome-shaped swivel chair gives kids a quiet place to chill and gives parents the gift of kids' furniture that doesn't look like kids' furniture.
Say goodbye to ugly plastic watering cans and say hello to this chic one instead. We love the fact that it's made of galvanized metal to prevent rusting and that you can leave it out after your chores are done!
For more desktop organization, try this bold headset and tablet holder. It easily transports gadgets from one spot in the room to another. Recommended for kids ages 6 years and older.
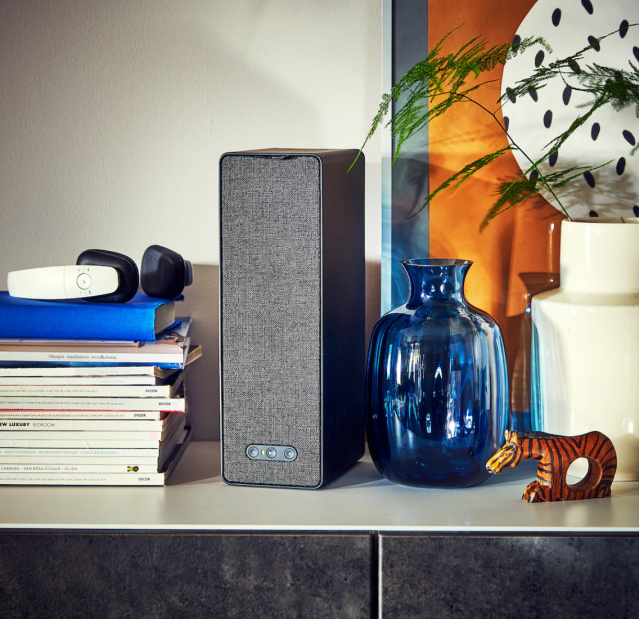
This slim speaker offers a rich sound without taking up a lot of space. Stream music via WiFi capabilities, and what's even cooler, you can control each speaker individually, so you can stream music in one room while the kids listen to an audiobook in another.
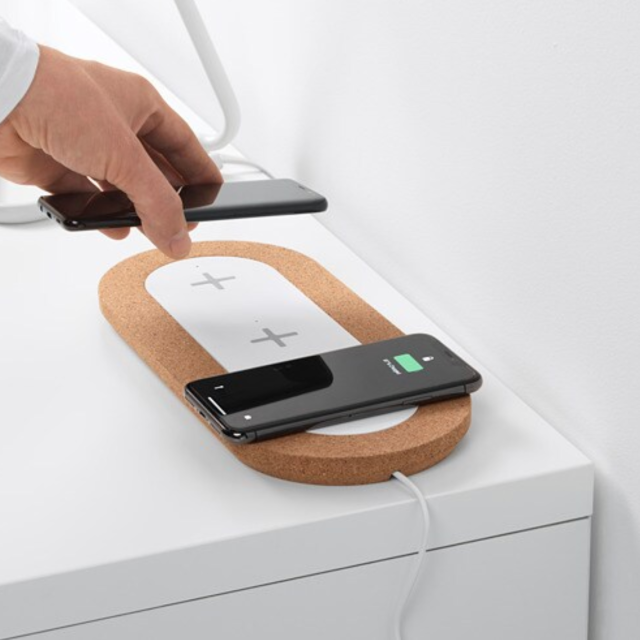
Your smart device command center will be chic when you upgrade to this triple charger station. Designed with cork and white trim, it's a minimalist look that means no more tangled cords. Works with Apple® iPhone 8 and Samsung® Galaxy S6 or newer models.
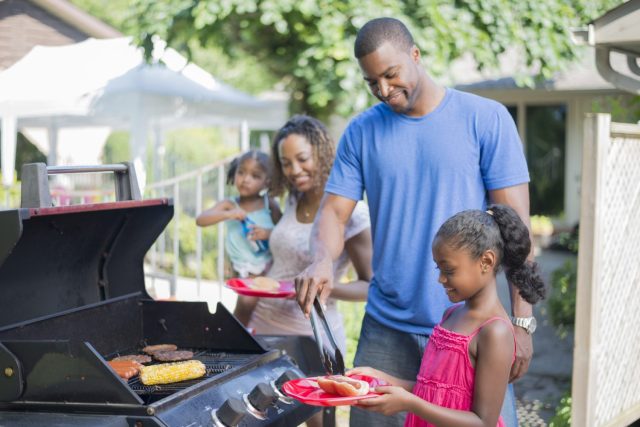
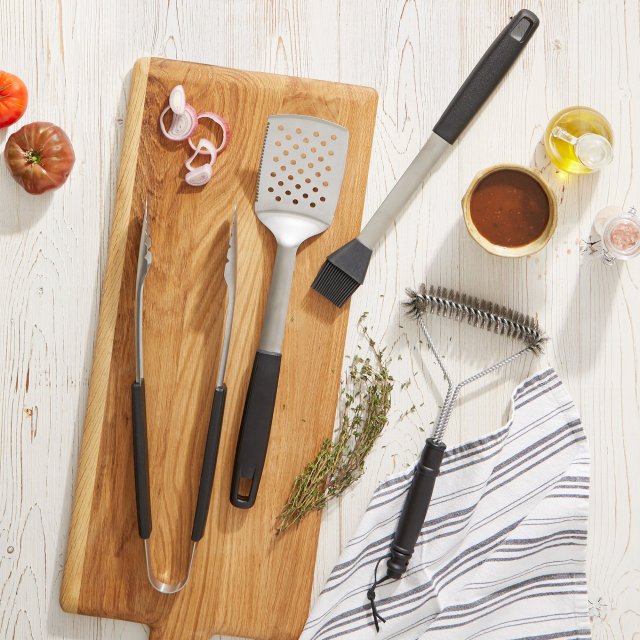
With summer weather in full effect, now is the perfect time to get your grilling gear in order! Whether you prefer the purity of a charcoal grill or you go for a trendy Traeger, these grilling accessories have you covered from prep to serving. Bonus: they make great gifts as well!
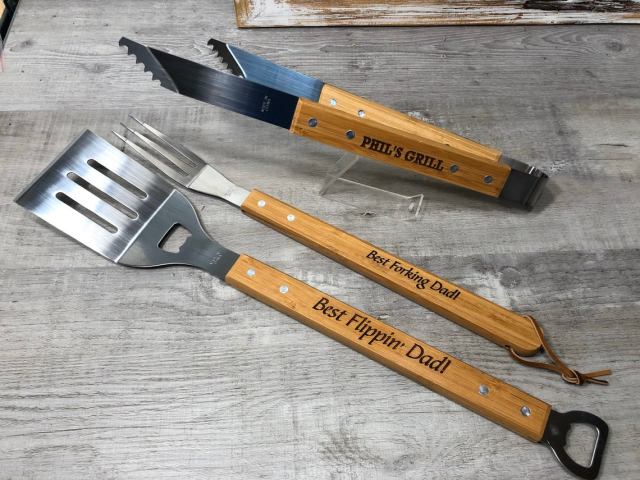
Grilling Essential Bundle from Brandless
If you're not familiar with Brandless, let us tell you that you are going to love everything about this company that values quality and affordability. Get your grilling started with their essentials kit that includes grill tongs, spatula, grill brush, spice jars and more. It makes a great gift for the griller in your life.
These new spices from over-the-fire cooking expert Derek Wolf will definitely bump up your grilling game to a whole other level. $13.95 each.
Bourbon Prime is a rich, smoky and spicy bourbon-infused blend that redefines traditional prime rib rubs with innovative flavor notes of mushroom, butter, Worcestershire and even seaweed.
Lemon Chili Rye is a smoky, slightly bitter and rye-infused blend that finishes with an approachable heat and perfectly balanced acidity.
Smoked Chipotle Mezcal brings a peppery citrus aroma that emulates the experience of sipping mezcal with a citrus back.
Sweet Teriyaki Sake - With notes of sweet, spicy and fermentation from the soy, this sake-infused blend brings a delicious sweet heat to practically any protein.
Melinda's All-Natural Pepper Sauce
Add this one to the list, for sure! Made with real peppers and all-natural vegetable and fruit bases sourced from Colombia, Melinda’s products are non-GMO, gluten-free, Kosher Certified and Keto-friendly. The griller in your life will love adding them to meats on the grill and sides in the oven. The black truffle hot sauce is our favorite on fries and the mango pepper sauce goes great with a breakfast burrito.
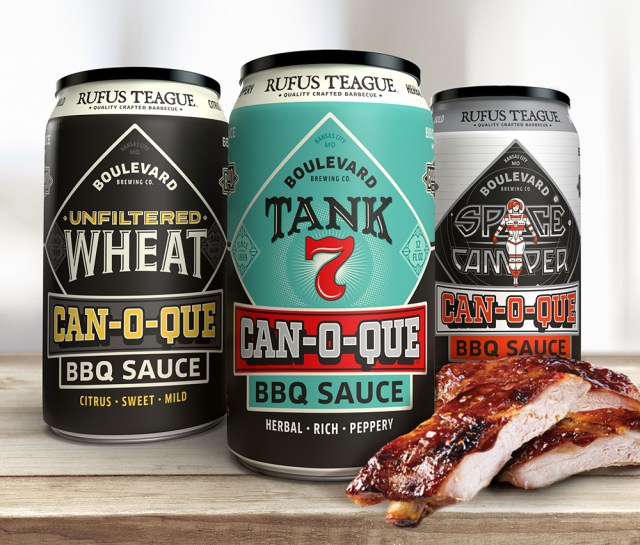
BBQ Sauce in a Can (Made with Beer!) from Rufus Teague
Rufus Teague, a leading independent maker of craft BBQ sauces and rubs is once again partnering with Boulevard Brewing Company to expand on their beloved Can-O-Que barbecue sauce. The unique Can-O-Que barbecue sauce is made with Boulevard beer and packaged in an actual beer can.
You'll love getting this grilling box shipped right to your door as it is the perfect option for weekend grilling, or to take with you on your next camping trip. You provide the buns, Porter Road provides the pasture-raised sausage (bratwurst and hot dogs) and Cleveland Kitchen provides the Classic Caraway Kraut and Roasted Garlic Kraut. It's pretty much a match made in grilling heaven.
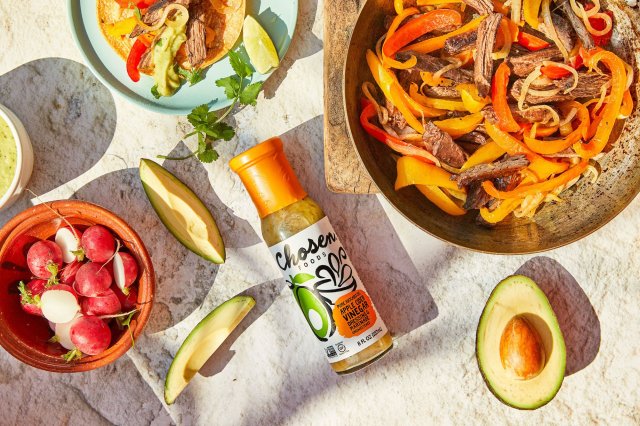
When you need the perfect oil for grilling, check out Chosen Foods avocado oil. It's high smoke point makes it ideal for grilling and the mild flavor works well for salads and marinades as well. Their lemon garlic dressing is our favorite for summer salads and the avocado oil mayo is the burger fave.
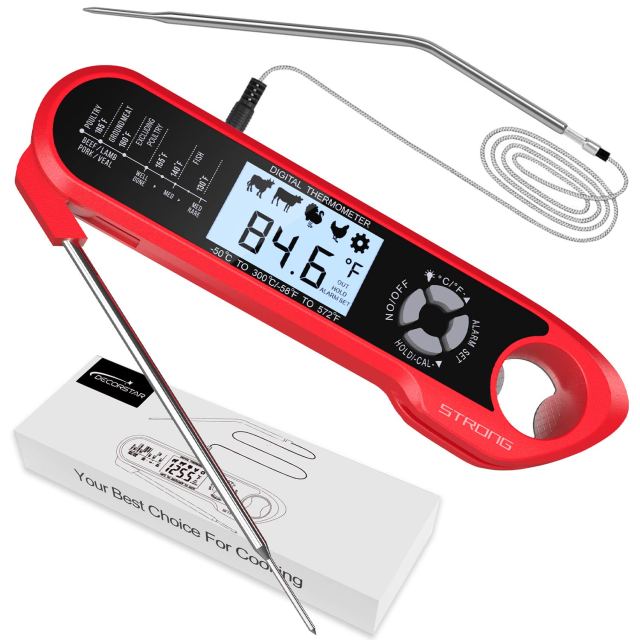
Save yourself the guesswork of knowing when your meat is ready and snag a digital thermometer. This one is instant read so you won't let all the heat out waiting for your temp.
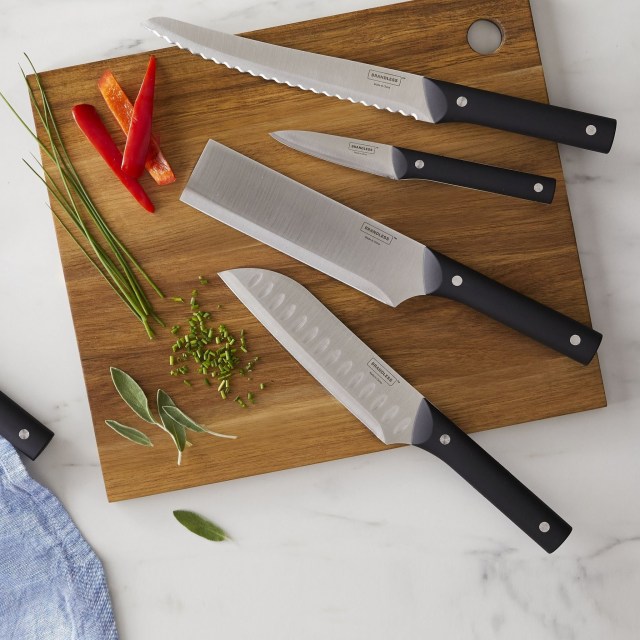
This ultra-affordable knife set has everything you need to thinly slice that flank steak, chop those onions and debone a salmon. Your griller will love the knife blade covers for bringing them along when camping or grilling on the go.
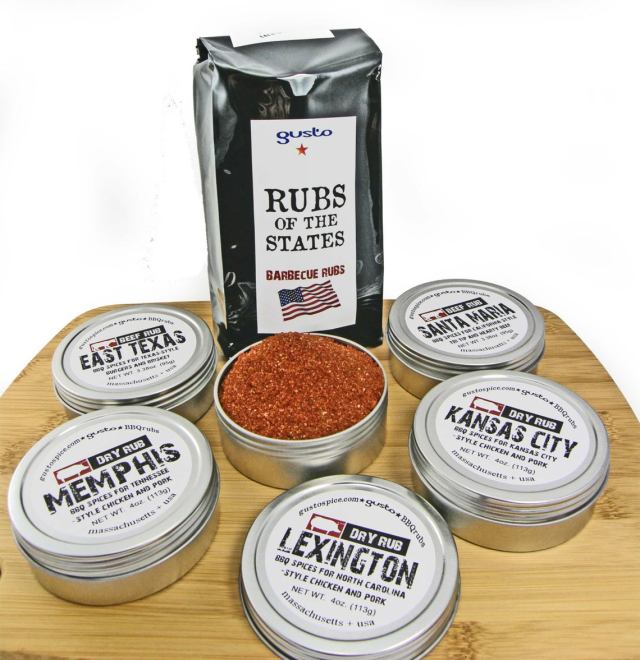
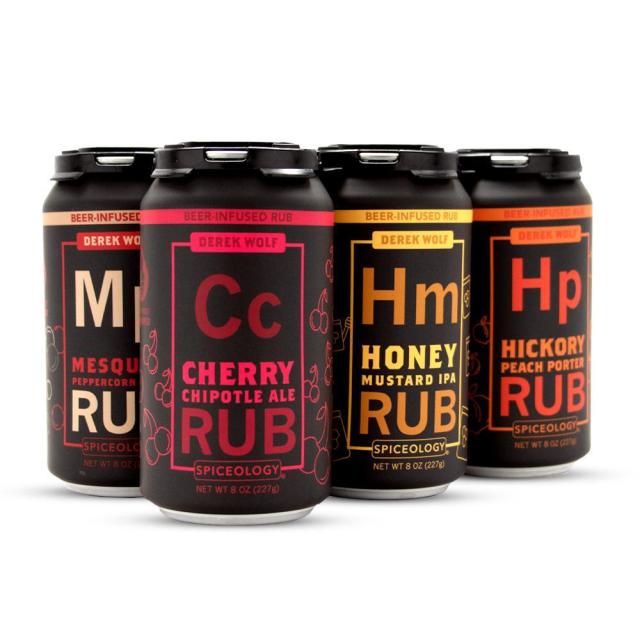
How fun is this sampler that gives you a six pack of beer-infused rubs that are perfect for your next grilling soiree? Resealable lids are included. The Jalapeno Pilsner Lime Rub gives you a fruity, crisp and slightly hoppy kick while the Hickory Peach Porter Rub has chocolate, caramel and toffee tones.
If steak is your thing, this spice set it the ultimate as it comes with everything you need for a steak taste test. Try the top seller Black & Bleu Rub that is a perfect blend of Cajun blackening spices mixed with creamy bleu cheese for the spicy cheesy flavor of your dreams. We also loved the Cowboy Crust Espresso Chile Rub that give you Thomas Hammer Fireball Espresso mixed with chili powder, cumin, brown sugar, and a touch of cayenne.