Sit back and relax with this amazingly simple recipe (it might be the easiest we’ve ever seen!), and add some kid-friendly flavor to your evening
We can’t think of much that our kids like better than chicken teriyaki! For the perfect family feast, try this Crock Pot Chicken Teriyaki recipe from Kylee at Our Little Acre. If you’re looking for other amazing dinner ideas, check out our list of crock pot dinner recipes.
Crock Pot Chicken Teriyaki Ingredients:
1 lb. chicken, cubed
1 cup chicken broth (optional; Kylee recommends skipping it)
1/2 cup teriyaki sauce
1/3 cup brown sugar
3 garlic cloves, minced
Preparation Method:
1. Combine chicken broth, teriyaki sauce, brown sugar, and garlic cloves in a large bowl.
2. Add chicken to the sauce, and mix.
3. Pour chicken mixture into crock-pot.
4. Cook on low for 4-6 hours, or until chicken is cooked through.
5. Serve over hot cooked rice and spoon on extra sauce if desired.
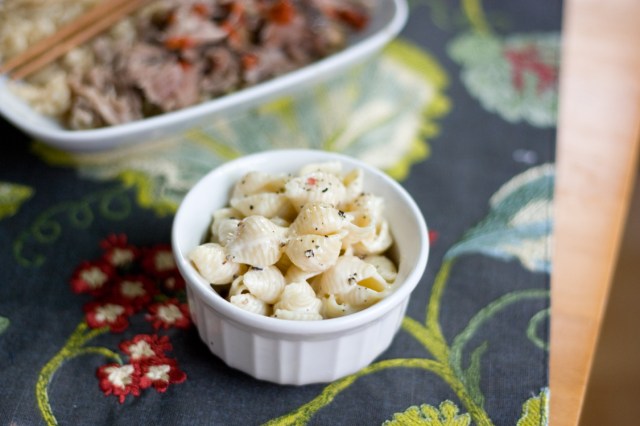
Great for family barbecues (or picky pasta eaters) this quick pasta dish takes minutes to throw together and only requires four ingredients—all of which we’re willing to bet you have in your pantry. Rebekah of PDXfoodlove is a big fan of the simple combination of high-quality mayonnaise and freshly ground black pepper. This rich combination really makes the recipe pop. Originally created as a side dish, this Hawaiian Pasta Salad is a must-have recipe for summer. This recipe yields two small servings. You might want to double or triple it if you’re feeding some especially hungry kiddos.
Ingredients for Hawaiian Pasta Salad:
1 c (dry) small pasta, such as shells or elbow macaroni
3 tbsp excellent quality mayonnaise
1 tbsp milk
Lots of freshly ground black pepper
Method:
1. Cook the pasta according to the package directions, and allow it to cool down a bit so as not to curdle your milk. In the meantime, mix the mayo and milk together with a fork to create a mixture a little thicker than say, ranch dressing. You can add milk or mayo to your preference.
2. Stir the two together, and then season with a very very large amount of freshly ground black pepper.
recipe and photo courtesy of Rebekah at PDX Food Love
Few people can say they boast a passion for food like Rebekah at PDXfoodlove. Whether it’s reading about food, thinking about food, or reading about food, Rebekah can never satiate her hunger for all things food. A graphic designer and outdoor enthusiast by day, once in the kitchen, Rebekah dons her apron and whips up seasonal dishes that boast some serious homey comfort. Check out her food blog, PDXfoodlove, for more of her recipes (and her awesome photography!).
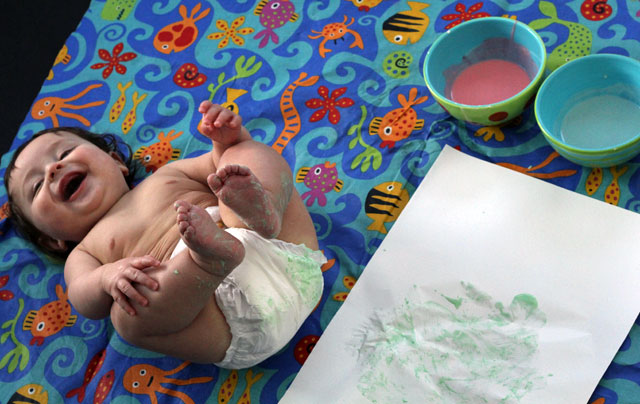
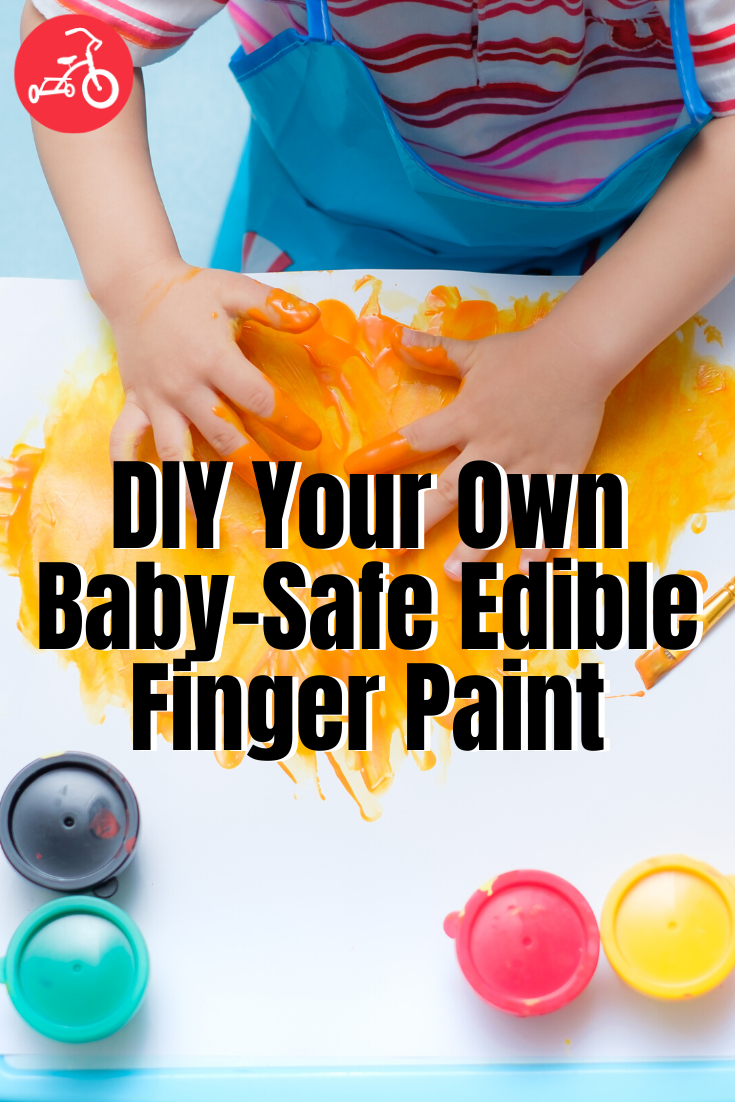
We love finger painting ideas for kids like this one that’s non-toxic and safe for babies
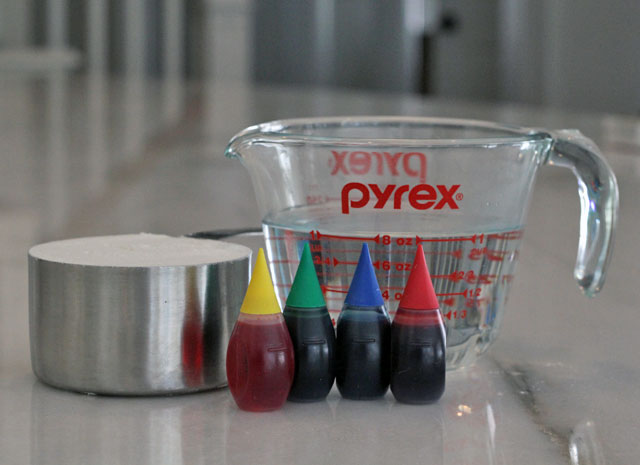
Make your own non-toxic paint and you’ll be less worried about your kids putting it in their mouth. This easy recipe comes together with three ingredients you probably already have at home. Follow these simple step-by-step instructions for making edible finger paint for babies and older kids, and you’ll be making art in no time.
stock
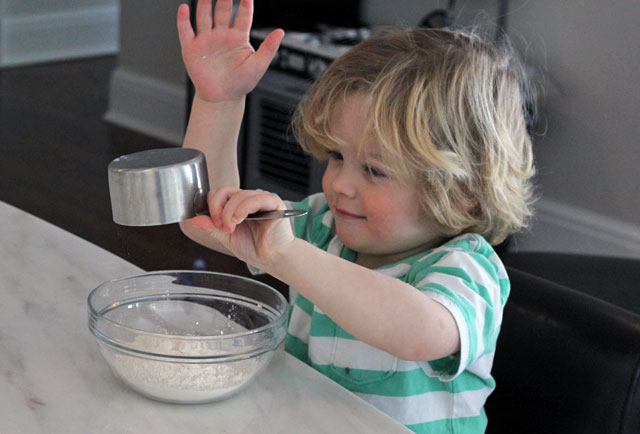
Warning: While this recipe isn't made with toxic ingredients, it does contain raw flour, which the U.S. Food & Drug Administration warns against eating. Keep a watchful eye on your child and a wet washcloth handy to clean off hands as you paint.
Use warm water to help the mixture come together more easily. We used a whisk to get all of the lumps out. If you have older kids, this is a good step for them to help with.
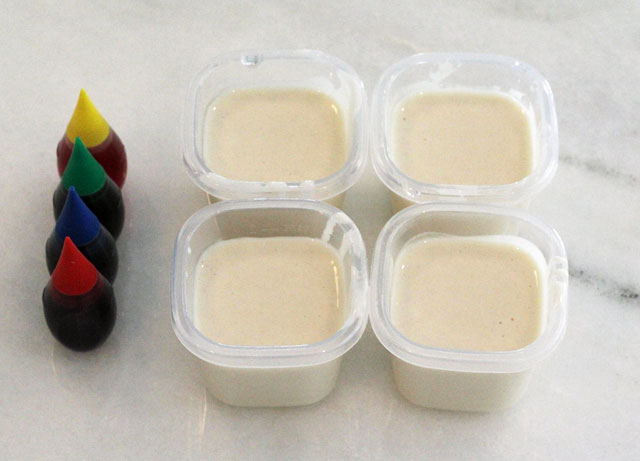
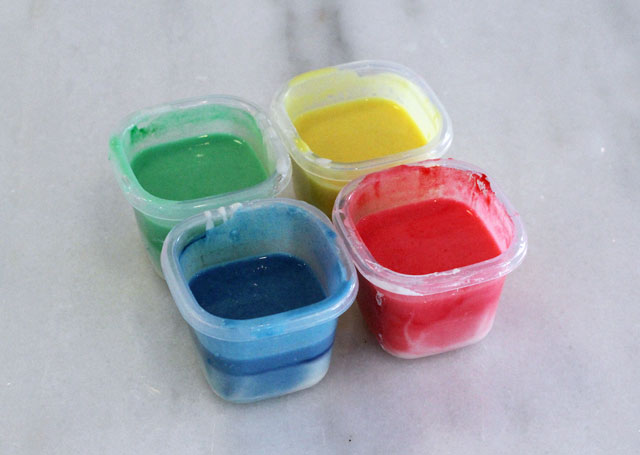
Pour the mixture into four bowls, cups or containers of your choice.
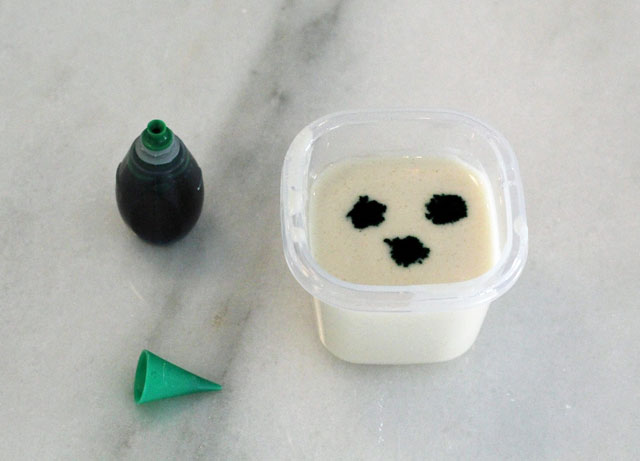
3. Add food coloring to each container.
We stuck with the basics, making our paints red, blue, green and yellow. That way we could talk about color mixing as we played, showing how red + yellow = orange and blue + red = purple.
Pro tip: We used only three drops of food coloring for each small bowl and still ended up with bright colors. If you go overboard with the food coloring, you may end up staining your fingers. But we promise it will wash off eventually!
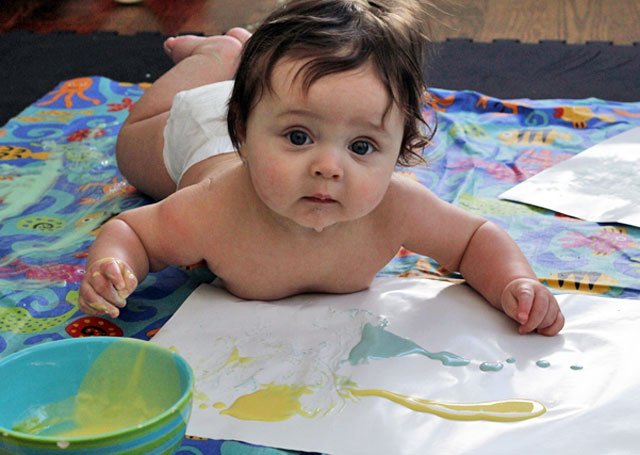
Our little tester isn't sitting up on his own yet, so we made this a tummy-time activity. You can use any type of paper, but we like finger-painting paper (like this one from Melissa & Doug). It's glossy and non-absorbent, which helps the paint spread easily across it.
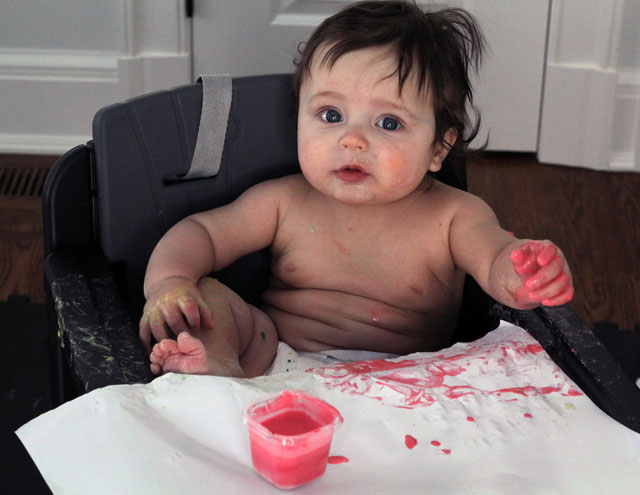
Pro tip: Let your baby paint in the high chair (as long as it's easy to clean), lay down a waterproof splat mat, or make this an outdoor activity to keep mess and cleanup to a minimum.
Post-painting clean-up: Set out your artwork to dry, and be prepared to give your baby a bath after your art session. The flour-water mixture should wash out of clothes and off of floors, splat mats, etc., but it's easiest to clean up with warm water right away. Happy finger painting!
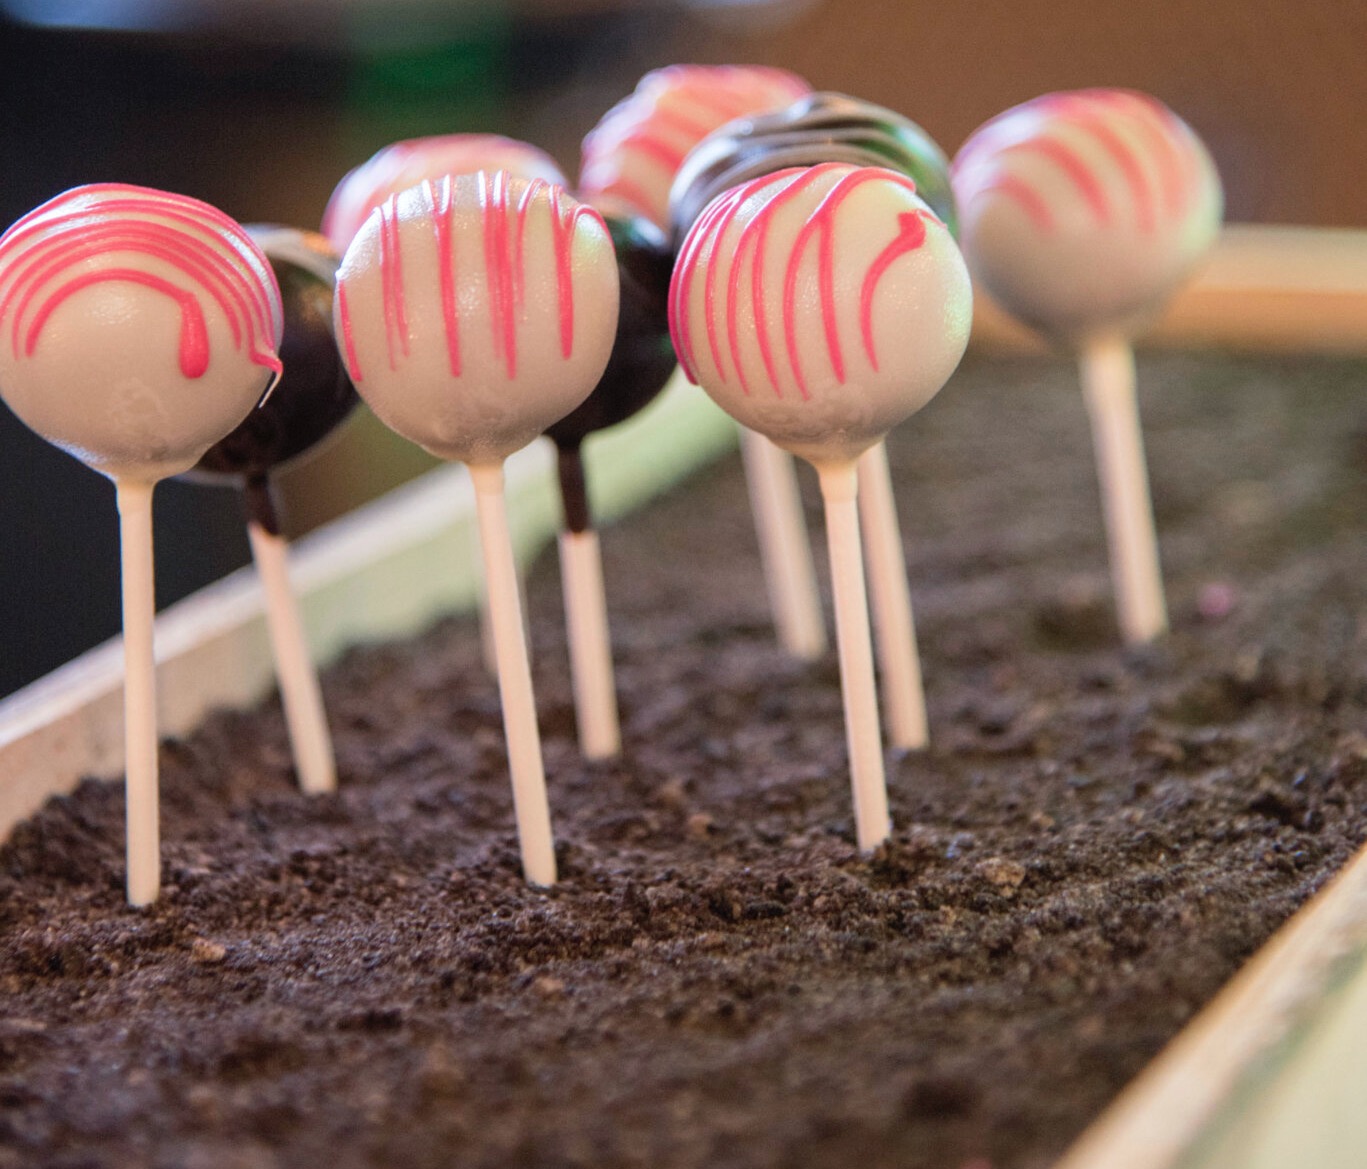
Did you know the first-ever brownie recipe came from right here in Chicago? Yep, it did! This iconic dessert was created at the Palmer House in Chicago. In celebration of Palmer House’s 150th, we’re sharing the recipe so you can celebrate this milestone at home. As a bonus, we’re throwing in Hilton Chicago’s guest-favorite Signature Carrot Cake Pop recipe. Read on for the recipes and a little Chicago brownie history lesson to share with the kids.
photo: Palmer House Hilton
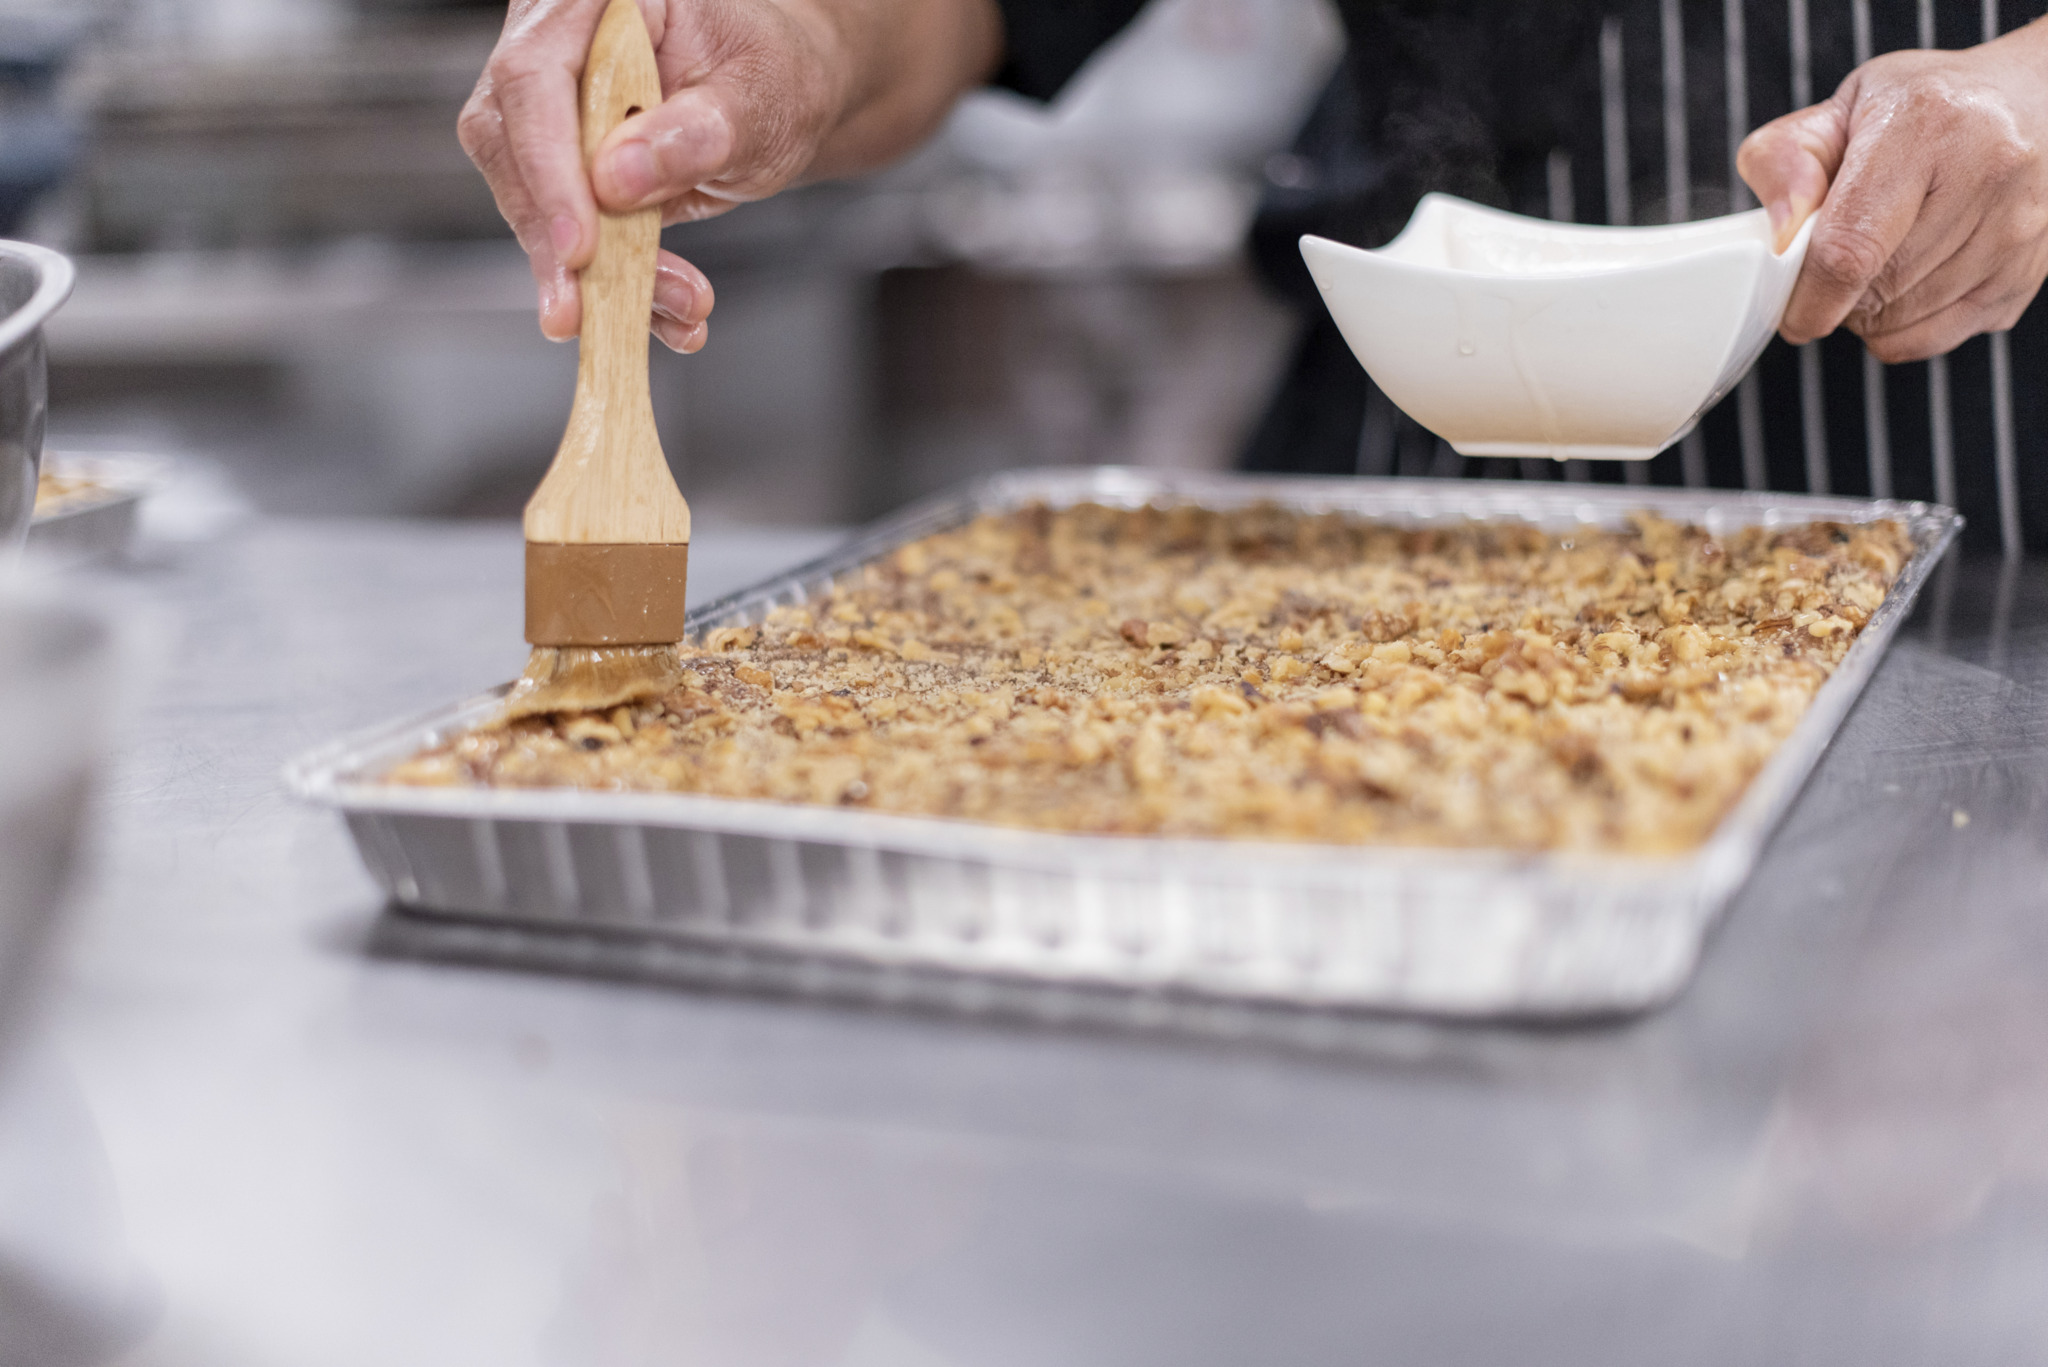
Palmer House Hilton Brownie
The first reference to the “brownie” in America appears in the Sears Roebuck Catalog published in Chicago in 1898. Specifically at the direction of Bertha Palmer to be served at the Columbian Exposition World’s Fair in 1893, the brownie was created in the Palmer House Kitchen in the late 19th century. The recipe below is well over a century old, and is the exact same one used for the brownie served in the Palmer House Hilton today! It remains one of the hotel’s most popular confections.
Ingredients:
14 oz semi-sweet chocolate
1 lb butter
12 oz granulated sugar
4 oz flour
8 eggs
12 oz crushed walnuts
1 tbsp vanilla extract
Directions:
1. Preheat oven to 300 degrees.
2. Melt chocolate and butter in a double boiler. Mix the sugar and flour together in a bowl. Combine chocolate and flour mixtures. Stir 4 to 5 minutes. Add eggs and vanilla and continue mixing.
3. Pour mixture into a 9×12 baking sheet. Sprinkle walnuts on top, pressing down slightly into the mixture with your hand. Bake 30-40 minutes.
4. Brownies are done when the edges begin to crisp and has risen about 1/4 of an inch.
Note: When the brownie is properly baked, it will remain “gooey” with a toothpick in the middle due to the richness of the mixture.
Glaze: Mix together 1 c. water, 1 c. apricot preserves, and 1 tsp. unflavored gelatin in saucepan. Mix thoroughly and bring to a boil for two minutes. Brush hot glaze on brownies while still warm.
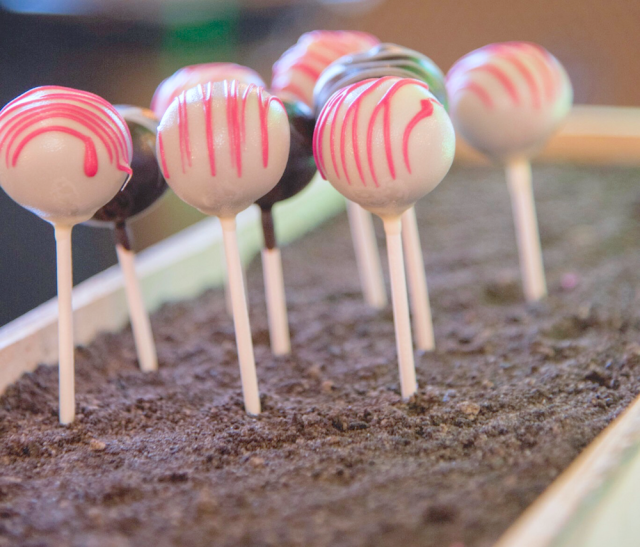
photo: Hilton Chicago
Hilton Chicago’s Signature Carrot Cake Pop Recipe
Ingredients:
3 eggs
2 cups sugar
3/4 cup buttermilk
1/4 cup vegetable oil
2 tsp vanilla extract
2 cups all-purpose flour
2 tsp cinnamon powder
2 tsp baking soda
1/2 tsp salt
2 cups shredded carrots
1 cup chopped pecans
3.5 oz. coconut flakes
8 oz crushed pineapple
Directions:
Baking Process:
1. Spray and paper a 10” cake pan.
2. Combine all of the dry ingredients (flour, cinnamon, baking soda, salt).
3. In a separate mixing bowl, combine the eggs, sugar, buttermilk, oil, and vanilla.
4. Add the dry ingredient mixture and mix until all of the ingredients are fully combined.
5. Next add the carrot, pecans, coconut, and pineapple mixing gently with a spatula.
6. Pour into the previously prepared cake pan.
7. Bake for 25 to 30 minutes at 350*F degrees.
8. Let it cool down.
Assembly Process:
1. Combine the soft butter in the mixing bowl until well combined and add the powder sugar and vanilla, and mix until you reach a creamy consistency.
2. You will need to melt your favorite type of chocolate.
3. Place the chilled carrot cake in a mixing bowl and break into little pieces. Add some of the cream cheese filling until you reach a scoop-able consistency. (Note: do not add too much filling because your dough can become too soupy to scoop).
4. Scoop the size that you desire to make your cake pop. Add stick and freeze for at least an hour.
5. Melt some of your favorite chocolate. Add some food coloring to make some fun color cake pops, if desired.
6. Once the cake pops are of hard consistency, dip in the melted chocolate and let them set for a few minutes.
If you are tired of buying toxic chemicals to clean your home, you can easily DIY homemade cleaners using the recipes below.
Non-Toxic Cleaners for the Bathroom
1. DIY Hand Soap
With the current pandemic raising havoc worldwide, I always do everything humanly possible to keep my kids safe. This means preparing an effective and non-toxic hand soap for them to use every day when they come home from school or after using the toilet.
For non-toxic hand soap, you need to fill 25% of the soap dispenser with liquid or grated castile soap and then top it up with water. Mix it well and place it in the bathroom for everyone to use after visiting the toilet or getting home.
2. Disinfectant
Despite being where we clean our bodies, the bathroom floors are prone to bacteria infestations; therefore, Eco Peanut recommends that you disinfect them regularly. And being an environmentally conscious parent, you can prepare a simple yet effective disinfectant for your floor using simple ingredients like lime, lemon, lime peels and white vinegar. Mix 0.24 liters of white vinegar, lime peels, juice of one lime and juice of one lemon and 0.24 liters of water. Mix this well and spray it on the bathroom floor and then rinse it after a few minutes.
3. DIY Toilet Cleaner
For the toilet, I have two solutions (heavy-duty and mellow cleaners) that I prepare for specific types of cleaning. The mellow cleaner keeps the toilet clean daily, while the heavy-duty formula helps with stain removal.
4. Mellow Cleaner Recipe for Toilets
To prepare this mellow toilet cleaner, you need to mix 0.24 liters of white vinegar, half a cup of baking soda, and one and a half teaspoons of tea tree essential oil, lavender, grapefruit or orange essential oils. Mix it well before cleaning your toilet. This DIY toilet cleaner will leave your toilet clean and smelling nice.
5. Heavy-Duty Cleaner Recipe for Toilets
For a heavy-duty cleaner, you should mix 0.24 liters of white vinegar, ¾ cup of baking soda, five drops of lemon essential oils and 10 drops of lavender essential oils. Mix them well before scrubbing your toilet.
6. DIY Shower & Tub Cleaner
For the tub and shower, I also have two unique recipes that I use, one is for heavy-duty cleaning, and the other is for mellow cleaning.
Mellow Cleaning Recipe for Tubs & Showers: I always spray some white vinegar on the shower’s surfaces or the tub for mellow cleaning and let it sit for about half an hour before rinsing it.
Heavy-Duty Cleaning Recipe for Tubs & Showers: For deep cleaning, I mix half a cup of salt, washing soda, a cup of baking soda and five drops of lemon. Mix the mixture well and then sprinkle it on a damp floor and leave it for about 10 minutes before scrubbing and rinsing the floor.
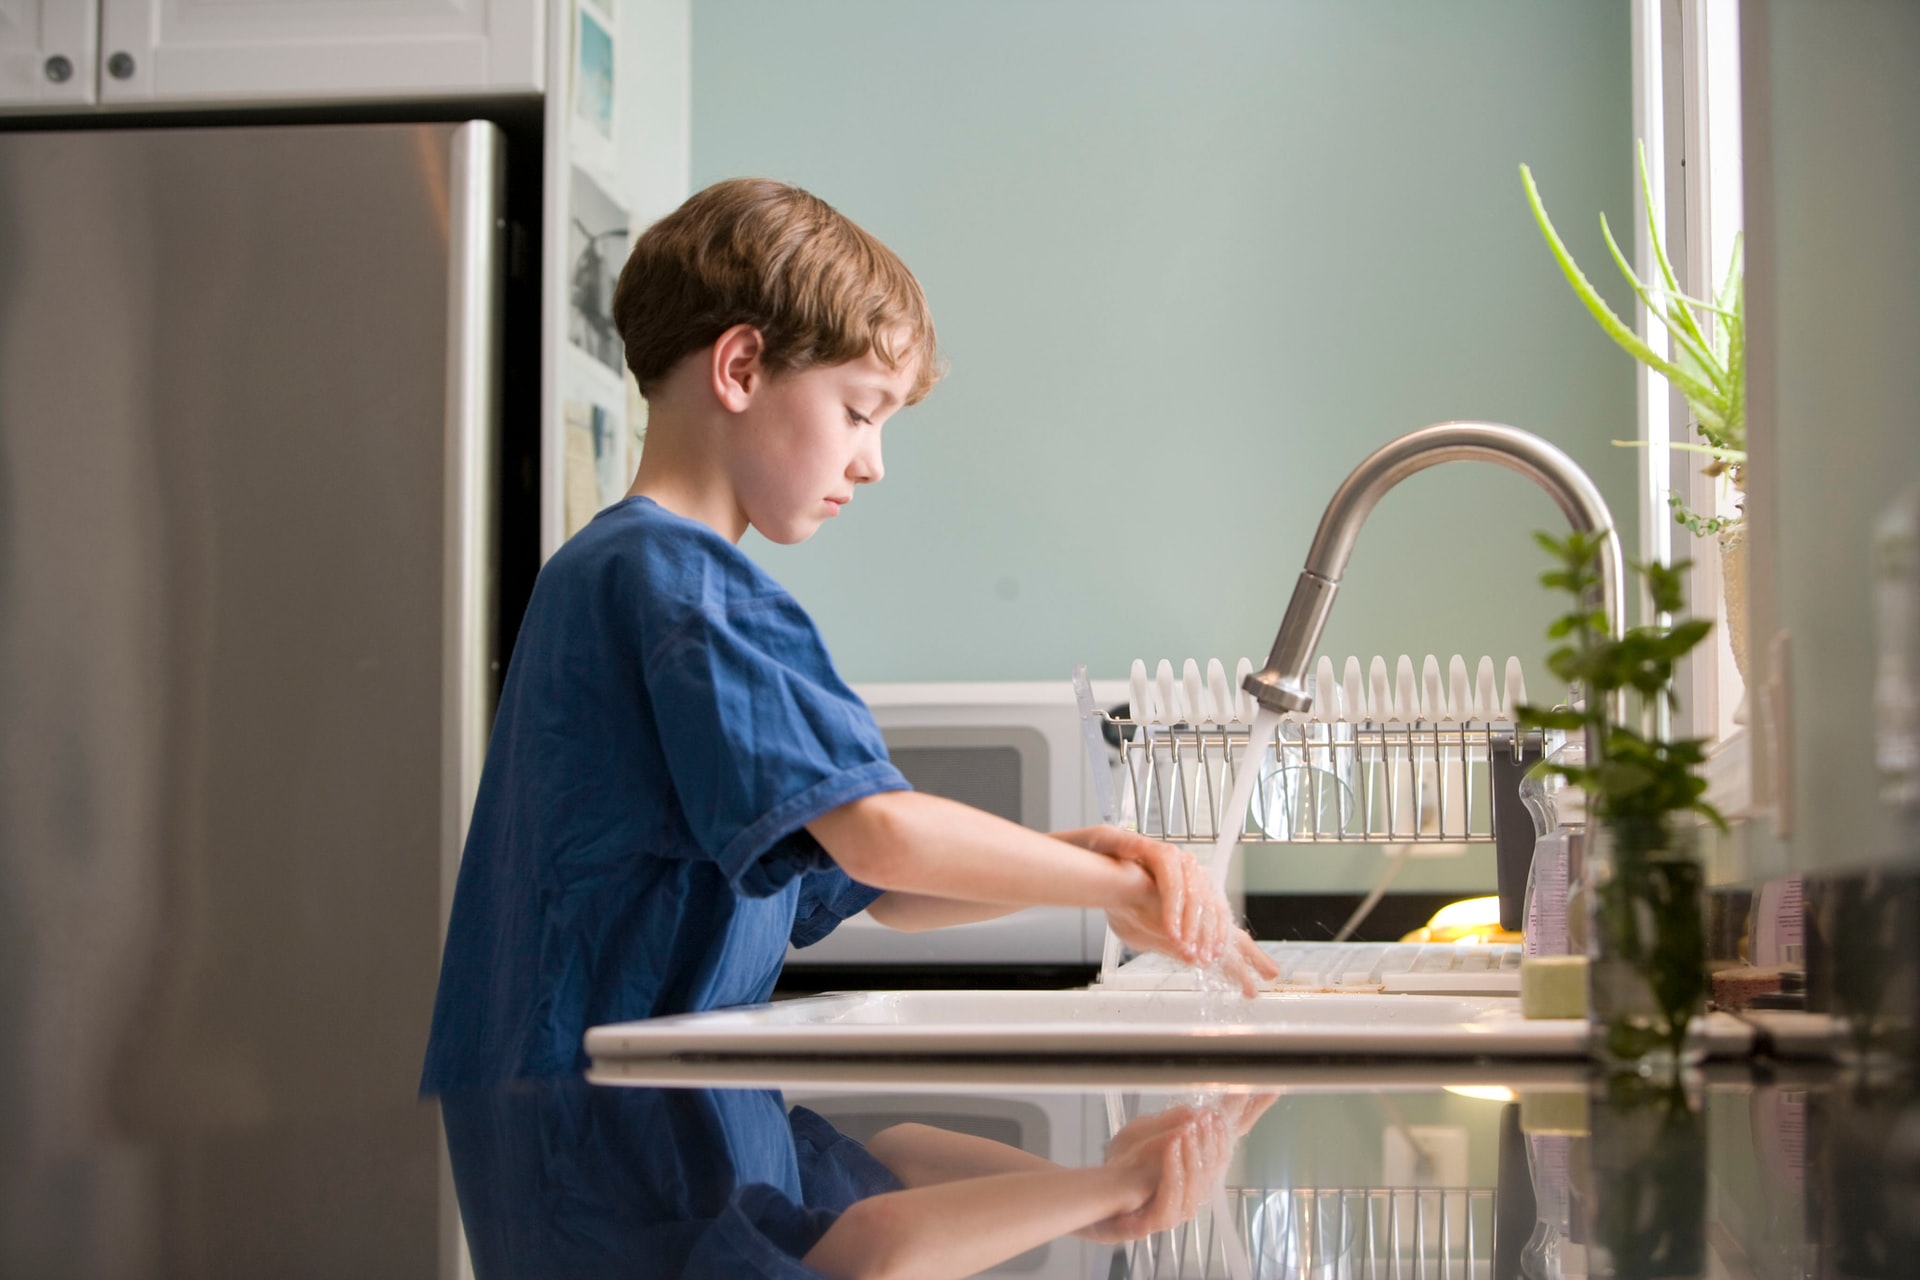
Non-Toxic Cleaners for the Kitchen
7. DIY Clogged Sink Drain Cleaner
For clogged pipes, I have a simple yet effective formula that I learned from my grandmother. To unclog the sink drain, I always pour eight tablespoons of salt and eight tablespoons of baking soda down the drain. And then top it up with some water and let it sit for about three hours.
When dealing with a grim-clogging situation, I always leave the mixture in the drain overnight. And then repeat this process twice to clear the drain.
8. DIY Dishwasher Detergent
A huge percentage of dishwashing detergents have fragrances that trigger allergic reactions in allergy sufferers. So if any member of your family has allergies, you should try a DIY dishwasher detergent. Mix 0.24 liters of water with liquid castile soap and then add it to the first detergent compartment. Fill the other compartment with four teaspoons of lime or lemon juice and white vinegar.
9. DIY Countertop Cleaner
Instead of wasting a lot of cash on a branded cleaner with toxic chemicals, you can mix water and vinegar. If your countertops are not made from stone, granite or marble, then you can create a mixture containing one part water and one part vinegar and put it all in a spray bottle.
But for marble, granite and stone surface, you should mix 0.36 liters of water, 0.12 liters of rubbing alcohol, half a teaspoon of liquid castile soap and a few drops of your favorite essential oil. Shake the mixture well and rub it gently on the surfaces using a cotton cloth.
Non-Toxic Cleaners for the Rest of the House
10. DIY Furniture Polish
For non-wood furniture, I mix 0.18 liters of olive oil with 0.6 liters of vinegar and apply the mixture to the furniture. This all-purpose cleaner works perfectly with a wide range of materials except for wooden surfaces.
For wooden surfaces, you need 0.96 liters of hot water, three teaspoons of white vinegar and six teaspoons of olive oil. Apply this mixture to wood surfaces and wipe gently using a cotton cloth.
11. DIY Floor Cleaner
For my floor, all I need is a mixture of warm water and three teaspoons of washing soda and I am good to go. After cleaning the floors, I always apply a mixture of white vinegar and olive oil in certain parts of the house and then rub it to create a shiny thin coat.
12. DIY Mirror & Window Cleaner
For my windows, I mix 5 parts water, 1 part white vinegar, squeeze some juice from half a lemon and some lemon peels in my spray bottle. Shake the mixture well before washing all the windows and mirrors in the house. You can spread the mixture all over the window using a cotton cloth or sponge.
If you’re a die-hard Cinnamon Toast Crunch fan, you’ve probably dreamt of all the ways you can incorporate the cinnamon-y goodness into other foods. Now, some of those ideas are a reality!
Next time you hit up the grocery store, make sure you don’t miss the refrigerated section where you can pick up Cinnamon Toast Crunch Cookie Dough and Cinnamon Toast Crunch Cinnamon Rolls. The delightful treats are brand new, hitting shelves for only a limited time.
photos: Courtesy of General Mills
Cinnamon Toast Crunch Cookie Dough is the perfect mixture of sugar cookie with Cinnadust mixed into the dough. Even better, it’s safe to eat raw so you can easily grab and eat in the closet while hiding from the kids. You can grab a pack that makes 12 big cookies for two for $5 at grocery retailers nationwide.
If you’re looking for a new breakfast treat, Cinnamon Toast Crunch Cinnamon Rolls come with your fave flavor that’s topped with luscious vanilla icing. A roll makes eight and sells for two for $5.
Both products arrive in stores in June and don’t wait––they will only be here for a short time.
The weather’s heating up and it’s hard to beat an ice cold watermelon. Did you know your pup can enjoy it, too? We have a fun recipe from Small Door Veterinary as the steamy months begin!
To create this pet-friendly treat, grab watermelon and plain yogurt on your next grocery run. At home, cut up two cups of watermelon and combine it with 1/4 cup of the yogurt in a blender. Get it nice and smooth, then pour the mixture into popsicle molds! Freeze until solid. Once frozen, pull one out and let your four-legged friend go to town.
Small Door Veterinary is a new kind of vet service based in Manhattan, NY. It’s members-only, which means pets always get access to a vet when needed and it incorporates in-person visits with telemedicine. It also offer a full range of services, from nutrition consulting to an on-site pharmacy. If you live in the area, you can sign up to join online and the company plans to expand the telemedicine component nationwide.
Your pet’s love might be unconditional but a special treat certainly doesn’t hurt! Summer just got a little sweeter for everyone.
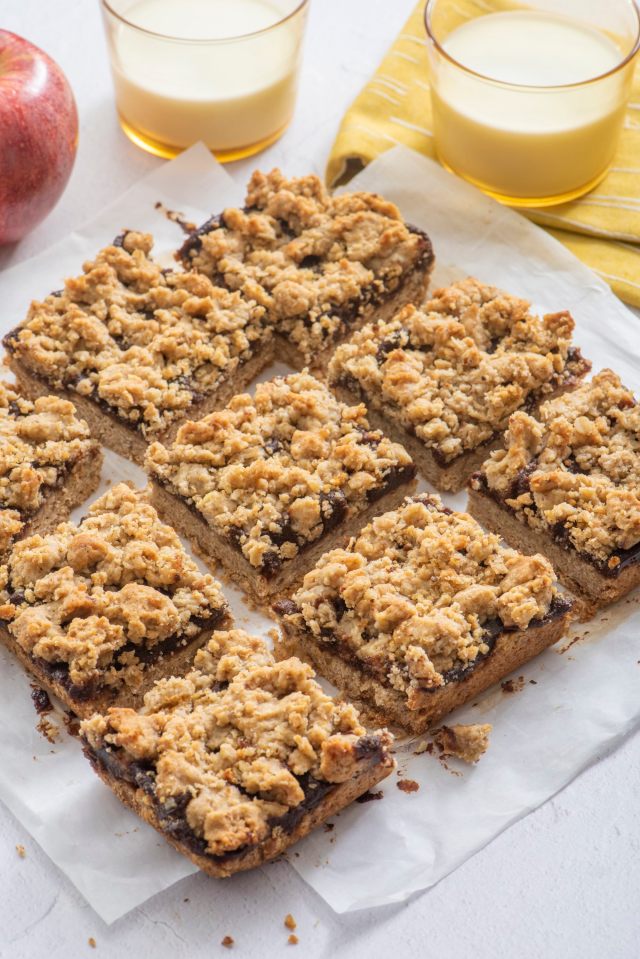
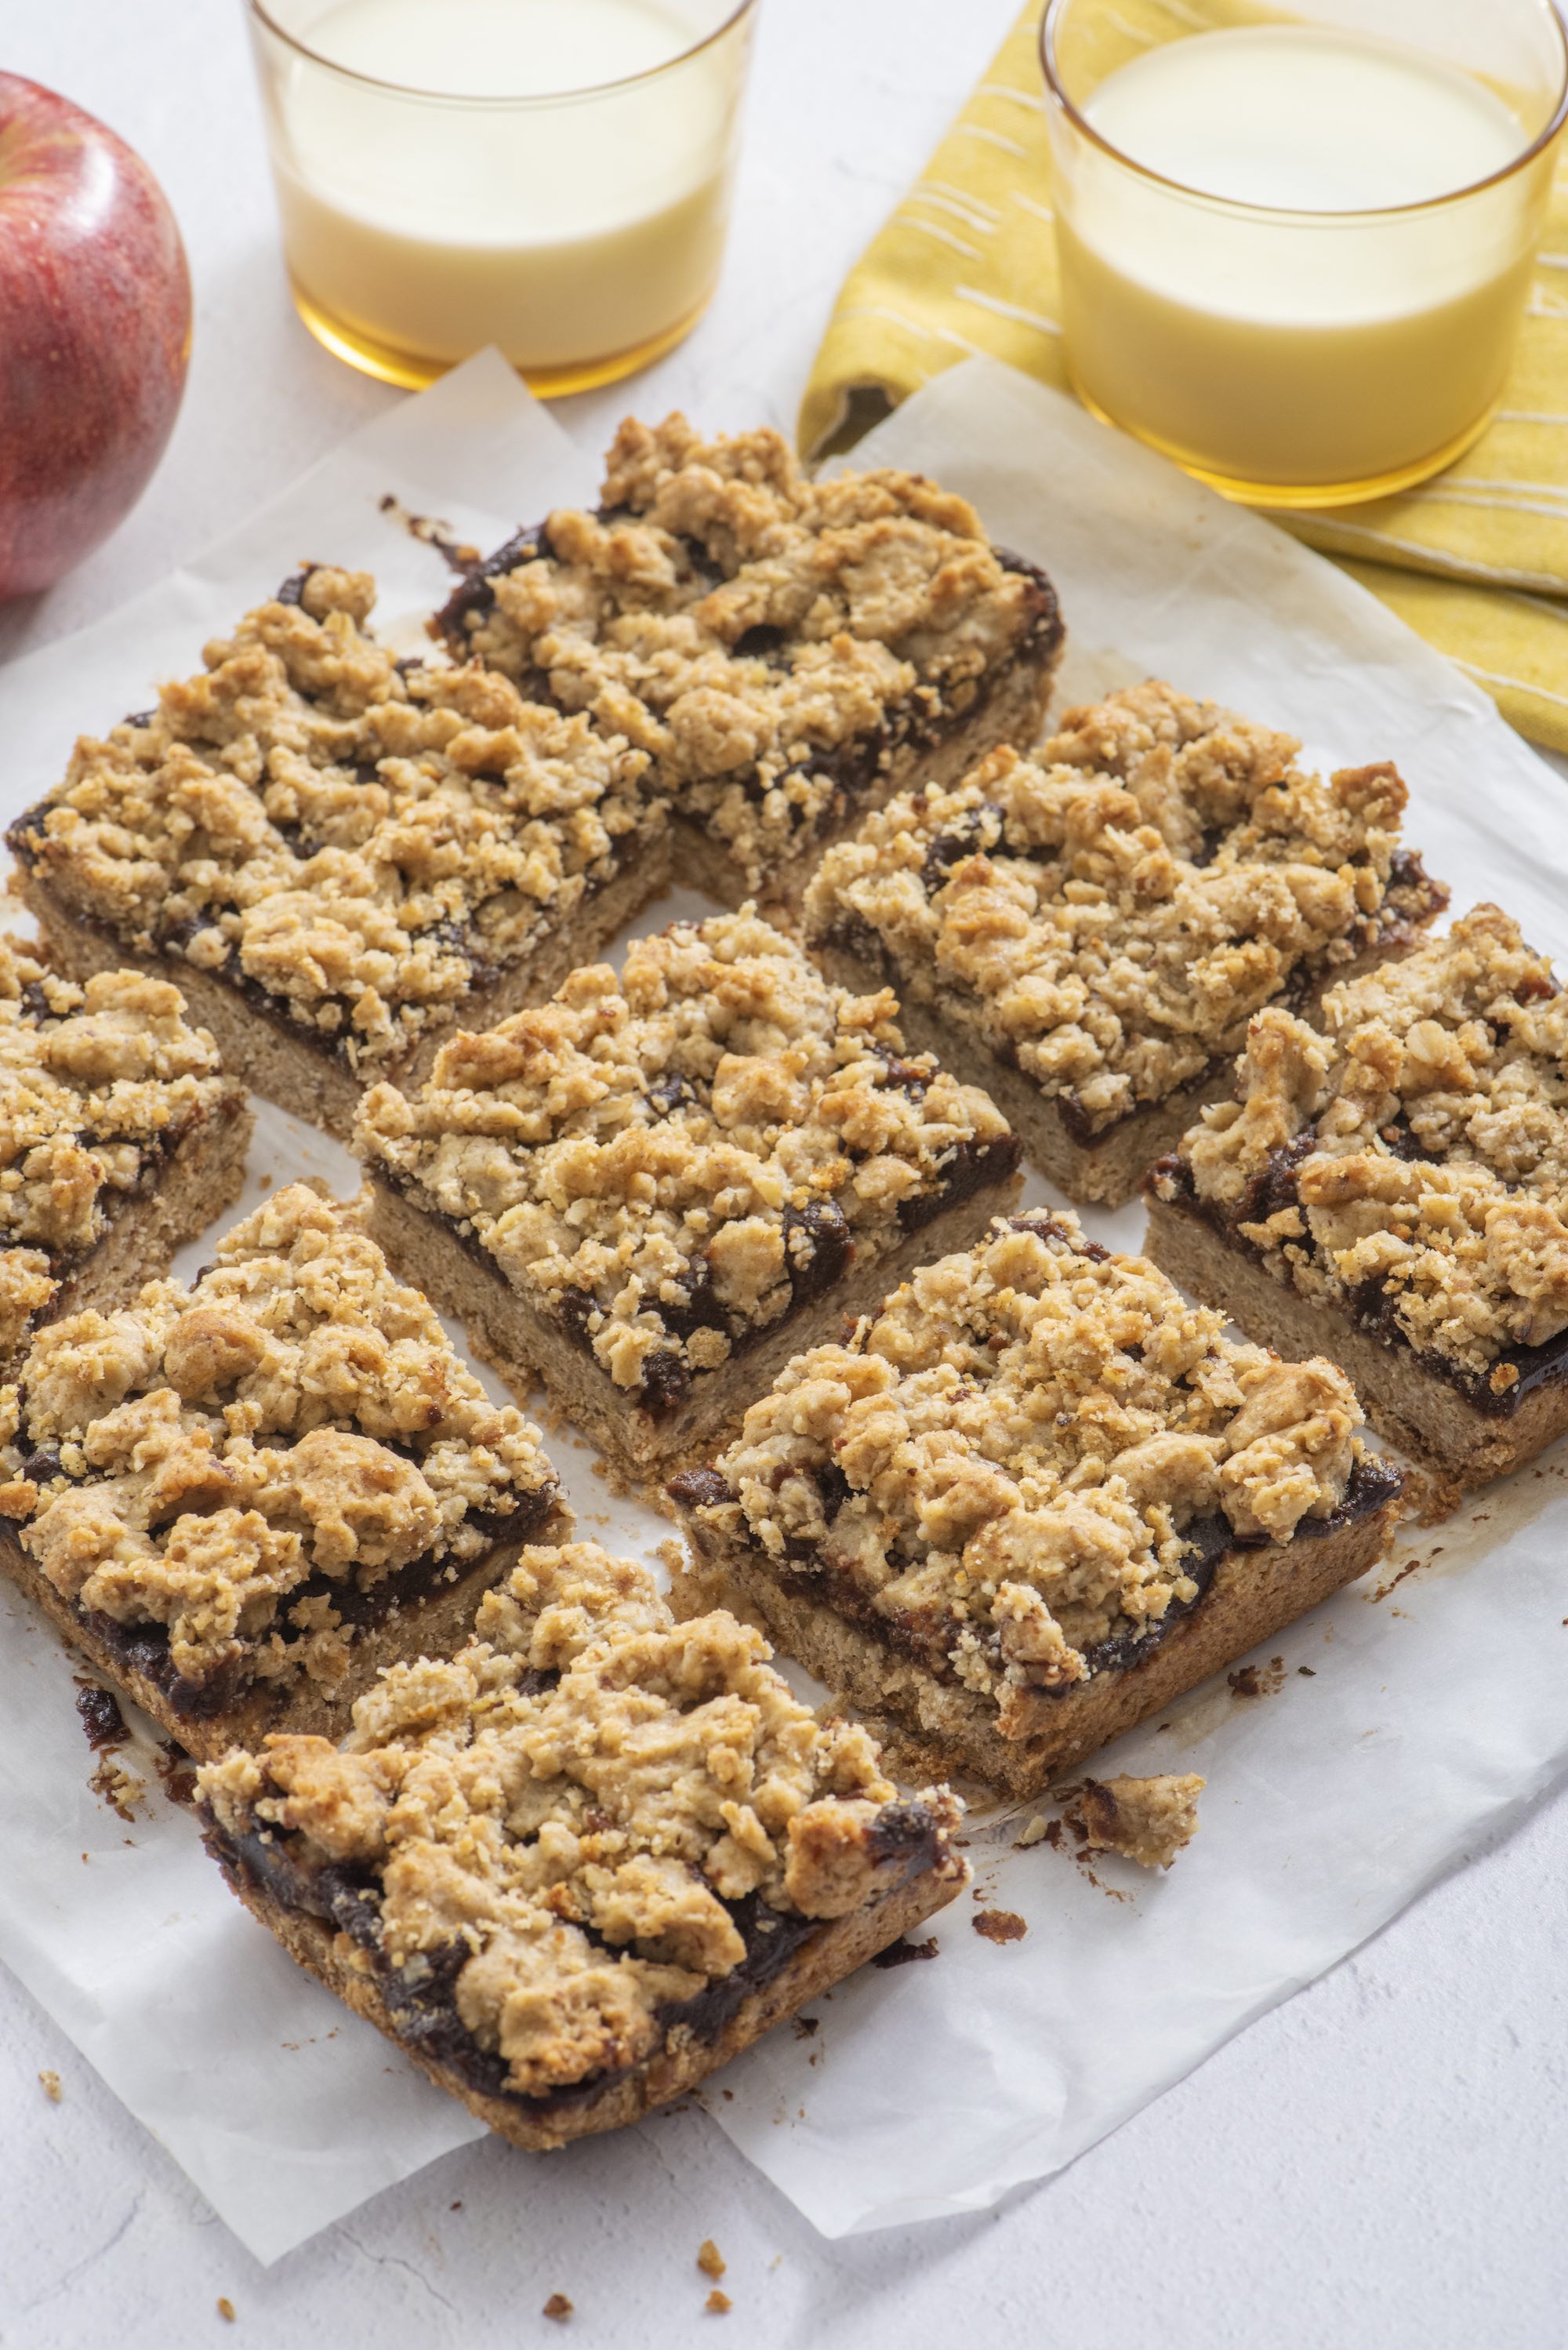
Soft, chewy and perfect for snacktime or your kid’s lunchbox, this recipe for fruit and oat crumble bars checks all the boxes. Created by Catherine McCord of Weelicious, we love that there’s no processed sugar and that it’s packed with goodness from wheat germ to old fashioned oats. Read on for the recipe!
2 cups old fashioned oats
1 cup all purpose flour
2 tablespoons wheat germ
1/2 teaspoon baking soda
10 tablespoons butter
1/3 cup chopped nuts (I used almonds)
1/4 cup honey
2 cups apple butter or preserves
Preparation:
1. Preheat oven to 350 degrees.
2. Place all the ingredients except the apple butter or preserves in a food processor. 3. Pulse until the ingredients are combined and oats and nuts are in small pieces. 4. Press all but 1 cup of the mixture into the bottom of a greased 9 x 9 inch pan lined with parchment paper. 5. Cover the oat mixture with apple butter or preserves. 6. Crumble the remaining 1 cup of oat mixture over the apple butter or preserves. 7. Bake for 30- 35 minutes. 8. Cool, use parchment paper to move bars to a cutting board and cut into bars.*
*For perfectly cut bars, refrigerate for an hour before cutting into squares.
Catherine McCord is the co-founder of One Potato and the founder of the popular Weelicious brand, a trusted content resource synonymous with family and food. She has written three cookbooks including her latest Smoothie Project. She lives in Los Angeles with her husband and three children.
If our kids could eat two foods on repeat it would be noodles and pancakes. Catherine McCord of Weelicious combined these two popular dishes into one, and we have a hunch this noodle pancake recipe will be a new fave in your home. We love that it utilizes those leftover noodles we bet you never know what to do with. With the addition of diced veggies and eggs, these noodle pancakes make a healthy and filling meal.
Ingredients:
2 cups cooked egg noodles
3 eggs, whisked
1/2 cup mozzarella cheese, shredded
1/3 cup corn (I used frozen corn that I defrosted first)
1/3 cup red bell pepper, diced
1/3 cup broccoli, chopped (raw or cooked)
1/2 teaspoon kosher salt
olive oil
Method:
1. Place all the ingredients (except for the olive oil) in a bowl and stir to combine.
2. Heat 1 tbsp of olive oil in a large saute pan over medium heat.
3. Pour about 1/4 cup of the noodle mixture per pancake in the pan and cook for 3 minutes (you can pour as many pancakes at once as fit comfortably in your pan).
4. Flip the pancakes and cook an additional 3 minutes. Continue making the pancakes with the remaining mixture.
To freeze: Allow to cool, then place in ziploc bag, label and freeze. When ready, pop them into the oven at 300 for 10 minutes or until warmed through or defrost in fridge for 24 hours then heat in a dry pan.
Catherine McCord is the co-founder of One Potato and the founder of the popular Weelicious brand, a trusted content resource synonymous with family and food. She has written three cookbooks including her latest Smoothie Project. She lives in Los Angeles with her husband and three children.
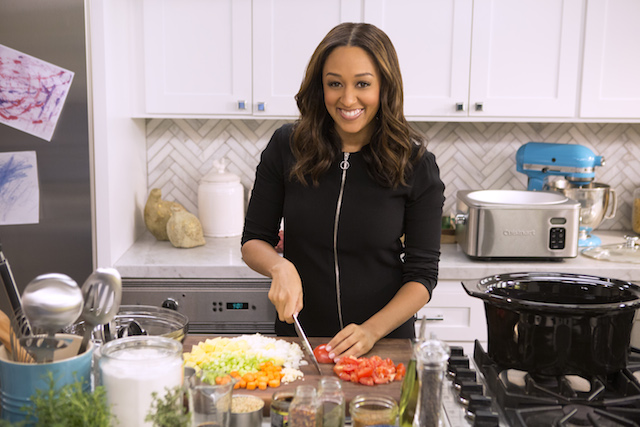
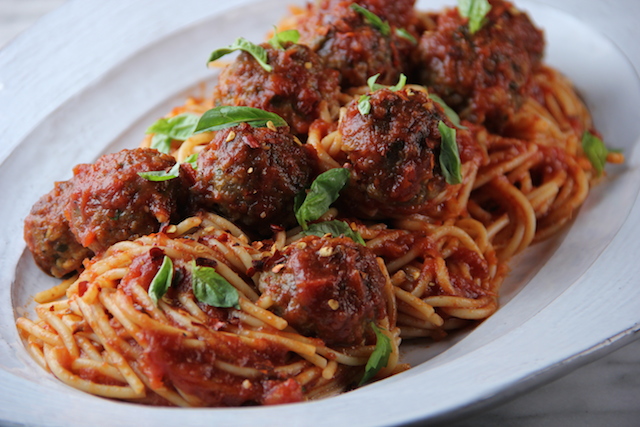
If you were a child of the ’90s you’ll remember Tia Mowry as starring opposite her twin sister, Tamera in the hit sitcom, Sister, Sister. Today Tia’s sharing some of her tasty family-friendly recipes with us. The actress, mom and cook gave us a sneak peek of one of her family’s favorite recipes: turkey meatballs.
Yield: 4 to 6 servings
Active Time: 50 minutes
Total Time: 1 hour 20 minutes
Ingredients:
Turkey Meatballs:
1/2 cup old-fashioned oats
1/2 cup milk
1/2 yellow onion, finely chopped
1/2 cup fresh baby spinach leaves, chopped
1/4 cup grated Parmesan, plus more for garnish
1 teaspoon kosher salt
1/2 teaspoon freshly ground black pepper
2 cloves garlic, grated
1 large egg
1 pound ground turkey
4 to 8 tablespoons grapeseed oil
Quick Marinara Sauce:
One 28-ounce can crushed tomatoes
2 tablespoons tomato paste
1 tablespoon fresh oregano, chopped
1 teaspoon kosher salt
1/2 teaspoon freshly ground black pepper
2 cloves garlic, chopped
Pinch kosher salt
1 pound spaghetti
Chopped fresh parsley, for garnish
Chopped fresh basil, for garnish
Method:
1. For the turkey meatballs: Add the oats to a food processor and pulse a few times. The consistency should resemble breadcrumbs. Add the oats and milk to a small bowl and set aside for 5 minutes.
2. Add the onions, spinach, Parmesan, salt, pepper, garlic and egg to a large bowl and mix well. Add the oat mixture and combine. Lastly, add the turkey and gently fold into the wet mixture. Keep the mixture light by not over-mixing. Form into bite-size balls using a small cookie scoop for uniform meatballs.
3. Heat 4 tablespoons of the oil in a large Dutch oven over medium heat. Add half of the meatballs and brown on all sides, 5 to 7 minutes. Remove and repeat with the second batch, adding more oil if needed. Set the meatballs aside but reserve the Dutch oven for the sauce.
4. For the quick marinara sauce: Add the tomatoes, tomato paste, oregano, salt, pepper and garlic to the Dutch oven and stir. Bring to a boil. Reduce the heat, cover and let simmer for about 10 minutes. Gently add the browned meatballs to the sauce. Do not overcrowd. Simmer until the meatballs are cooked thoroughly, another 10 to 15 minutes.
5. Bring a large pot of water to a boil. Season with a generous pinch of salt. Add the spaghetti and cook until al dente, about 8 minutes.
6. Combine some of the sauce with the cooked spaghetti. Plate the spaghetti and meatballs and add the remaining sauce over everything. Garnish with parsley, basil and more grated Parmesan. Serve hot.
Come along as Tia Mowry takes you inside her life, sharing her recipes for success… and for dinner. As a working actress, wife and mother, Tia is always on the go, but creating tasty and tempting foods for her family is the part of her day that brings the biggest smiles. Growing up with parents in the armed services, she enjoyed tasting a variety of flavors in the different cities they lived, and she loved recreating the dishes with her mother in the kitchen. Ever since she was a young girl, these influences have sparked her desire to cook for her own loved ones – whether it is a healthy meal for her son and husband, or a dinner party for her best friends. It is a busy and full life, but Tia would not change a thing!