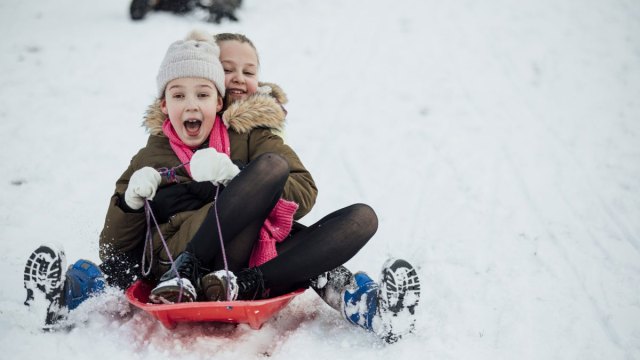
Are you looking for a cool, fun adventure that involves some snow? Look no further than the best snow tubing spots near the Bay Area

It’s no secret that some of the best snow-filled days are spent sledding down a giant hill with family and friends. And the best part about snow tubing is that little-to-no-skill is required (just a healthy dose of bravery and willingness) so everyone in the family can participate. These must-go sledding spots near the Bay Area are not only fun, but make a great overnight stay to boot. So dust off those winter coats, stir up some hot cocoa, put on your leg warmers, and get ready to play in the snow (and then some) at the best snow tubing and sledding hills near the Bay Area.

The Best Snow Tubing near San Francisco
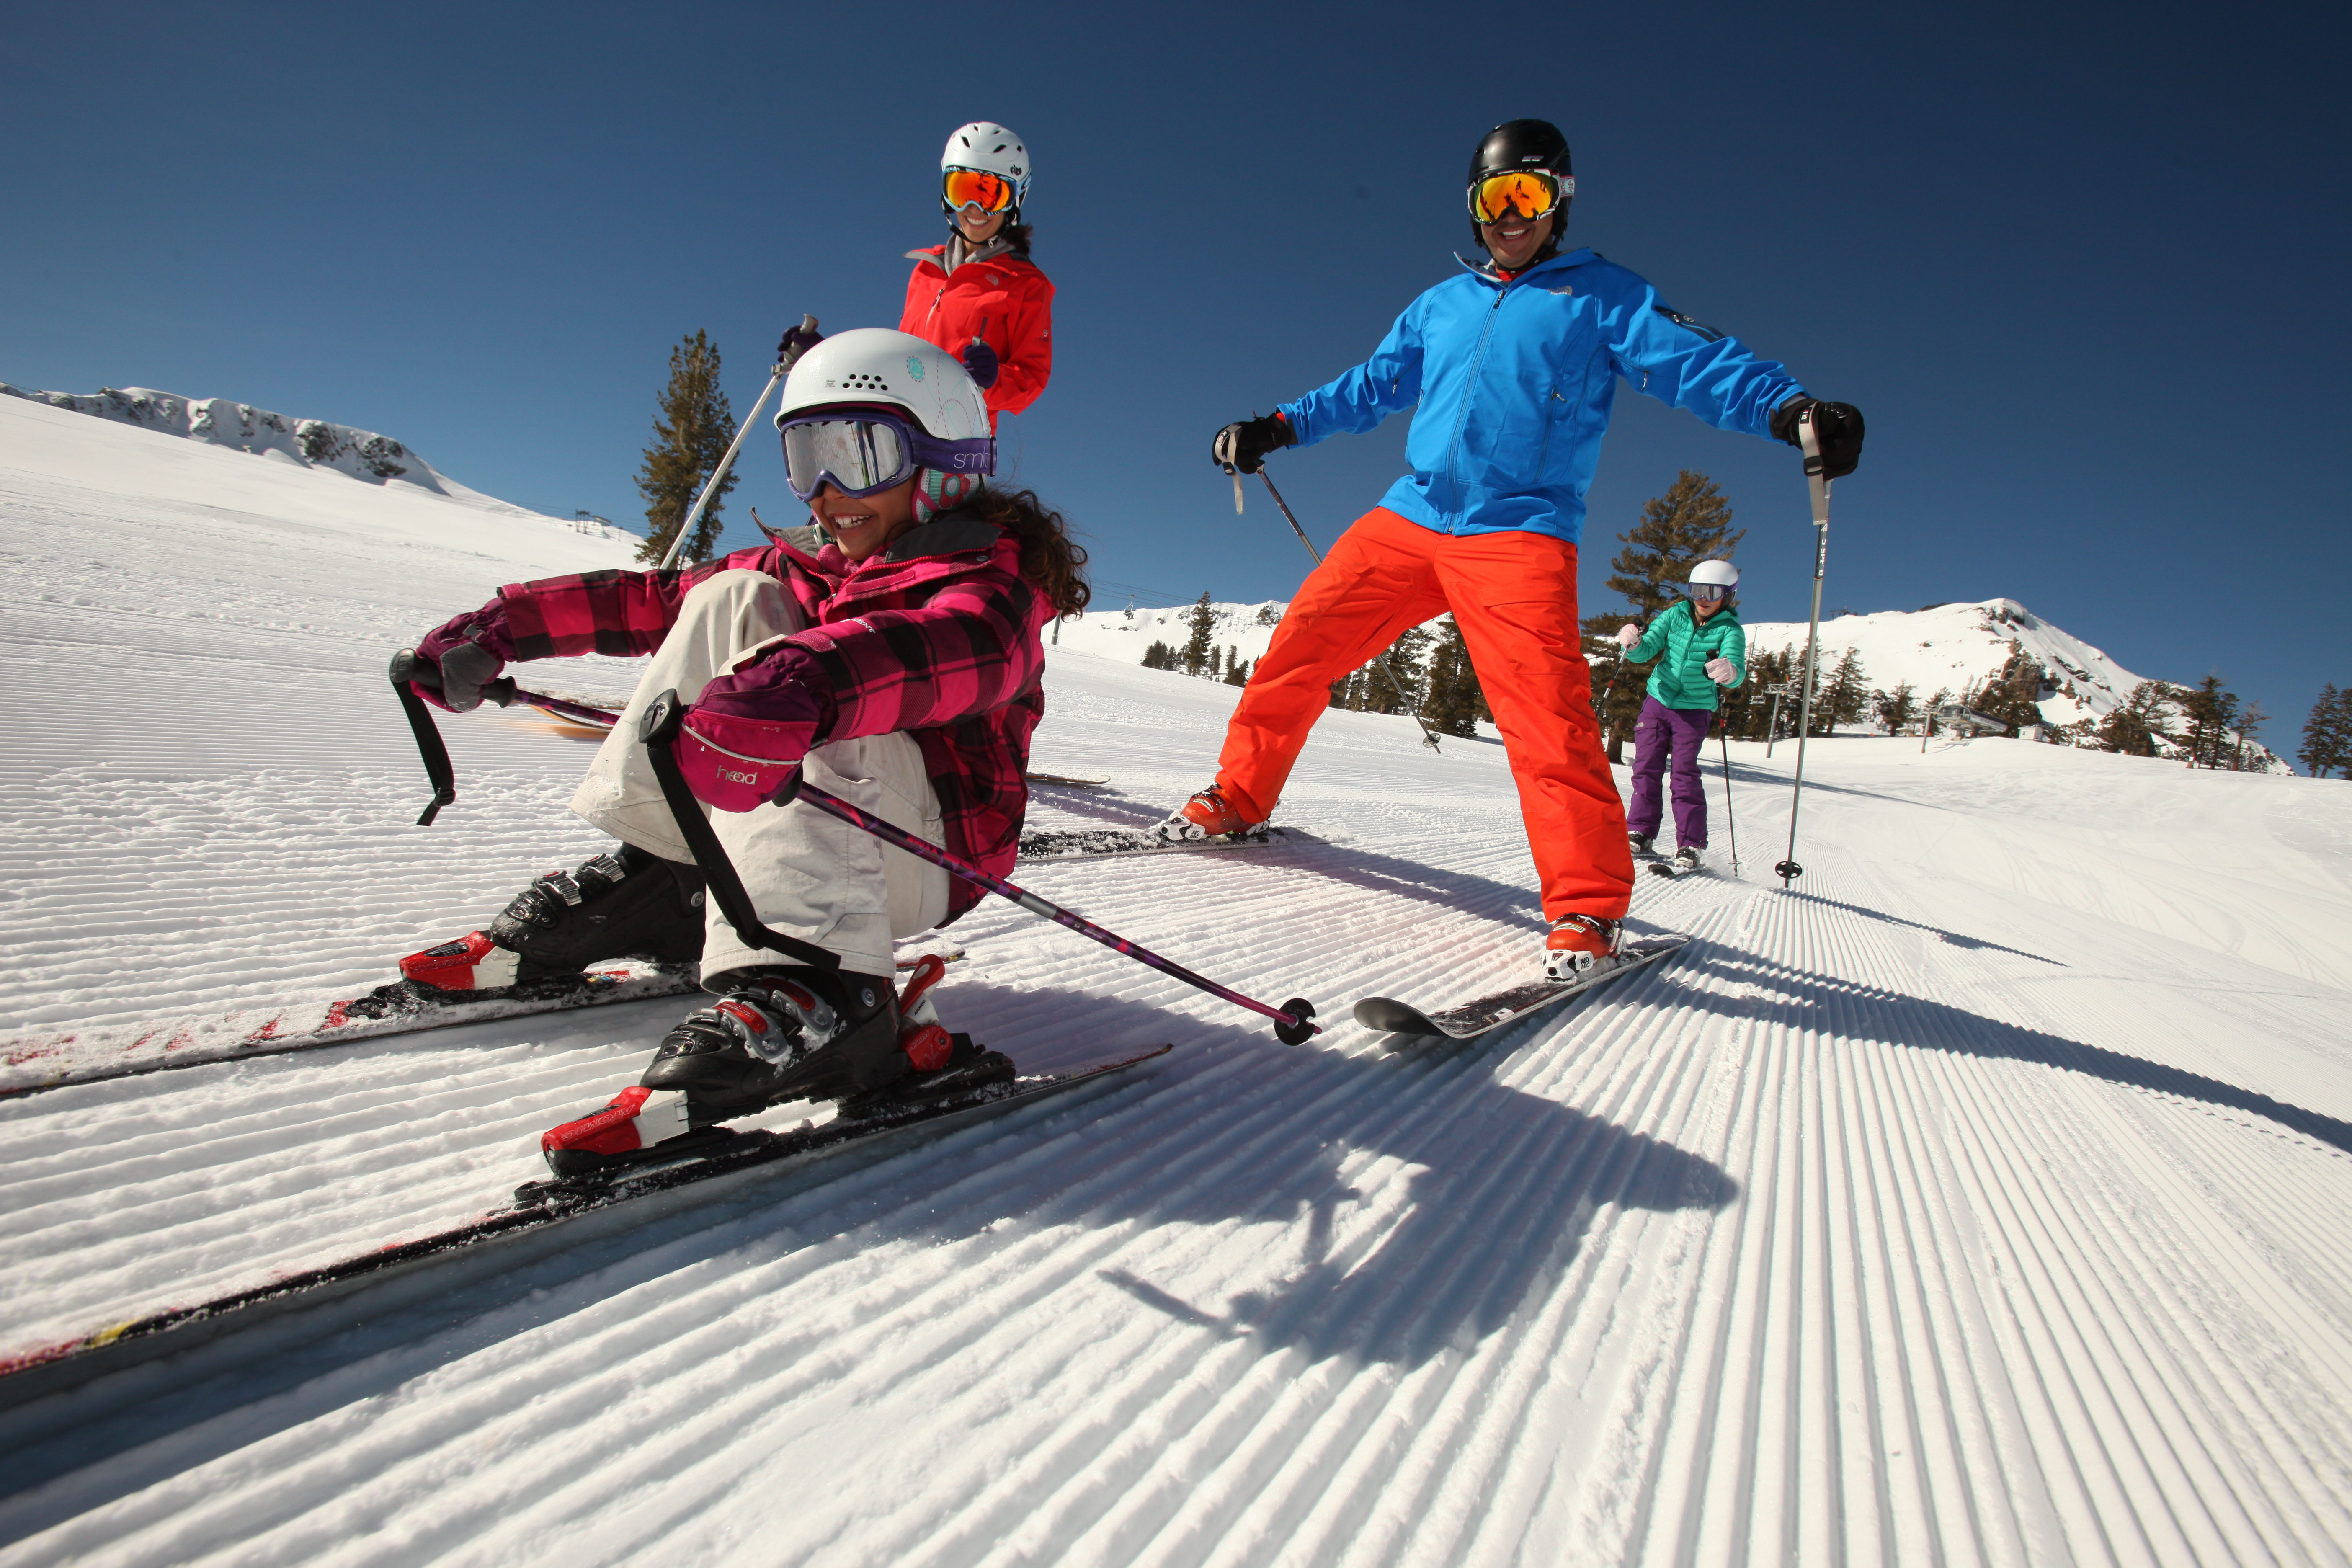
1. Palisades Tahoe 

While our editors love skiing and snowboarding at Palisades Tahoe, for kids who aren't quite convinced they want to get up on skies, you can go snow tubing at the SnoVentures Activity Zone located at the Palisades base area adjacent to the parking lot. Online reservations are recommended.

Good to Know: Ikon Pass holders receive free snow tubing every Thurs. And don't miss Disco Tubing where SnoVentures Activity Zone comes to life with colorful LED lights, lasers, and live DJs from 5-8 p.m.

Cost: $42/weekday, $54/weekend 
Date:
Opens Nov. 24

1960 Squaw Valley Rd.
Olympic Valley
Online: palisadestahoe.com

2. Adventure Mountain

Nestled on over 40 acres at the top of Echo Summit, Adventure Mountain is South Lake Tahoe's best spot for sledding, tubing, and snow fun. It is family owned and operated, offering up to 15 machine-groomed runs and plenty of space for snow play. Be sure to stop by the lodge for some hot cocoa by the fire. You may buy, rent or bring your own equipment. Helmets are encouraged.

Cost: $40 midweek, $45 weekend 
Date: Weekdays 10 a.m.-3 p.m.; Weekends and holidays 9 a.m.-3:30 p.m.

Nebelhorn, Hwy 50, Echo Summit
South Lake Tahoe
Online: adventuremountaintahoe.com

3. Granlibakken

Operating since 1920, Granlibakken's popular 300-foot sledding hill is a worthwhile day spent outdoors. Bring the kids for their first sledding experience or sign them up for skiing and snowboarding lessons. Additional fun: The s'more kits are a hit with the littles and can be enjoyed around the fire pits.

Cost: $25/weekday, $35/weekend, $45/night sledding; free for children under 3
Date: Opens Nov. 24

725 Granlibakken Rd.
Tahoe City 
Online: granlibakken.com

4. Tahoe City Winter Sports Park

Outdoor fun awaits at this family-friendly sledding hill located adjacent to Lake Tahoe. Disc rental is included with your reservation, but no outside sleds are allowed. Reservations are required and limited walk-ups will be permitted.

Good to Know: In addition to the sledding hill, there's an outdoor ice skating rink and you can rent snowshoes here. 

Cost: $5/resident, $15/non-resident
Date: Ice rink opens Nov. 25; Sledding hill will open shortly after

251 N. Lake Blvd.
Tahoe City
Online: tcpud.org

5. Hansen's Resort

Hansen's Resort is home to a super-fun sledding and tubing hill with a 400-foot long hill, it's great for all ages.

Good to Know: Snow tubing sessions are an hour long along with complimentary parking to snowtubers.

Cost: $40/hour (5 & up); 4 and under free with paying adult

1360 Ski Run Blvd.
South Lake Tahoe
Online: hansensresort.com

6. More Fun Sledding Hills in Lake Tahoe

Check out these other sledding hills if you are in the Lake Tahoe area: 

  • Mt. Rose Sledding Hill
  • Donner Summit Sno-Park
  • North Tahoe Regional Park
  • Spooner Summit Public Sledding

Online: tahoereport.com

7. Spicer Sno Parks, Bear Valley

Within four miles of Bear Valley, there are three parking locations where you can find slopes to get your snow tubing fix. Lake Alpine Sno-Park is the pick of the bunch with some long, fast runs. Aside from some non-flush toilets there aren’t many amenities so pack a lunch and some warming drinks. Purchase your Sno Park passes online.

Cost: Passes are $5/day or $25/season pass. 
Date: Hours and dates vary and are dependent on weather

South Side of Highway 4 at Spicer Rd.
Bear Valley
Online: gocalaveras.com

8. Tamarack Sno-Park

Tamarack Sno-Park is located between Shaver Lake and Huntington Lake, about a 3.5-hour drive from the Bay Area.

Good to Know: You need to purchase a parking permit ahead of time.

Cost: $15/day, $40/season
Date:
Nov. 1-May. 30

41387 Tollhouse Rd.
Shaver Lake
Online: ohv.parks.ca.gov

9. Soda Springs Mountain Resort

The Soda Spring Mountain Resort is home to Tube Town, a huge snow tubing area with up to 20 lanes and a 400-foot surface lift to get you back to the top! The resort also caters specifically to kids with an area called Planet Kids—a playground that contains snow tubing carousels, snow tubing lanes, ski and snowboard learning areas, along with snow volcanoes to climb.

Cost: Varies by time and day
Date: Opens Nov. 25

10244 Soda Springs Rd.
Soda Springs
Online: skisodasprings.com

10. Leland Snowplay

A snow hill set in the Sierra Mountains provides a deluxe environment for tubing. Four small lanes are reserved for the littler kids to enjoy and gentle lifts guide you to the top of the hills. Tired of tubing? There are also separate play areas for snowman making, playing in snow castles, and a good old-fashioned snowball fight. Added Bonus: You can warm up and grab a bite to eat at the lodge featuring indoor and outdoor dining areas and a snack bar.

Cost: $29-$49
Date: TBA

34033 Leland Meadow Rd.
Strawberry
Online: snowplay.com

11. Northstar California

Visitors to the Northstar California Tubing Hill in North Lake Tahoe can enjoy an exciting ride down a 200-yard hill. Take the tow lift to the top of the hill and do it all again, either one at a time or in daisy chains with your family.

Cost: Tickets are available on a first-come, first-served basis only and are available for purchase at the Tickets & Season Pass Office in the Village at Northstar. 
Date: Opens Nov. 25

5001 Northstar Dr.
Truckee
Online: northstarcalifornia.com

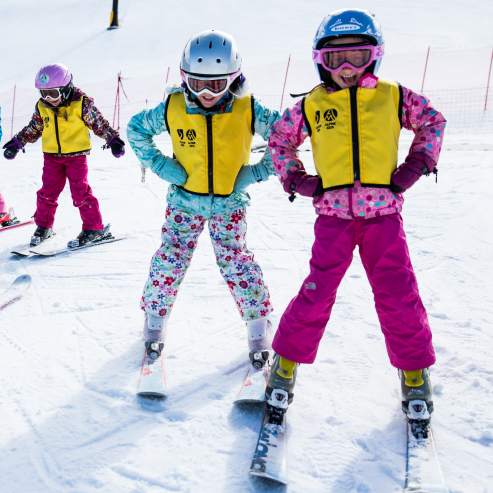
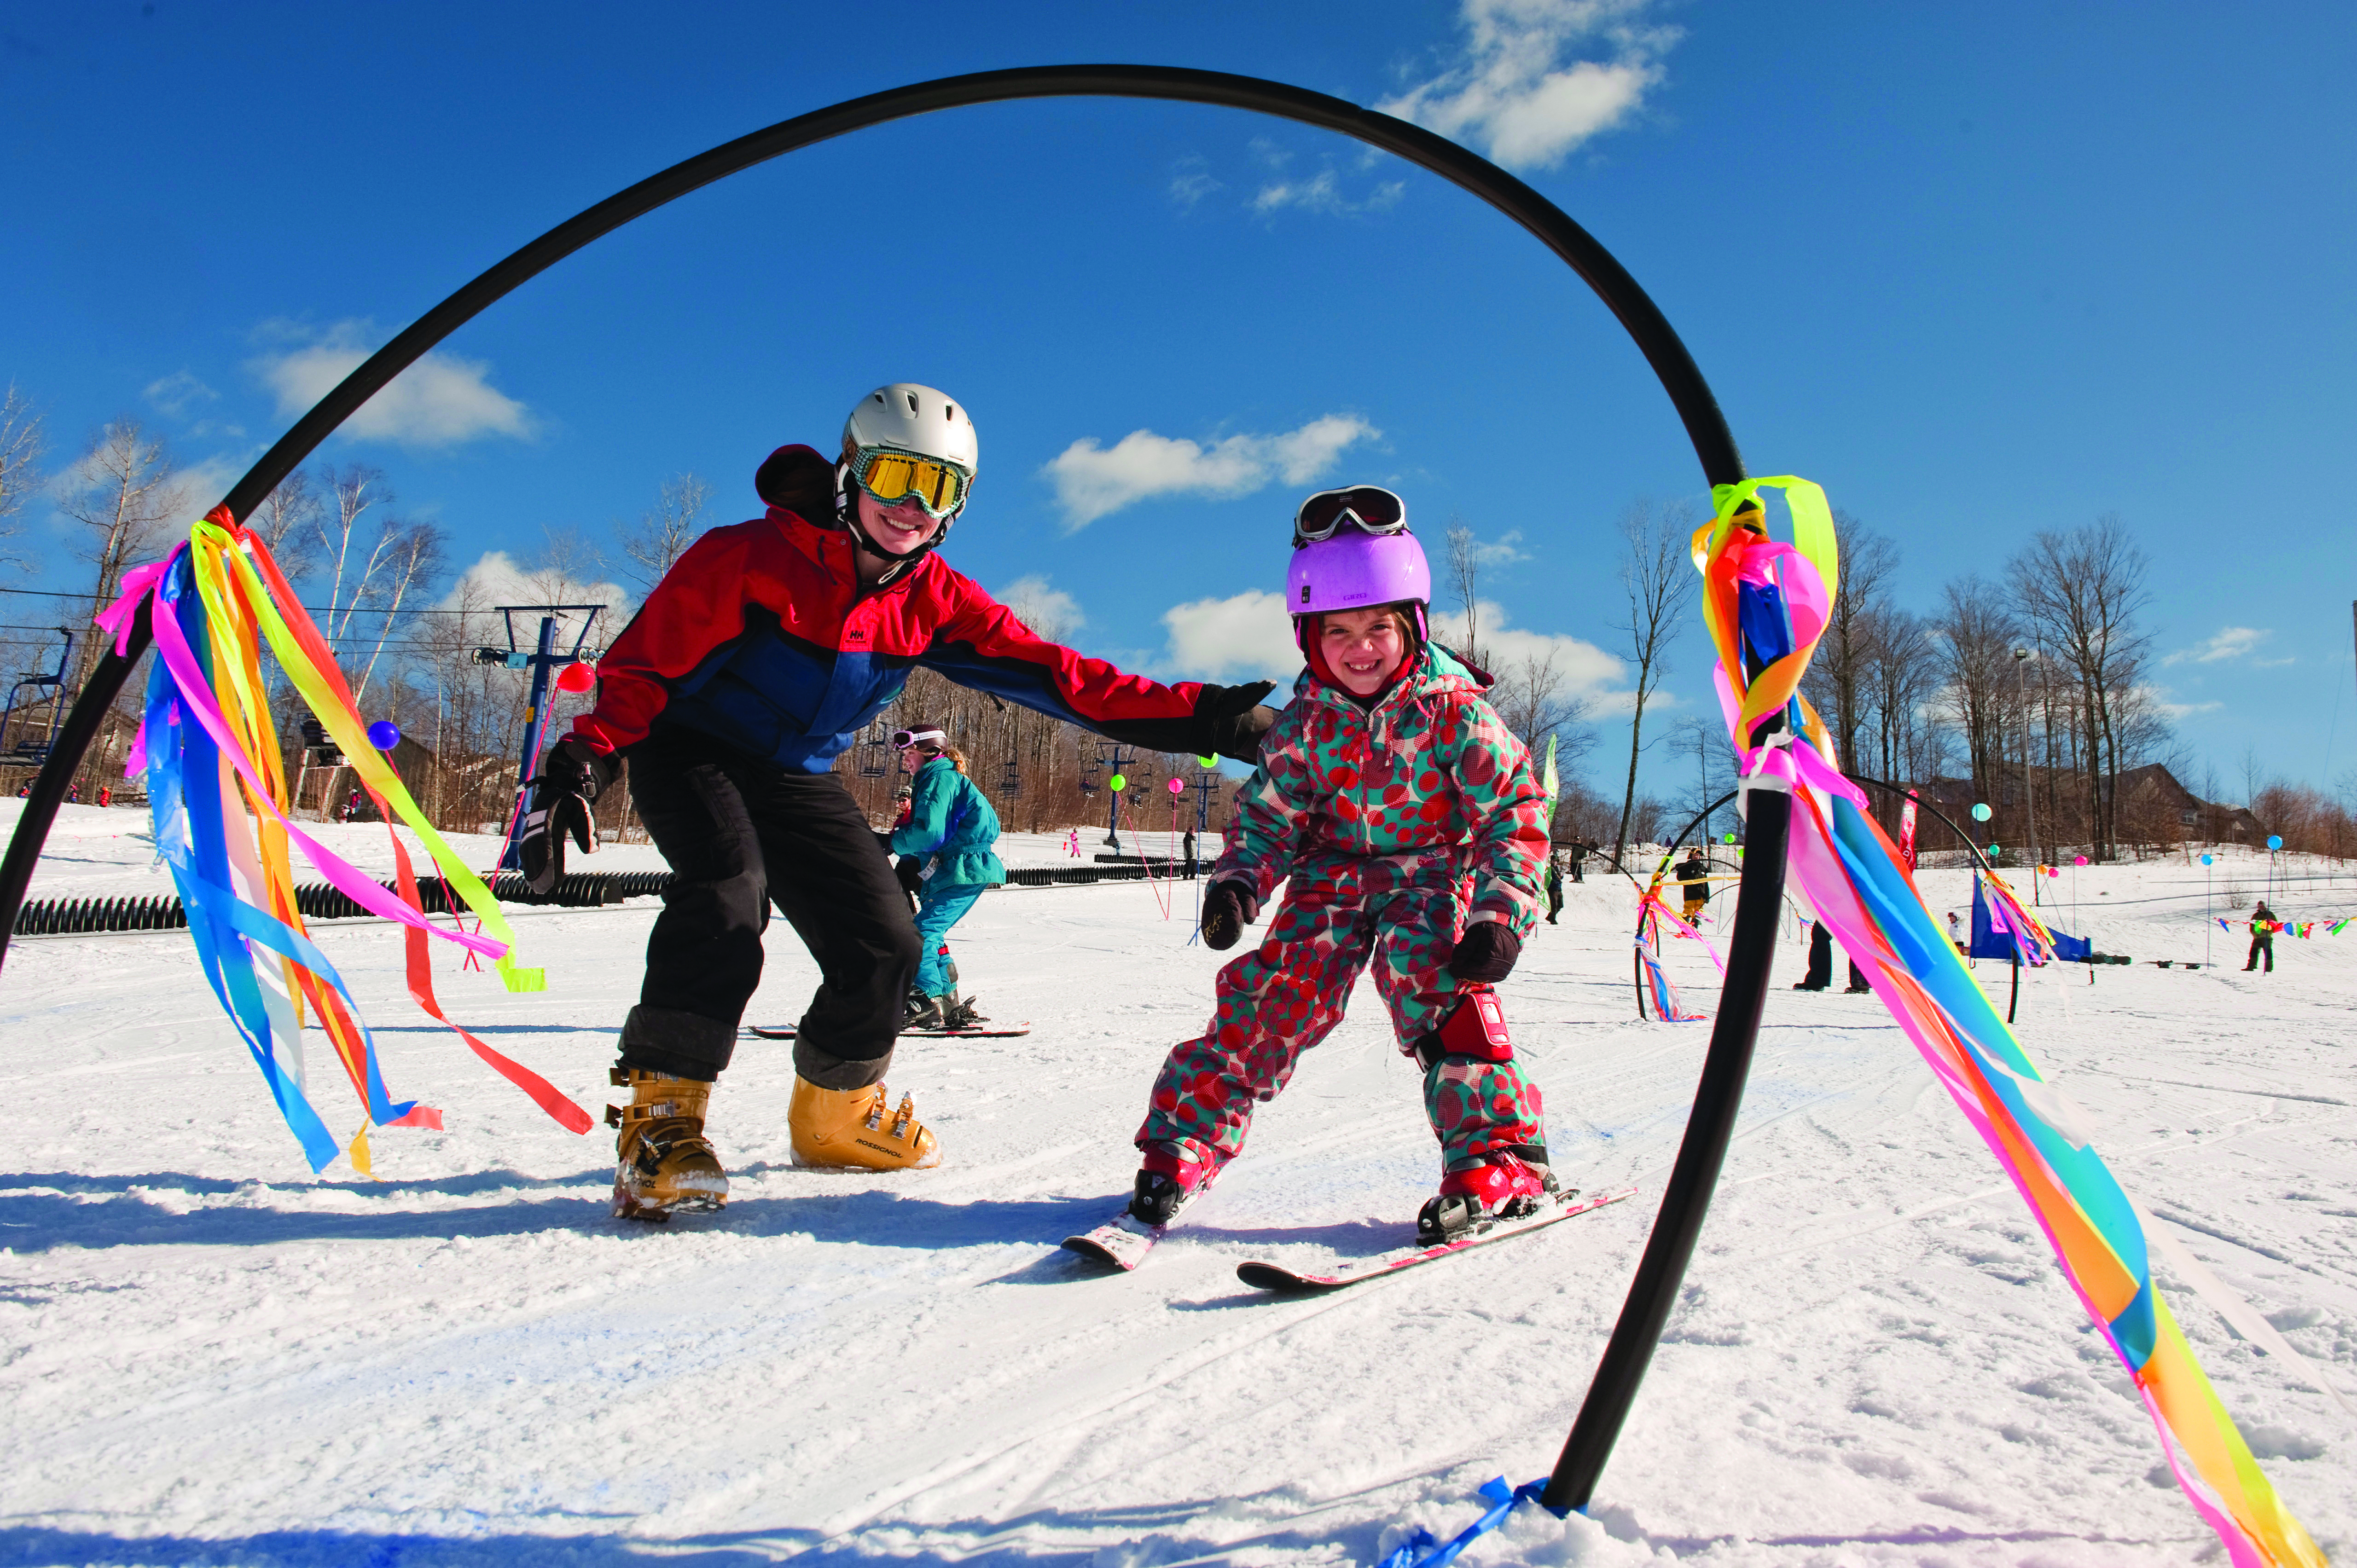
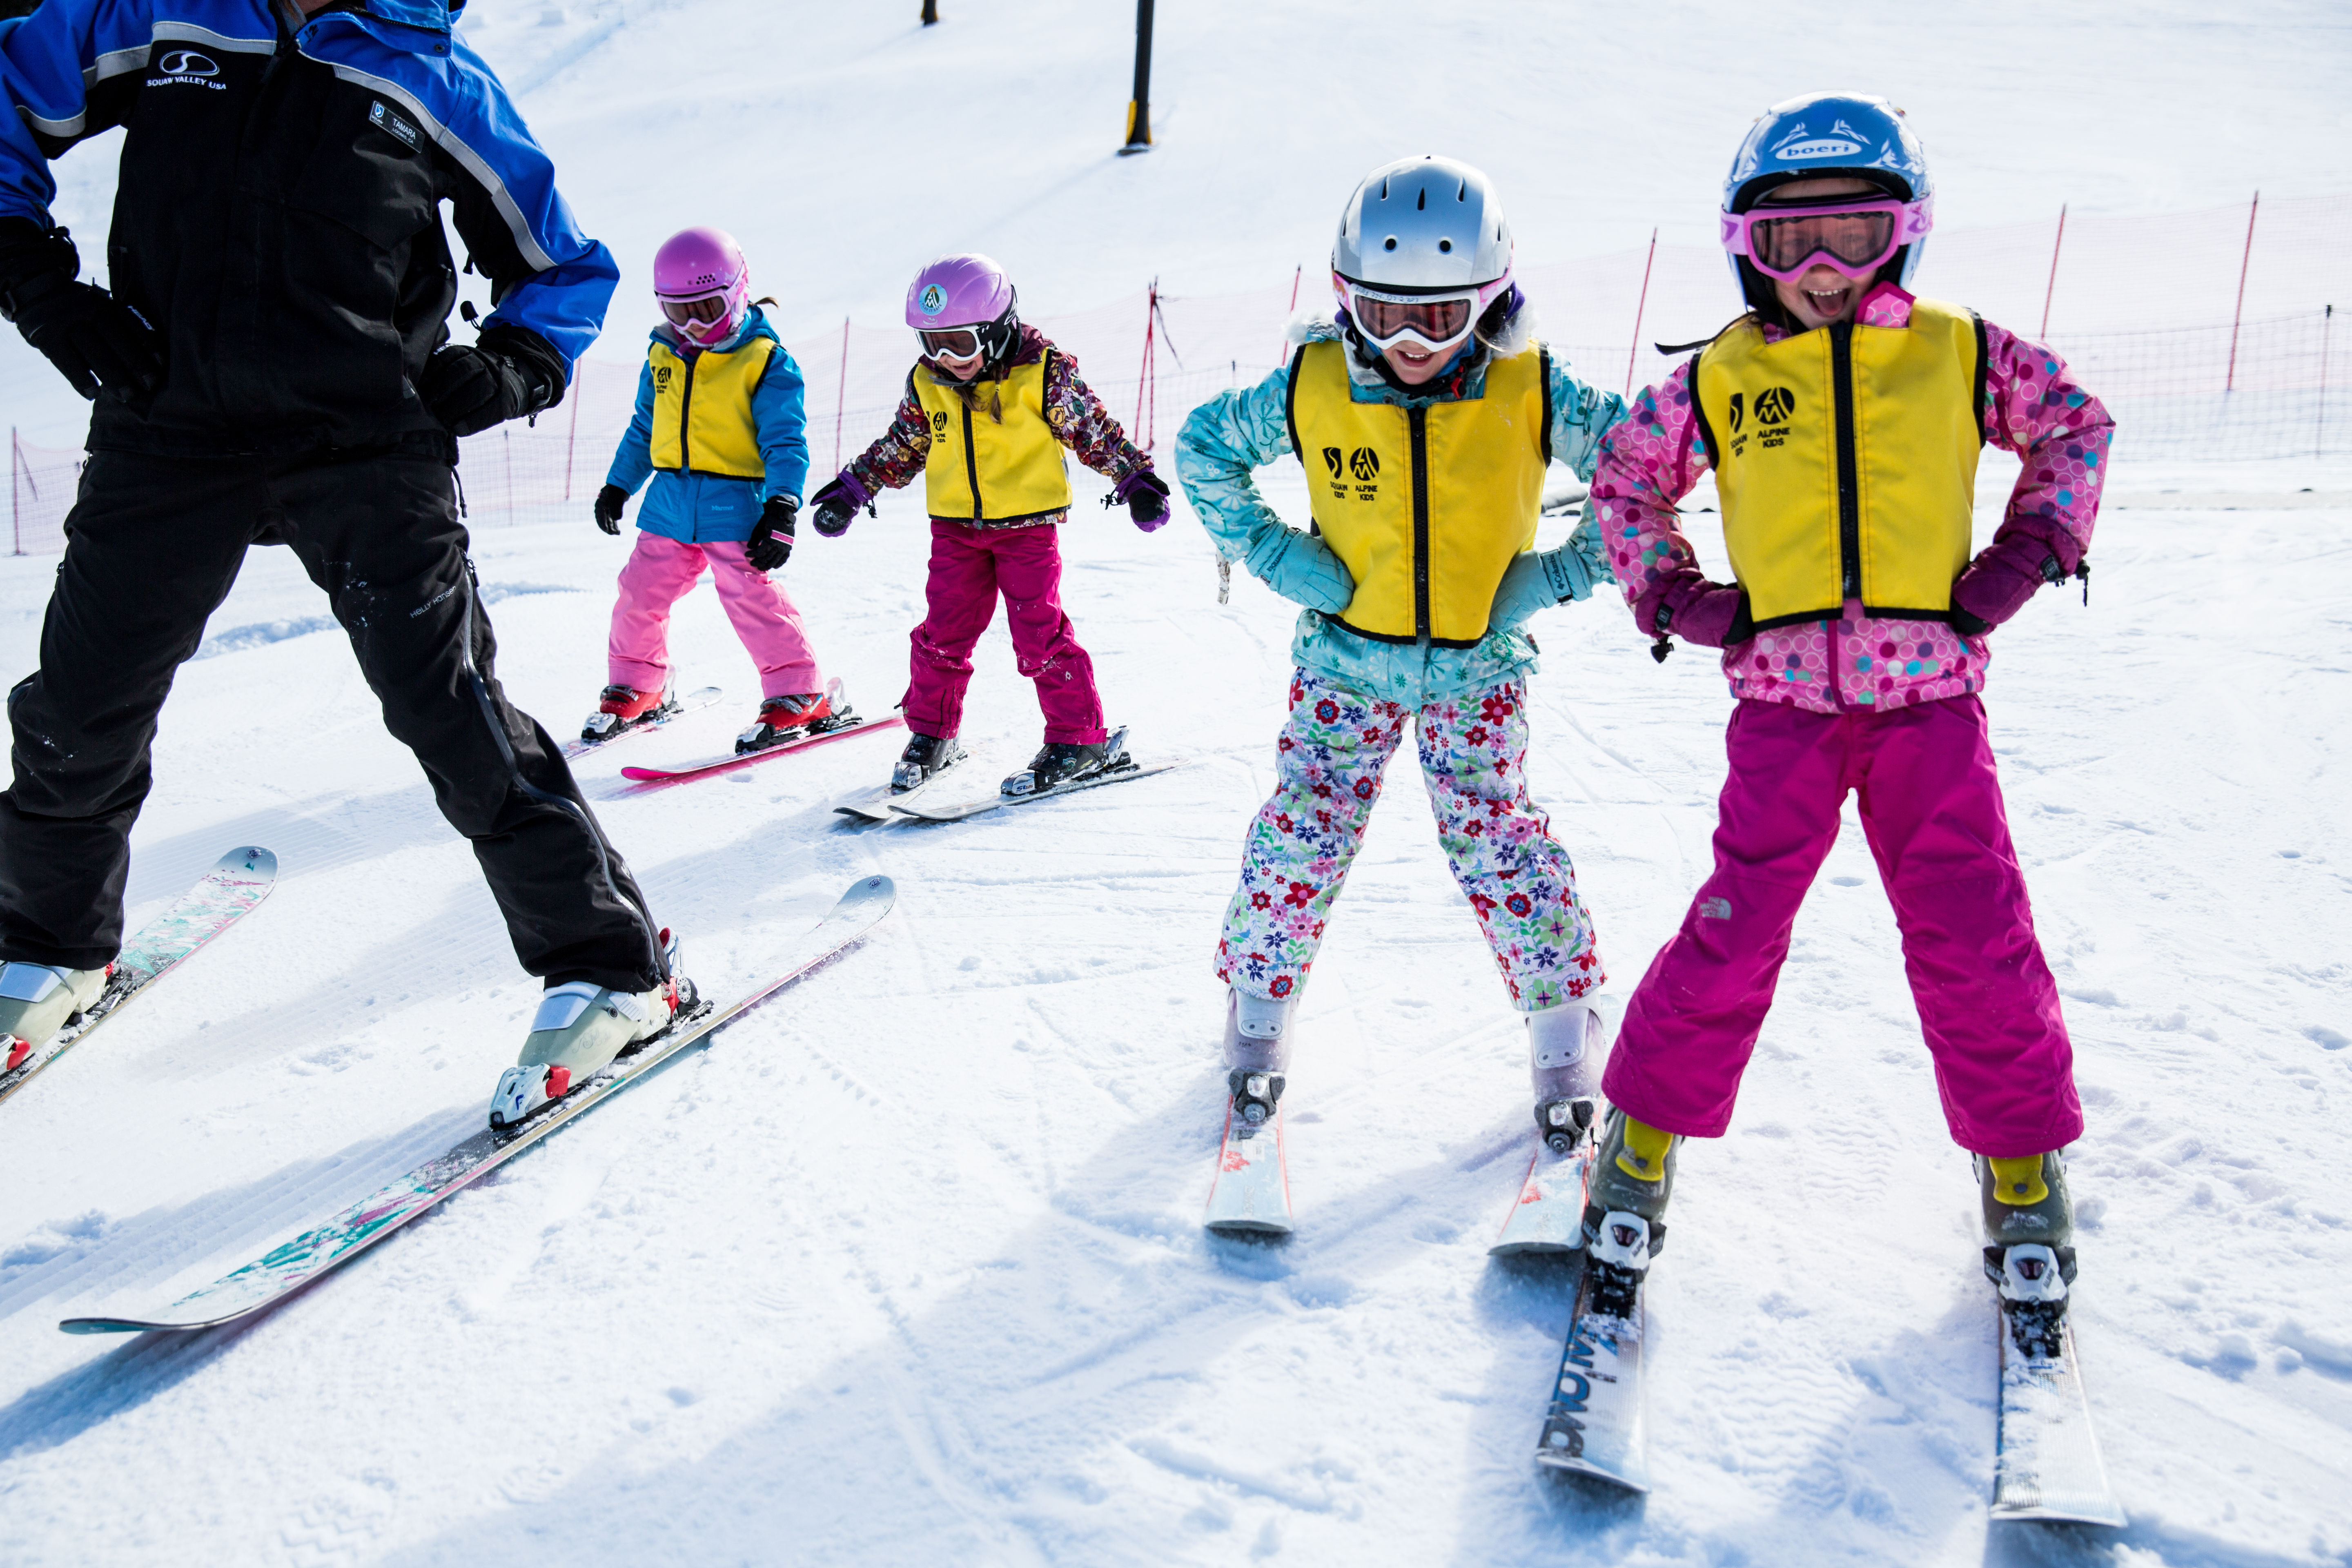
Related: See Why Kid's Love Learning to Ski at Northstar California

12. Tenaya Lodge

Tenaya’s sledding and snow tubing hill is set near the world-famous Yosemite National Park in a gorgeous forest setting. There are two sledding hills, a big one for all and a kiddie one for little—both are complimentary to guests of the resort. You can rent sledding discs for half day or a full day. Want more fun? Teyana also offers a guided snowshoe hike, ice skating, and archery sessions.

Cost: Tickets are available on first come, first served basis
Date: Hours and dates vary and are dependent on weather

1122 Highway 41
Fish Camp
Online: tenayalodge.com


Get some fresh air with your little ones on an awesome stroller-friendly hike. Our friends at AllTrails have rounded up a list of Pittsburgh’s best trails that offer smooth paved paths, gentle slopes and gorgeous views. Keep reading to see them all (and don’t forget the trail mix!).

The Great Allegheny Passage

Zofia Chrzanowska/AllTrails

Great Allegheny Passage Trail is a 146.2 mile heavily trafficked point-to-point trail located near Pittsburgh, Pennsylvania that features a river and is rated as moderate. The trail offers a number of activity options and is best used from March until October. Dogs are also able to use this trail but must be kept on leash.

Distance: 146.2 miles
Difficulty: Moderate

Monroeville Community Park West Trail

Adrienne Schierer/AllTrails

Monroeville Community Park West Trail is a 1.6 mile moderately trafficked loop trail located near Monroeville, Pennsylvania that features beautiful wild flowers and is good for all skill levels. The trail offers a number of activity options and is best used from March until October. Dogs are also able to use this trail but must be kept on leash.

Distance: 1.6 miles
Difficulty: Easy

Squaw Valley Park Loop

Janette Schafer/AllTrails

Squaw Valley Park Loop is a 1.1 mile heavily trafficked loop trail located near Pittsburgh, Pennsylvania that features a lake and is good for all skill levels. The trail offers a number of activity options and is accessible year-round.

Distance: 1.1 miles
Difficulty: Easy

Pittsburgh Northside History Urban Hike

Carlos Santana/AllTrails

Pittsburgh Northside History Urban Hike is a 5.7 mile heavily trafficked loop trail located near Pittsburgh, Pennsylvania that features a river and is good for all skill levels. The trail is primarily used for walking and is accessible year-round. Dogs are also able to use this trail but must be kept on leash.

Distance: 5.7 miles
Difficulty: Easy

Riverwalk Point State Park Waterfront

Phyllis Lucente/AllTrails

Riverwalk Point State Park Waterfront is a 2.8 mile moderately trafficked out and back trail located near Pittsburgh, Pennsylvania that features a river and is good for all skill levels. The trail is primarily used for walking, running, bird watching, and road biking and is best used from March until November.

Distance: 2.8 miles
Difficulty: Easy

North Park Lake Shore Loop Trail

Britt Bickerton/AllTrails

North Park Lake Shore Loop Trail is a 5 mile moderately trafficked loop trail located near Wildwood, Pennsylvania that features a lake and is good for all skill levels. The trail offers a number of activity options and is accessible year-round. Dogs are also able to use this trail.

Distance: 5 miles
Difficulty: Easy

Schenley Park Panther Hollow Trail

Josh Woods/AllTrails

Schenley Park Panther Hollow Trail is a 1.9 mile moderately trafficked loop trail located near Pittsburgh, Pennsylvania that offers scenic views and is good for all skill levels. The trail offers a number of activity options and is best used from May until September. Dogs are also able to use this trail but must be kept on leash.

Distance: 1.9 miles
Difficulty: Easy

Eliza Furnace Trail

Angela Rodriguez Leedy/AllTrails

Eliza Furnace Trail is a 5.7 mile moderately trafficked out and back trail located near Pittsburgh, Pennsylvania that features beautiful wild flowers and is good for all skill levels. The trail offers a number of activity options and is accessible year-round. Dogs are also able to use this trail but must be kept on leash.

Distance: 5.7 miles
Difficulty: Easy

Steel Valley Trail - The Waterfront

Linda Black/AllTrails

Steel Valley Trail - The Waterfront is a 8.5 mile out and back trail located near Pittsburgh, Pennsylvania that features a river and is good for all skill levels. The trail is primarily used for hiking, walking, and mountain biking and is accessible year-round. Dogs are also able to use this trail.

Distance: 8.5 miles
Difficulty: Easy

Mingo Creek Paved Path

Hannah N/AllTrails

Mingo Creek Paved Path is a 6.2 mile heavily trafficked out and back trail located near Eighty Four, Pennsylvania that features a river and is good for all skill levels. The trail offers a number of activity options and is best used from March until November. Dogs are also able to use this trail but must be kept on leash.

Distance: 6.2 miles
Difficulty: Easy

AllTrails helps connect us to the outdoors and makes getting outside easier and more accessible. Home to the largest collection of hand-curated trail guides, with AllTrails you can search for and navigate trails, parks, and green spaces, or use filters to find your next favorite trail.


Just because you have kids doesn’t mean your concerts have to be limited to “Old MacDonald” sing-alongs. Exhibit A: WinterWonderGrass Tahoe at Squaw Valley | Alpine Meadows, happening this year March 29-31. Read on to find out what makes this festival totally kid-friendly and tips for attending.

1. For kids ages 12 and under, admission to WinterWonderGrass Tahoe is totally FREE. As of publication, single-day adult tickets were still available starting at $79. Click here for all ticketing options. Good to know: traveling with grandparents? Attendees 75 years old and older are also free!

2. Unlike Outside Lands or larger music festivals this venue is intimate. The festival is set up in the Squaw Valley parking lot behind PlumpJack. We think the most kid-friendly times to visit (and least crowded) is during the day right when the doors open and the music starts. Head in early before bedtime to easily hop between the stages. Expect one main stage with tents scattered throughout the festival, each housing smaller stages (3 heated stages in total). It’s a highly approachable and doable music festival with kids, which you’ll notice right off the bat given how many littles are running around with their music-loving parents.

3. Need a breather? Head to the festival’s designated Kid Zone, which is located a short distance from the main stage in a heated area next to VIP. Bonus: the kids tent has some of the best views of the stage! The Kid Zone is a creative and safe space where you’ll find, crafts like beading, coloring and LEGO building, hula hoops, face painting, a coffee bar with hot cocoa and food vendors with lots of kid-approved eats.

4. Unlike some music festivals this one has a flex in-and-out policy so if you need to skidaddle for a little bit or need a breather, feel free to go and come as you please.

5. The bathroom situation isn’t ideal for those potty-training because the facility only has port-a-pottys and you might have to wait during peak hours. We suggest bringing your own hand sanitizer. The good news is that you’ll find 50+ handicap accessible stations so you likely won’t have to squeeze your clan into the normal sized ones.

6. Strollers are welcome but the folks welcoming concertgoers will check your backpack for security. Feel free to bring in snacks and water/juice, but full picnic-style meals are not recommended. If you have a little one, we suggest bringing a carrier. We’ve also seen families bring in wagons, which make transport of blankets, backpacks, kiddo, etc. easy.

7. Let’s talk music! The three-day fest will showcase a variety of bluegrass and acoustic roots performances from around 2-10:30 p.m. Head there when the sets begin to catch music before bedtime. Expect For a full line-up click here but really, you can’t go wrong with any set time.

8. For the parents into brews, the Festival will feature samples from over craft breweries and a few local cider houses scattered throughout three heated beer halls. Sampling happens between 2-5 p.m. every day.

9. There will be free water so bring an empty water bottle to stay hydrated or use your Klean Kanteen festival mug, which comes with every ticket. The festival will not have plastic water bottles on site.

10. The majority of the Festival is outdoors so bring layers! Hats, gloves and a winter coat are all necessary, as are ear protection for your littles.

Ticket info.: Ticket prices begin at $79 for a single day ticket and $199 for a three day pass. Kids 12 and under get in free to this family-friendly event.

Squaw Valley
1960 Squaw Valley Road
Olympic Valley, CA
800-403-0206
Online: squawalpine.com

—Erin Lem

photos: WinterWonderGrass Squaw Valley | Alpine Meadows


RELATED STORIES:

What to See, Eat and Do in Truckee with Kids

10 Skiing Hacks and Tricks to Memorize Before Hitting the Slopes

Tips for Getting Your Kids on Skis

A Family Guide to Squaw Valley

If the high cost of ski trip packages is the only reason you haven’t hit the slopes in 2018, then read on! We’ve got tons of budget-friendly tips—from ways to get kid gear on the cheap to how to maximize your time on the mountain (while minimizing cost). No excuses, plan that ski vacay today!

Check Craigslist or borrow gear from friends.

Resort at Squaw Creek

No one loves to drop major cash on ski gear for kids when it's a given they'll outgrow it all before the next season. Opt to borrow from friends, or check out Craigslist and Nextdoor to buy low-cost ski gear from your neighbors. 

Book early!

Resort at Squaw Creek

If you are planning a ski trip during a busy weekend like a school holiday, book early. There's not likely to be as many affordable options as you get closer to the date. By reserving your lodging far in advance, you get the first choice of the available options. Once you have your lodging set, check Liftopia to see if you can score any deals on lift tickets during your stay. 

Skip the hotel and reserve a house instead.

Resort at Squaw Creek

Reserving your own home away from home has a lot of cheap perks. You can find good deals on Airbnb and other rental sites. You can cook your own meals and save yourself from having to eat out, which can really increase the cost of your stay. Lots of ski towns have huge houses that are perfect for bunking up with your besties. By bringing another family along, the kids get built-in friends to play with!

Pack your own snacks.

The Village at Squaw Valley

A burger, fries and a hot chocolate for everyone in your family can add up when you are spending your days on the slopes. Make sandwiches, bring hot cocoa packets and pack water bottles to save a bundle. You can rent out a locker for these items at the lodge, or better yet, tuck them in your backpack for easy access. 

Going often? Get ski passes.

Vail Cascade Resort

If you plan to hit the same ski resort often this season, invest in a ski pass. Many will pay for themselves after three visits, so they are worth the purchase if you plan to spend major time on the snow this year. If you want to try out multiple mountains in one season, look into group deals like the Mountain Collective pass, Epic pass and M.A.X. pass that allow access to a number of ski resorts. 

Secure the gear.

Stowe Mountain Resort

Nothing ends a ski day faster than a missing mitten. Secure your kid's gear to her jacket so that you don't have to replace mittens and gloves with high-priced gear from the resort's ski shop. Zip-ties and carabiners work wonders for keeping kid stuff in place so bring some with you on the mountain. 

Choose ski school instead of private lessons.

Resort at Squaw Creek

Kids need to learn some ski skills? Book them in ski school. You will save a bundle compared to the cost of private lessons and as a bonus—they'll make some new friends while they are there. 

Check for Kids Ski Free deals.

Resort at Squaw Creek

Ski resorts are looking to get the next generation of skiers addicted at an early age. Check for "Kids Ski Free" deals before booking your stay. You can save a bundle on lift tickets when you only have to worry about the price of the grown-up tickets. 

Choose a smaller resort.

Resort at Squaw Creek

Though they may not offer the number of black diamond runs that the bigger resorts do, the smaller resorts offer lots of options. The crowds are typically smaller and these resorts often have special deals for families to encourage them to visit. If your kid just needs a bunny slope and a magic carpet conveyor lift, a smaller resort could be the perfect option. 

Choose a resort that offers a ski package.

Resort at Squaw Creek

If your plans include staying at the ski resort, find out if they offer any ski packages with your stay. By combining lodging, lift tickets and meals, you can save a bundle compared to paying for all those items individually. 

Have an older kid? Check out the skiing passport programs.

Resort at Squaw Creek

If your kids are in the 4th-7th grade range, see check out the ski passport programs. Many states offer free ski passes for older kids when they are accompanied by a paying adult. The rules vary by state, and you often need to submit paperwork in advance so check this option out before you head up the mountain to take advantage of the savings. 

Have you scored any sweet deals on the slopes? Share your secrets in a comment below!

—Kate Loweth

RELATED STORIES:

The BEST Ski Resorts for Beginners

10 Skiing Tricks to Memorize Before Hitting the Slopes

Winter Hacks: How to Buy The Right Ski Gear for Kids


The kids are itching to hit the ski slopes but you are overwhelmed by the logistics of it all—we get it! Whether it’s their first time or if you’ve got a future Lindsey Vonn on your hands, read through this list of skiing hacks and tips before you head to the resort. After all, the more prepped you are, the more awesome the experience for the whole family. Keep reading to see them all.

photo: Smuggler’s Notch

1. Make your own “bunny hill” first. Ski gear is bulky and unfamiliar. Get it ready in advance, and let the kids try it out in your living room first. If you are staying at a ski resort or house with a small snow hill outside, use that for some practice “runs” before you spend the big bucks on the lift tickets. 

2. Get the right gear (& where to get it). Sizing for kids’ ski gear can be tricky. Consider renting your boots and skis before you leave home (which is often a cheaper option), borrow from a friend or hit up the thrift store when you arrive at your destination. Mittens are easier for kids to use than gloves, and make sure you get the ones that can clip on their jacket as nothing can stop a ski day faster than a lost mitten!

photo: Squaw Valley

3. Pick the right resort. The biggest and most popular resort might not be the best for your beginning skier. A beginner slope with a tow rope or “magic carpet” lift is great for kids as they don’t have to learn how to negotiate the chairlift. Many resorts offer other non-skiing amenities like tubing, hot tubs and campfire s’mores that bump up the fun level for your ski vacation.

4. Don’t plan a full first day. A good rule of thumb for kids is that most can tolerate one hour of skiing per year of their age (so three hours max for your three-year-old). If you keep this rule in mind, you won’t exhaust them and turn them off skiing for the rest of your trip. 

5. Ditch the poles. Kids learning to ski need to develop basic skills like creating a wedge to stop and learning how to turn. Poles are often more of a distraction for kids so ditch ’em for the newbies. If you’re going to teach your kids to ski there are tethers you can use that attach to the tips of the skis to help your kids keep the pizza pie shape as they ski down the hill. 

photo: Jeff Curtes/Squaw Valley

6. Splurge on private lessons or ski school. You know how your kids behave better for a stranger than they do when they are with you? The same is often true when learning to ski. Splurging on ski school or private ski lessons can take the pressure off you and make the lesson more fun for your new skier. Plus, many ski lessons include the price of the lift tickets or offer free skiing for younger kids. 

7. Fill your pockets (& backpack) with all the essential gear.

  • Chapstick. Not only does it keep chapped lips at bay, it is great when treating mountain-side windburn or even preventing friction on a spot that’s prone to blisters. If your jacket’s zipper gets jammed, lubricate both sides with Chapstick and get it moving again.
  • Carabiners and zip ties. These are great for attaching mittens, ski passes, goggles and more so that they don’t get left behind on the mountain.
  • Sunscreen. Bring a pocket-sized tube or squirt some into a contact lens case before you go. The sun on the mountain can get super intense and you don’t want anyone to burn!
  • Ziploc bags. Mountainside injury? No problem! Fill your Ziploc with some packed snow while you wait for ski patrol to come to your aid.
  • Hot cocoa packs and tea bags. Warm up at the lodge and just pay for hot water!
  • Your lunch. Bring snacks and pack in food to avoid expensive purchases. 
  • Sweet Treats Sugary motivation is sometimes the only way you can get a tired kid down the mountain so be prepared.

photo: Jeff Engerbretson/Squaw Valley

8. Prep for day two. When you’re done for the day, immediately put hats, gloves, boots, etc. near the heater so they can warm up overnight. Tuck dryer sheets into your boots to absorb any offending odors. When you get up to make your coffee in the morning, pop hand warmers in your boots so that you can have toasty toes when you gear up.

9. Safety first. It might not be how we grew up skiing, but helmets are a must in this day and age, for kids and parents alike. Make sure your crew has their noggins covered in well-fitting helmets so that a bump on the head doesn’t mean an end to your ski day.

10. If all else fails, outsource. Don’t let the packing overwhelm you. Companies like Kit Lender and Ski Butlers are ready to ship whatever gear you need, right to your ski destination.


—Kate Loweth

RELATED STORIES

The BEST Ski Resorts for Beginner Skiers

11 Next-Level Sleds You Need in Your Life

7 Stylish Winter Boots for Kids

Winter Hacks: How to Buy The Right Ski Gear for Kids


Every kid thinks their dad is the coolest dad around, but when your dad is a freestyle skiing Olympic gold medalist and co-host of G4’s American Ninja Warrior, Jonny Moseley, you’ve got one very awesome pop. We recently had a chance to catch up with the Tiburon, California resident and father of two. So even if we can’t hit the slopes like Moseley, we can still land a sweet trick or two when it comes to freestyle parenting.


Red Tricycle: 
With the Olympics upon us, are your kids aware of how famous you are? Do your they feel like they need to follow in your ‘ski steps?”
JM: [Laughs]. Well, I don’t know about famous, but they do watch me on TV and we occasionally get out the gold medal from the safety deposit box. I’ll let them hold it. They think that’s pretty cool. And Jack has been practicing his 360s on our trampoline. But I’ll steer them away from freestyle skiing – I don’t know if I can take it.

RT: Are your kids good skiers?
JM: Jack, my 4 year-old, has been on skies since he was 15 months old. I wouldn’t really call it “skiing” though at that age. Our goal has always been to get him to like it. We want our kids to enjoy skiing, so we’ve only been taking them up on nice days in the spring, when you don’t have to wear a lot of gear. Like short sleeve weather.

RT: What tips and tricks do you have for teaching kids to ski?
JM: A bamboo pole – longer than you think you need – is a great way to teach kids to ski. They can hang onto that – almost like a water ski bar – and turn normally at a safe distance behind you. Also, if you can, go up when conditions are fair so your kids are most comfortable. And when the kids are old enough, enroll them in ski school. We’re up at Squaw Valley a lot. Their kids programs are great.

RT: What about your parents – how did they handle the safety issues, not to mention the time, intensity and dedication it must have took to get to your level?
JM: My parents are great. I was the youngest of three boys (by five years) so I think I benefited a lot from that. We were all really active and into sports and I think my parents were just looking for something we could do as a family where we would burn off some energy. I feel really fortunate that I was able to ski beginning at a young age and that my parents weren’t overly protective when it came to the safety element. Mostly they just wanted us to finish school. Almost everything else was negotiable.

RT: How has this translated into your own parenting philosophy?
JM: My wife and I really want to be good parents, and we also want to expose our kids to a lot of things and then just follow their lead in terms of what they’re interested in. Coordination and balance are really big at this age so we’ve been working on building that. I also want my kids to understand the concept of practice and determination. You can start a new sport and be pretty good at it at first, but if you really want to perform and do well, you’ve got to make mistakes. You have to do the hard work in order to succeed.

RT: Are you kids coming up with stunts – any “dinner roll” equivalents  – like the “cinnamon roll” or a “fruit rollup?”
JM: [Laughs]. No. But that’s a good idea. Jack has been doing some combos on the trampoline but he hasn’t named anything yet. We’ll get back to you later on that.

— Allison Ellis

Winter is here, snow is falling in the mountains, and another exciting ski season is at hand. For those who were BK Skiers (before kids) the dream of the day when you are able to delight in the winter sport again and share the experience as a family might be a reality this year. Here are some great tips for getting your little ones out on the slopes.

Keep them warm.
Think snow and kids and the vision of the bundled toddler barely able to walk with all of the padding comes to mind. While warmth is essential, ease of mobility is now key as well.

  • When choosing those adorable little snow duds, consider potty access. The all-in-one full zip snowsuits can be tricky, especially in chilly bathrooms. Ski bibs are a great alternative for easy access and keeping the snow out. Check labels to ensure your pants and jacket are water-proof, or at the very least, water-resistant.
  • Think layers. A well dressed kid is one with multiple layers enabling you to adjust to changing temperatures. Start with a lightweight base layer to keep body heat in. Socks should provide warmth and wick sweat away from the feet.  Synthetic materials are better than their cotton brethren, which will hold moisture and cause your little one to feel chilled. In colder weather, add a long-sleeve T-shirt and sweatpants over the long underwear.
  • Don’t forget a comfortable pair of goggles or sunglasses to protect eyes from glare, wind, and sprays of snow. Many manufacturers make specific child sizes for a better fit.

Get the right gear.
A good thing to remember when you first introduce young children to skiing is that it should be fun and at this stage, it’s more about getting them comfortable then actually skiing. Seasonal rentals are a great cost effective way to have your child in the proper sized equipment as they grow bigger. Buying gear isn’t a bad option either, especially if you have multiple kids. With it’s typical light use, beginner ski gear can be used many times.

So how do you measure your child for proper fit?

  • Kids 3 and under should have skis that come up to roughly, between their shoulder and their chin. This length lets them feel the sensation of sliding yet still able to get around, get up easily, and side step or slide and glide. In general kids do better on skis they feel comfortable on.
  • If your child is 4 or 5 years old, both weight and height need to be considered when choosing skis for beginners. A good rule of thumb is to pick skis that stand between their chin and nose. Skis are measured in centimeters and most children starting out are comfortable on skis that are 88-90cm.
  • The ideal way to find the proper sized boots is to actually try on some different sizes at a shop. Remove the liner from the boot before they step in so that you can check the length and width directly. Ski boots are measured in what is called Mondo Point sizing, which is the length (in centimeters) of the sole of the foot. Have your child stand on a tape measure, being sure to read the centimeter side of the ruler from heel to toe. Most young kids will measure between 15 and 21 cm, which is translated as size 15.0 and 21.0.
  • Don’t forget to cover that noggin with a properly fitting ski helmet! You can buy or rent, but helmets are critical gear since most head injuries happen at low speeds.

Have some fun inside first.
No doubt about it, those stiff boots, clunky helmets, bug goggles, and giant boards attached to your feet can be scary business! Avoid the tears and let your little ones have some fun inside gearing up and sliding across the carpet with some help from mom or dad. Let them practice putting on and taking off the boots and be sure to demonstrate binding use. Our 3 year old felt much more comfortable once he realized the loud “click” of a binding did not mean the skis were now permanently attached to his feet.

Consider enrolling in school.
Ski school is the best way for your child to get a comfortable introduction on how fun skiing can really be in a fun and low pressure environment. Child specific ski instructors are the experts on handling an army of pint sized snow-monsters and by the end of a couple of days most are able to actually get their gear on and off, be familiar with a tow rope or chair lift (with help of a grownup), go straight (french-fries), slow down, stop (pizza), and even turn a little. Most programs are half or full day and require advanced reservations. We found a couple of half days in a row was the best way to really introduce the kids to the concept.

Get your own gear ready.
The most practical thing a parent skier should own is some kind of  hydration backpack. Pack it with snacks, extra layers, extra gloves, and sunblock. The water is probably the most important item though, since a dehydrated kid is a cranky kid. If you are teaching your child to ski yourself there is a variety of gear that can help with this endeavor. We tried several of these contraptions, but the Lucky Bums Ski Trainer was by far the favorite. The grab handle on the back is perfect for loading kids on and off the chair lifts and it also has a handy self enclosed backpack to stash the straps.

Got any other tips that helped your little ski bunnies hit the slopes? Share them with us in a comment below.

*Disclaimer: Ski at your own risk. Take the time to familiarize and educate yourself about the potential risks and dangers associated with the sport of skiing. The content of this article in no way is intended to be a substitute for a parents judgment. Red Tricycle does not assume any liability for any of the information contained in this article. The advice provided herein is strictly advisory in nature. The reader assumes full responsibility for the right to consider or disregard anything written herein, either in part or in its entirety.

photos courtesy of: AnneCN via flickr, *clairity* via flickr, Squaw Valley via flickr, eric.surfdude via flickr, the Brave Ski Mom