Looking for science experiments for kids? Thanks to common household ingredients, some ingenuity, and our guide, these at-home science experiments for kids make any day exciting. To help you prepare, we’ve rated each experiment from one to five sponges so you know the messiness factor ahead of time. If you’re looking for seasonal projects, check out these water-themed science experiments. Or how about a few science projects for kids that are perfect for the backyard?
TIP: Did you know there are a ton of awesome science kits and subscription boxes that will further develop your child’s love of science? KiwiCrate is one of our favorite ed-tech companies, as they offer seriously fun & enriching science & art projects, for kids 0 months up to 13+.
Classic Science Experiments for Kids
Potato Battery Science Experiment
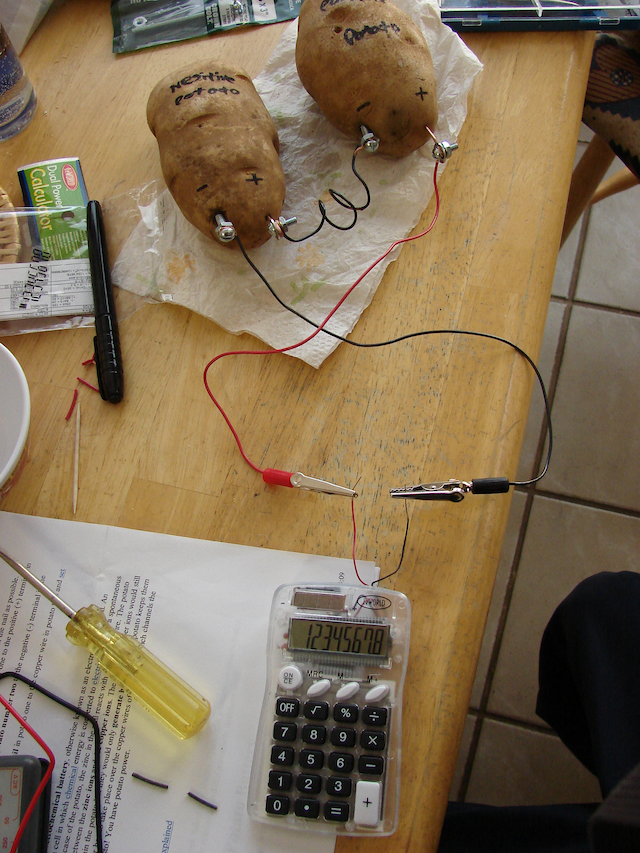
A lesson in: Chemical to electrical energy
When these nails and copper wires collide, heat is generated (psst ... heat is a result of expended energy, so you can explain to your little runner why he feels warmer after a race around the house). But with some potato magic, the properties of the nail and copper stay separated, allowing the heat to become the electric energy needed to power up your devices. Build your own potato battery with this tutorial from Wiki How .
Messiness factor: One sponge
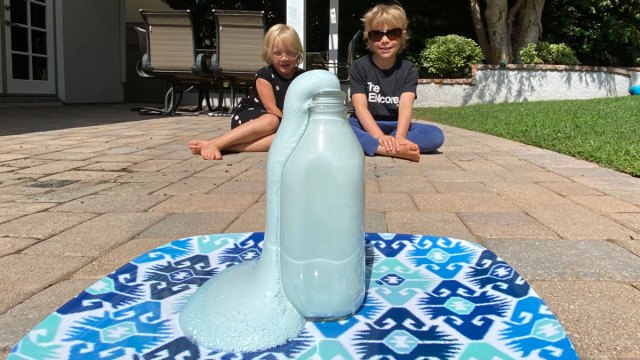
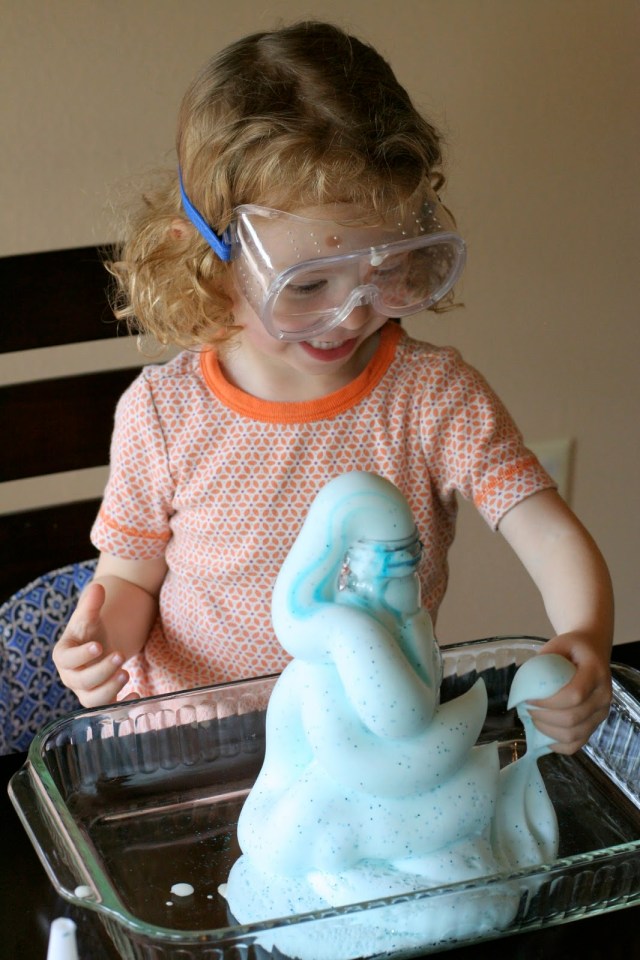
Make a Baking Soda & Vinegar "Steam" Powered Boat

A lesson in: Chemical reactions
Sure, anyone can do the old baking soda and vinegar volcano, but what about creating a boat that is propelled by this classic chemical reaction? Keep your little Einsteins busy this afternoon with this cool science project for kids that doesn't require a lot of prep.
Messiness factor: Three sponges
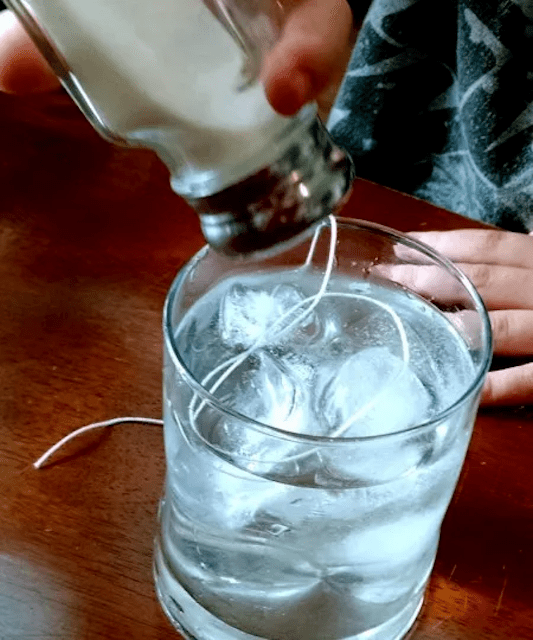
Make Water Float
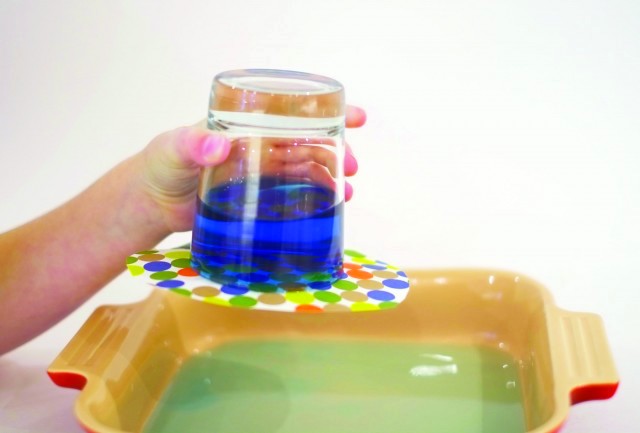
A lesson in: Air pressure
Can you make water float? We bet you can. No, you don’t need to be a wizard or a witch. You don’t need to cast a spell. There’s nothing magic about it at all, in fact. You can make water float using science. The “trick” to this experiment is air pressure. Get everything you need and the how-to, right here, thanks to Mike Adamick and his book, Dad's Book of Awesome Science Experiments.
Messiness factor: Two sponges
Photo by Mike Adamick. Copyright © 2014 F+W Media, Inc. Used by permission of the publisher. All rights reserved.
Germ Testing Science Project for Kids

A lesson in: Germs
This germ-growing science project for kids will help them understand how even the cleanest-looking surfaces (and hands) can be filled with germs, is one of the easiest science experiments for kids we've found. Get the fun and yucky instructions at Kids Activity Blog.
Messiness factor: One sponge
Make an Edible Water Bottle
A lesson in: Chemistry and specifically, spherification.
This futuristic science experiment will leave your kids wanting to know more about chemistry. Quench her thirst for knowledge when you create an edible membrane around teaspoons of water to make these handy water “bottles.” The tutorial is in video form over at Inhabitat. Trust us, it’s as cool as it looks!
Messiness factor: One sponge.
Make Crystal Egg Geodes
A lesson in: Molecular bonding and chemistry.
This grow-your-own experiment lets you grow crystals inside an eggshell. Be sure to get alum powder that contains potassium, or else you won’t get any crystal growth. Adding drops of food dye to the growing solution yields some super cool crystals. A perfectly formed geode takes about 12-15 hours to grow, making this a great weekend project. Get the tutorial for this science experiment for kids at Art and Soul.
Messiness factor: Four sponges.
Check the Iron in Breakfast Cereal
A lesson in: Magnetism.
You’ve probably seen the label that says “fortified with iron” on your cereal box, but how much iron is actually in your cereal? Is there enough to cause a magnetic reaction? This super easy experiment doesn’t require too many fancy ingredients (cereal + magnet) which means you and the kiddos can try it right away. The results may surprise you! Get the how-to at Rookie Parenting and get started!
Messiness Factor: Two sponges.
Learn About Shooting Stars

A lesson in: Astronomy
With this fun video from They Might Be Giants, kids can learn that shooting stars are not stars, they're meteorites. Then, take it out back for a fun backyard stargazing session. We love this science experiment you can do at home!
Messiness Factor: One sponge
Marshmallow Tower
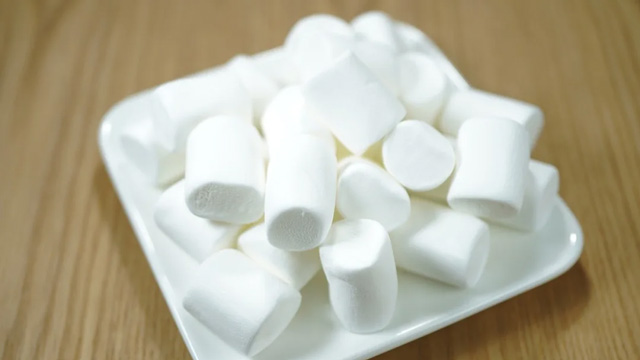
A lesson in: Engineering
Using only marshmallows and dry spaghetti noodles, kids can experiment with structure, stability, and weight distribution. Get the instructions from Kesler Science by clicking here.
Messiness factor: 1 sponge
Paper Airplane Science

A lesson in: Aerodynamics
By making various paper airplanes, your scientists can test the drag of each plane, which will have an effect on how far they fly. Get more info on this science project for kids here.
Messiness factor: 1 sponge
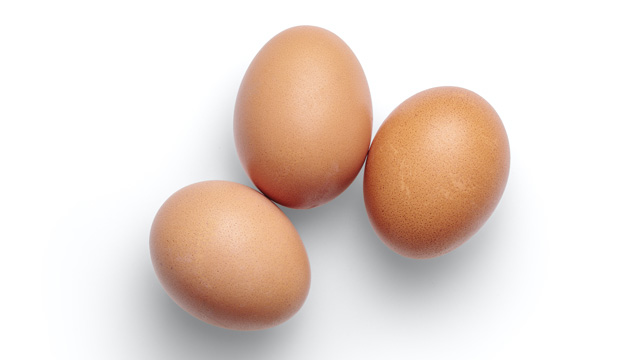
Walk on Eggs

A lesson in: Weight distribution
How can you walk on eggs without breaking them? Steve Spengler shows us how and teaches an awesome lesson on how an egg’s unique shape gives it tremendous strength, despite its seeming fragility. Check out this easy science experiment for kids to get started.
Messiness factor: 1-3 sponges, depending on the state of the eggs in the end!
Milk Magic
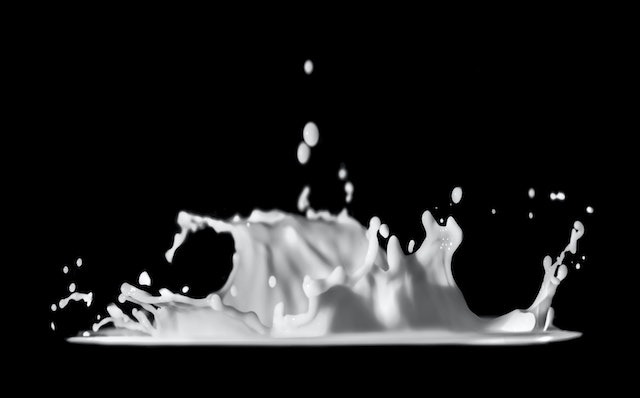
A Lesson in: Molecules
Fill a shallow dish with milk, drop food coloring, and make sure the drops don't touch. Then, dip a cotton swab in dish soap and place it in the middle of the dish. The colors will begin to swirl and seem as though they are moving on their own! Explain to your kids that the soap reduces surface tension and makes the fat molecules in the milk move. Click here for more science experiments that use food coloring.
Messiness Factor: 2 sponges
Professor Egghead's Lesson about Light

A Lesson in: Light
Learn all about the sun and what it gives humans (think energy and warmth!) You'll also do an experiment to learn about different kinds of light, even ultraviolet rays. Get the video from Professor Egghead here.
Messiness factor: 1 sponge
Cup Amplifier

A lesson in: Sound
Slide a mobile phone into this low-tech amplifier and the result will be music to your ears. The audio is deeper, richer, and louder, thanks to the science of sound waves and the natural amplification created by the cone-shaped cups. If the two cups look a bit like the attentive ears of a cat or fox, that’s no coincidence. Animal ears use the same science, but in reverse: they help creatures hear by gathering sound waves and directing them into the ear. For engineers, that’s a design worth copying.
Customize your amplifier to fit any size phone!
Tabs cut all around the hold make it easy to glue the cardboard tube in place.
Cut a slot with a flap to support your phone.
What’s Going On
The Cup Amplifier focuses and projects sound waves, in the same way that a cheerleader’s megaphone (or even just your cupped hands) amplifies your voice. Once sound waves are created, they want to spread out in all directions. The amplifier directs them from your phone’s speakers into the cardboard cups, where, instead of scattering, they are gathered and channeled in one direction—out the openings.
Messiness factor: One sponge
Excerpted from Cardboard Box Engineering © 2020 by Jonathan Adolph. Used with permission from Storey Publishing.
Skittles Science

A Lesson in: Stratification
A great way to get rid of extra candy, this easy science experiment for kids uses Skittles and whatever liquids you want to use. The idea is, the candy is made of ingredients that dissolve, so kids get a chance to guess which liquid will make the Skittles dissolve the fastest. Get more info over at Little Bins for Little Hands.
Messiness factor: Two sponges
Find Out How Many Water Drops Fit on a Coin

A Lesson in: Chemistry
An easy science experiment to do at home is one that helps kids find out what affects the surface tension of water! You'll need basic materials like a penny and a water dropper, and be sure to make a hypothesis before you start. You might be surprised! Get the tutorial from Rookie Parenting.
Messiness factor: One sponge
Pulley Experiment
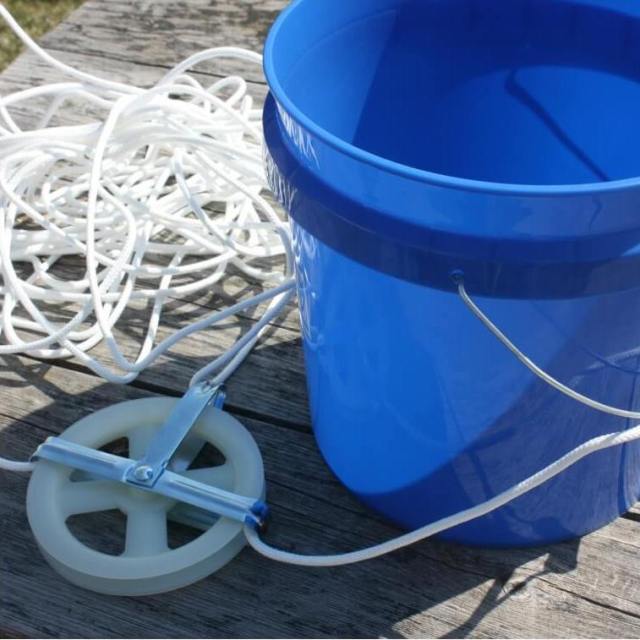
A Lesson in: Physics
This simple experiment requires a trip to the hardware store, but putting it all together is a cinch. Once you've completed the system, have your kids pick up different-sized rocks and make a note about how difficult it is. Then, try with the pulley. Is it easier or is it harder? To find out how to make your pulley, and for other questions to ask your kids, head over to Little Bins for Little Hands.
Messiness Factor: One sponge
Make a Volcano Explode

A Lesson in: Chemical reactions
There's a reason why this science experiment is so popular. When the solid baking soda (sodium bicarbonate—a base) mixes with the liquid vinegar (acetic acid—a weak acid), it creates a gas—carbon dioxide! Besides the chemical reaction, kids enjoy making the actual volcano, whether it's out of clay, mud, or foam sheets. Get a great step-by-step tutorial from The Dad’s Book of Awesome Science Experiments by clicking here.
Messiness Factor: Four sponges
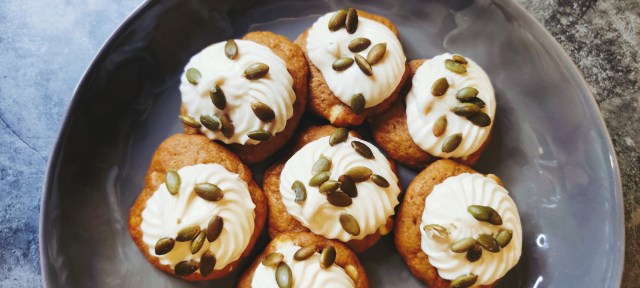
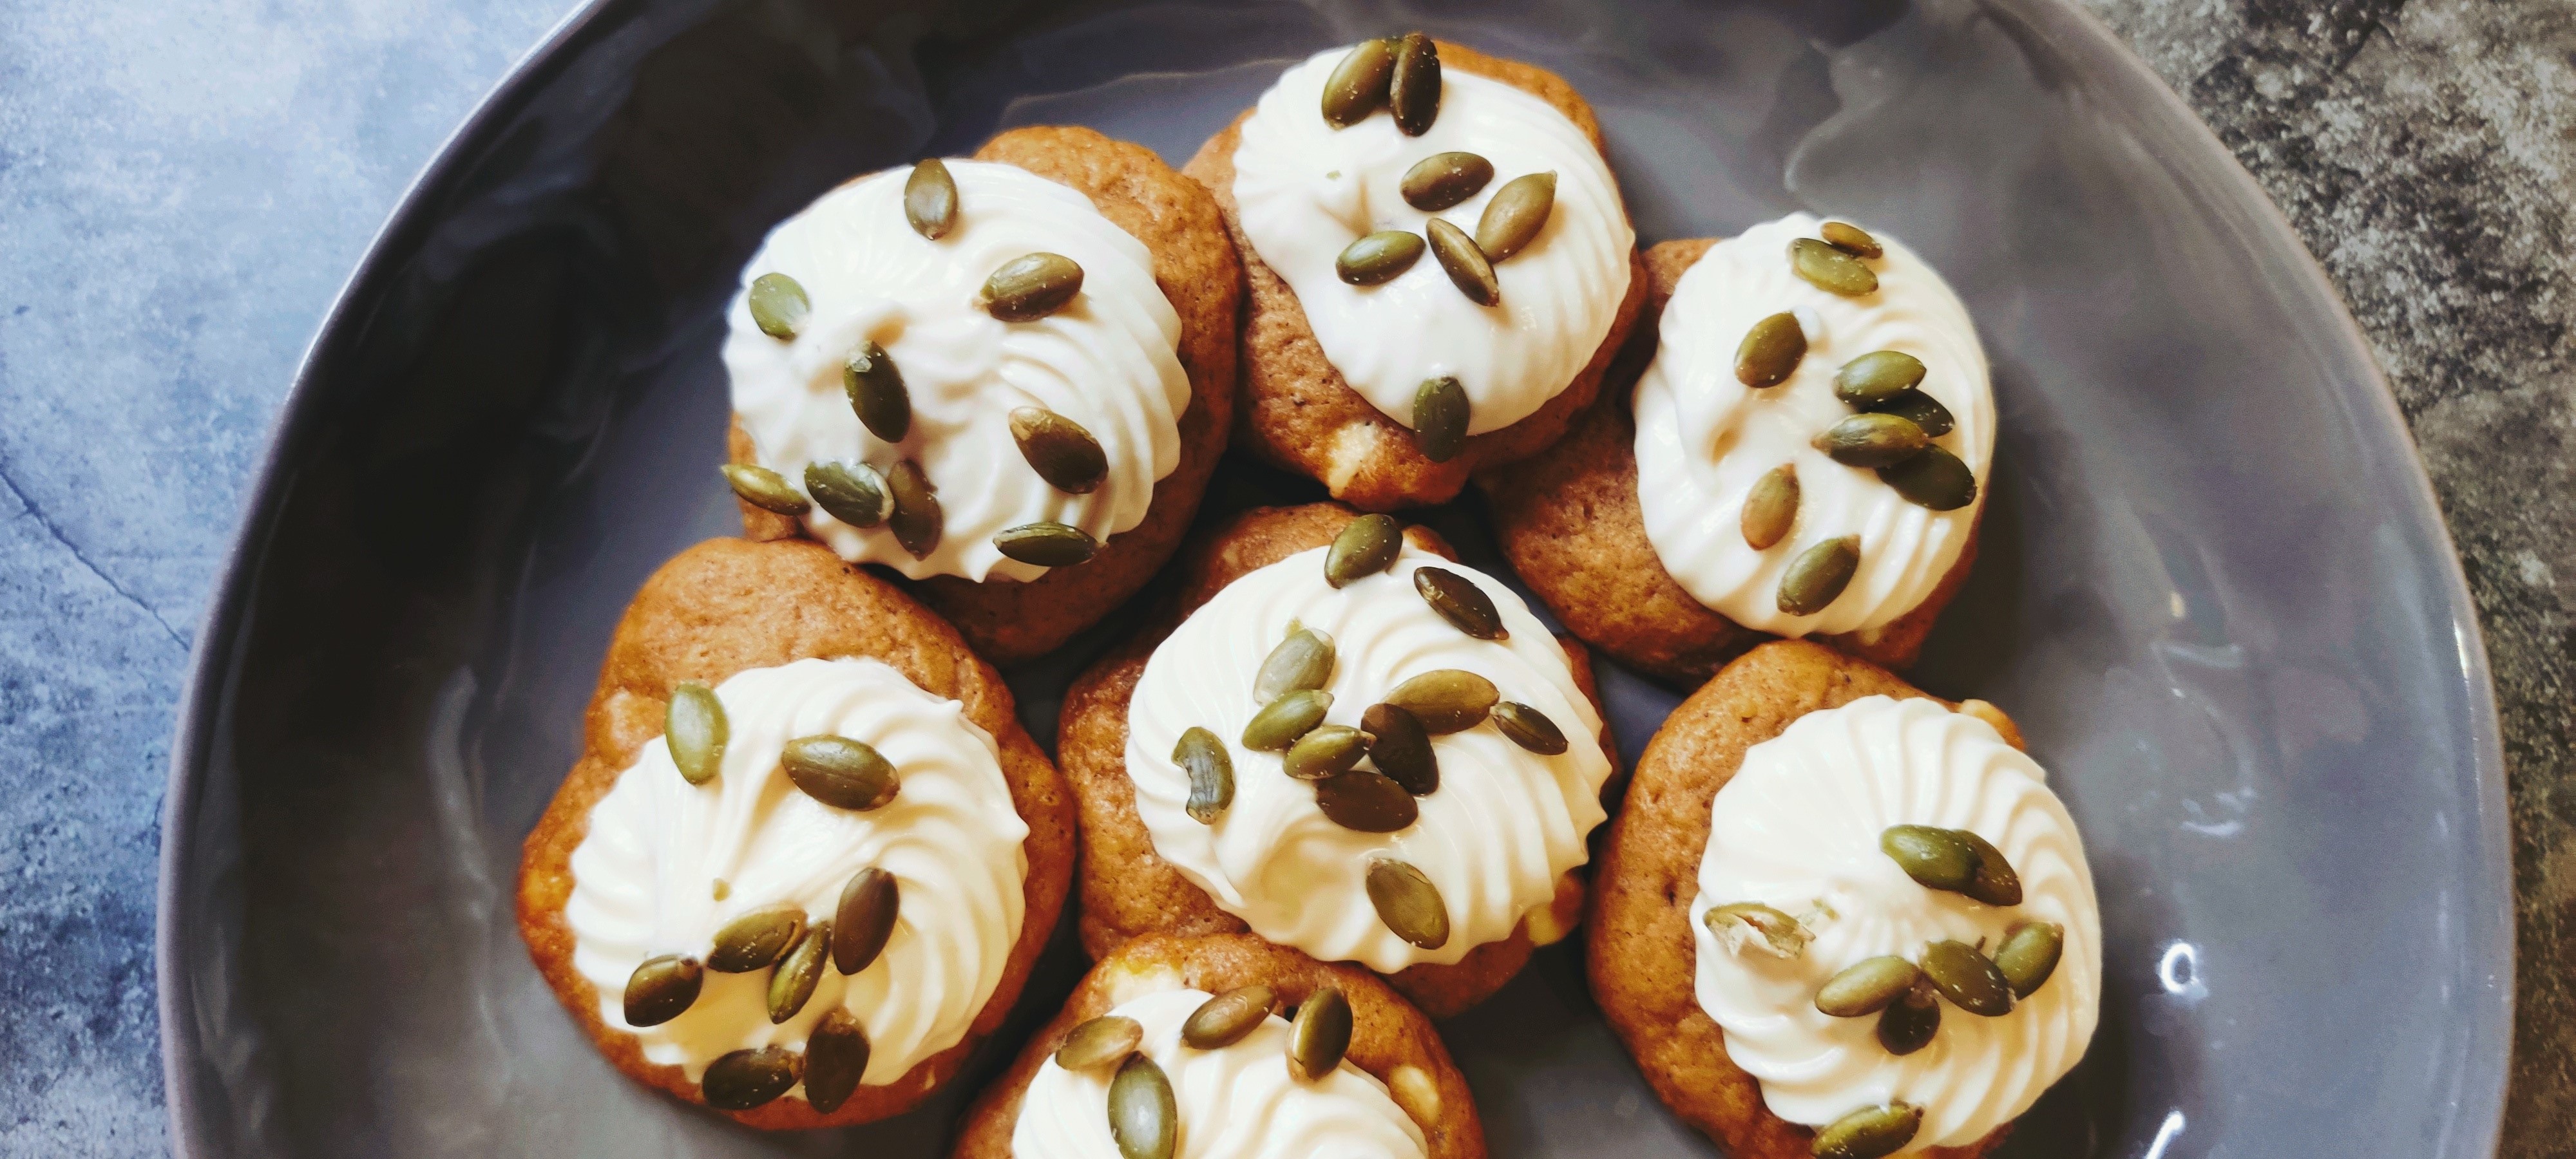
Bake Hygroscopic Cookies
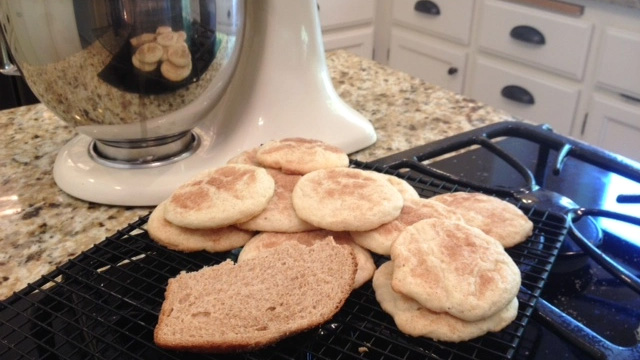
A Lesson in: Hygroscopy.
This simple science experiment is best when you check in on it the next morning. Bake up a batch of cookies, then place them in an airtight container with a piece of fresh bread. Watch as the cookies stay straight-from-the-oven soft thanks to the moisture of the bread (The sugar in the cookies is hygroscopic, which means it absorbs water molecules out of the bread). The best part? Getting to eat the cookies!
Messiness Factor: Two sponges.
The Juice-Tasting Challenge
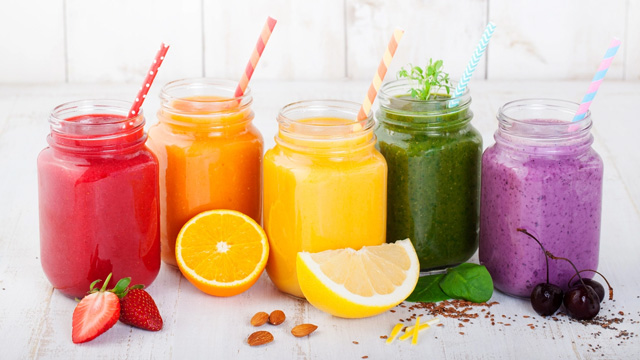
A lesson in: Taste buds and olfactory senses.
Tummy’s rumbling–it’s time to eat! Did you know that you “eat” with your nose and eyes as well as your mouth? It’s true. Put your family’s sense of smell and sight to the test with this juice-guessing game.
You’ll Need:
Masking tape
4 glasses
Pen and paper
4 flavors of juice
4 food colorings
How to:
1. Stack a piece of tape on the bottom of each glass and number them one to four, making sure your partner can’t see the numbers. Pour one type of juice into each glass.
2. Send your partner out of the room. Drip a different food coloring into each juice and stir so your partner can’t recognize the juice by its color alone. Record the number, juice type, and color in each glass on a piece of paper.
3. Call your partner back. Tell her to hold her nose, sip from each glass, and guess the juice If she’s like most people, she’ll be kind of confused–her eyes and tongue give her two conflicting flavor messages.
4. Ask her to unplug her nose, close her eyes, and sniff the juice before drinking it. Her guesses should be on target now. All hail the mighty schnoz!
Reprinted from Exploralab: 150+ Ways to Investigate the Amazing Science All Around You.
Messiness factor: One sponge.
Experiment with Tie Dye
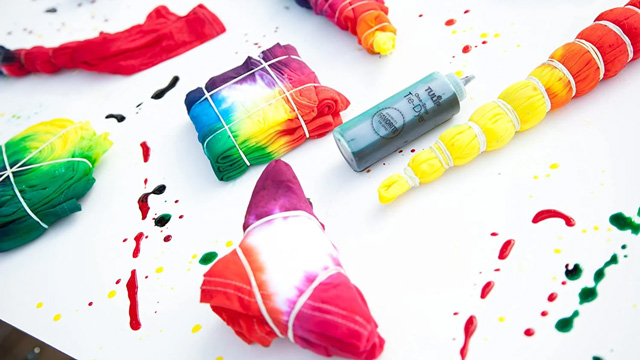
A lesson in: Chemistry.
Dyes are fiber reactive, so there's a chemical reaction between the dye and the fabric. You can do this experiment with everything from paper to t-shirts. We've got a great list of tie-dye projects here.
Messiness Factor: Five sponges.
Make a Sundial
A lesson in: Astronomy
Unravel the mysteries of time. Or at least figure out the basics by setting up a sundial outside. Take time each hour to check the sun’s positioning and make note of it so your sidekick can see the bigger picture.
Messiness Factor: One sponge
Dry Ice Bubbles
A lesson in: Gas.
Dry ice is already cool enough on its own, but it takes science to turn them into bubbles. When you add water, it changes the temperature of the dry ice, causing the ice to go from solid to gas. That’s where the fog and bubbles come from! Head to Simply Modern Mom to get the full tutorial. But be careful: Dry ice can cause serious skin burns, so make sure your kids are well-supervised and know not to touch the ice.
Messiness factor: Three sponges.
Invisible Licorice
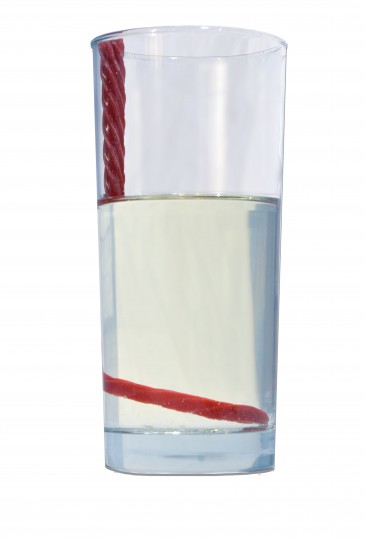
A lesson in: Light and perspective.
Did the candy melt or disappear? Your sweetums might think it’s magic, but it’s really all about how oil redirects light, causing half the candy to disappear! Click here for the instructions on how to recreate this mind-warping experiment.
Messiness factor: One sponge.
Egg in a Bottle
A lesson in: Air pressure
Your whistler has the basics of air pressure down just by using their mouth to blow. And now you can amaze them with this science experiment for kids. There is a little fire play involved (dropping a lit paper into the bottle), but that’s what causes the unbalanced air pressure, which pushes the egg into the bottle. Want to test it out? Head over to Steve Spangler Science for the tutorial.
Messiness factor: One sponge
Invisible Ink
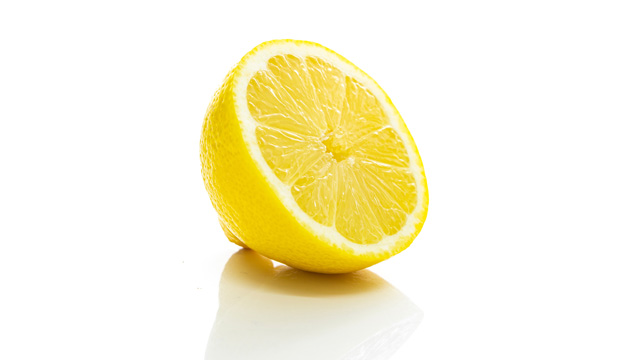
A lesson in: Oxidation.
If your snacker has noticed how their apples have turned brown after being left out for too long, then they’ve seen oxidization in action (loss of electrons and nutrients when in contact with oxygen). Fortunately, lemon juice only oxidizes when in contact with heat. This method works with baking soda and milk too. Click here to find out how to write secret messages with your little spy.
Messiness factor: One sponge.
Kid-Safe Lava Lamps
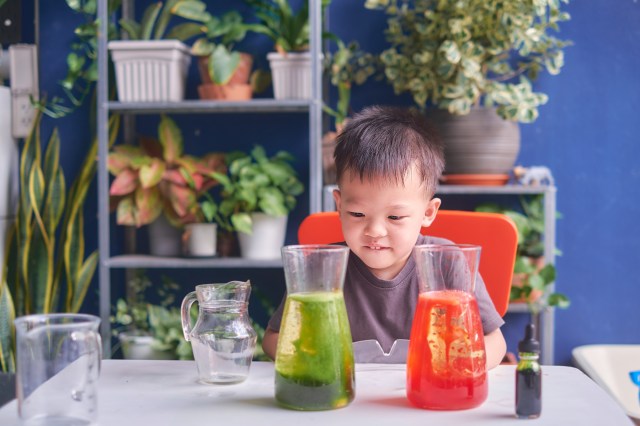
A lesson in: Density and intermolecular polarity.
These sound like big words for our little ones, but there’s an easier way to break it down. Water and oil won’t mix because they’re not the same “weight” or substance (just like clay and LEGOs won’t become one). Now add a drop of food coloring (which is heavier than oil) and a fizzy tablet and watch the air bubbles take coloring with them to the top. Head on over to S. L. Smith’s blog to see how it’s done.
Messiness factor: Two sponges.
Rock Candy
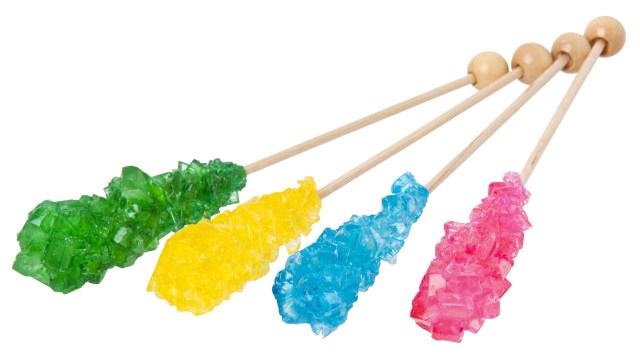
A Lesson in: Crystallization.
Be careful: The water only has the power to make the sugar crystals “invisible” when it’s piping hot. After the water cools down and evaporates, the sugar turns back into a solid. And with a little help of your sugar-soaked string, the crystals will find a home to grow upon and become rock candy. Learn how to make your smart sweets with these instructions from the Exploratorium.
Messiness factor: Two sponges.
S'more Solar Oven

A lesson in: Solar power.
Harness the power of the sun to make your favorite campfire treat! With just a few common household items you can create an eco-friendly oven just for melting marshmallows and chocolate, plus you can teach kids about the power of the sun. Click here to learn how.
Messiness Factor: Two sponges.
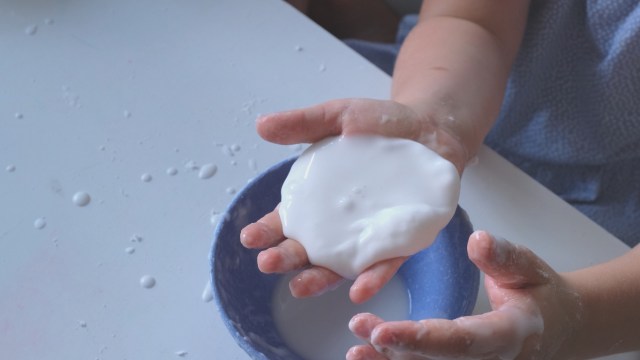
Homemade Slime
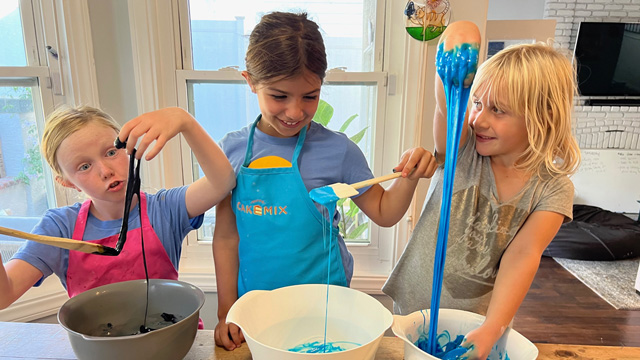
A lesson in: Polymers.
Is it a liquid or solid? The answer is both! This DIY slime—made from glue, borax, and water—is also known as a polymer (molecules that can stick close together to be a solid or spread apart and take liquid form). And it’s all thanks to borax, which acts as a binder to prevent the glue from going completely liquid. Check out Explorable’s recipe for mixing the ingredients. Prolong the life of your goo by keeping it in an airtight container in the fridge. And, if you need help with cleanup, check out our guide for how to get slime out of clothes, couches, and hair.
Messiness factor: Three sponges.
Make Fizzy Lemonade
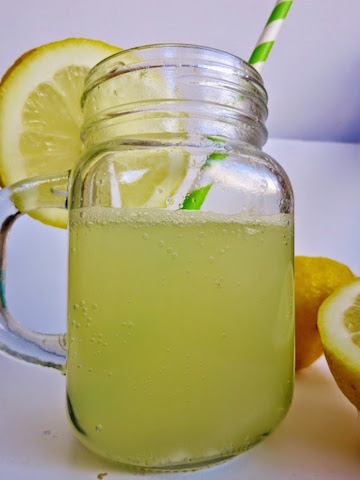
A lesson in: Chemistry.
Plain old fresh-squeezed lemonade is so last year. Boost the fun quotient and learn a simple science concept simultaneously when you recreate this edible Fizzy Lemonade drink from Learn With Play at Home. It’s super easy to mix and little sippers report it’s pretty tickly too. A great alternative to the baking soda-vinegar volcano, it shows kids what happens when an acid and base are mixed together.
Messiness factor: One sponge.
Whirlpool in a Bottle
A lesson in: physics, weather science.
This easy little experiment doesn't take much: just two empty and clear 2-liter bottles, a metal washer, water and duct tape. Food coloring is optional. Fill one bottle with about two-thirds water. Place the washer on the bottle and line up the empty bottle on top of the water-filled one. Wrap the duct tape around the middle securing the two bottles together. Then, turn the bottles upside down. Does the water go straight down or do you see a mini whirlpool (Swirl the top or bottom a bit for a better effect.)? The spinning water is called a vortex, and all tornadoes, hurricanes and typhoons are examples of air vortexes. Since you’re using water, this is an example of a whirlpool. As the water spins faster, it pushes to the outside of the bottle creating a hole in the middle. The air from the bottom of the bottle comes up the middle and the water from the top flows back down through the hole.
Messiness factor: Two sponges.
Salt Crystal Feathers
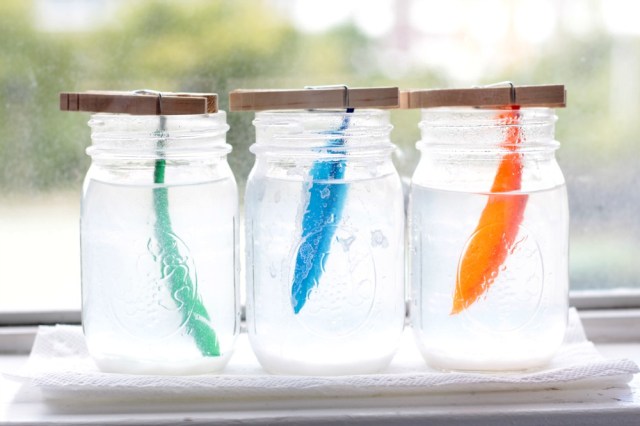
A lesson in: Evaporation
You’ve probably tried a salt crystal growing kit at some point in your life (5th grade Science Fair perhaps?) but Schooling a Monkey takes the idea to a new level with these Salt Crystal Feathers. This awe-inspiring project is deceptively simple and inexpensive to achieve, and requires just a wee bit of patience to see the results—kids will love checking in on the progress.
Messiness factor: One sponge
Soda Blasting Experiment

A lesson in: Chemistry, pressure, and release of pressure
This experiment is one you'll definitely want to do outside. Step it up with this Mentos + soda experiment: head to Steve Spangler for all the need-to-know details on this engaging experiment.
Messiness factor: Three (very epic) sponges
Melting Rates

A lesson in: Solar science and absorption
Different colors have different heat-absorbing capacities. Black has the greatest heat-absorbing capacity, which results in ice melting quicker than white, which reflects the most light. Learn how to observe and report on which colors affect ice’s melting rates here on Curiodyssey. Get more sidewalk science ideas here.
Messiness factor: One sponge
Make Elephant Toothpaste
A lesson in: Chemistry and the exothermic process <<<impress your kids!
If you’ve ever wondered how elephants keep their tusks clean, we’ve got the answer. They use elephant toothpaste! Find out how to mix your own and figure out the science behind this dynamic exothermic (heat-releasing) reaction from Fun at Home With Kids. Our favorite part? That you get to throw in some sensory playtime after the action’s over.
Messiness factor: Three sponges. Maybe four.
Bending Water with a Comb
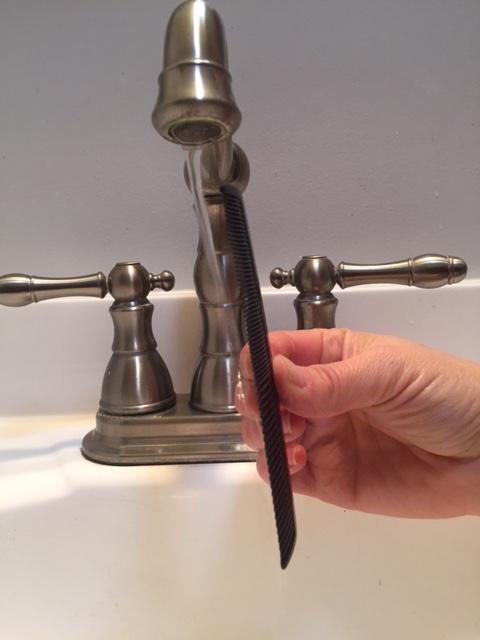
A lesson in: Electrical currents and static electricity
This static electricity science experiment couldn't be any easier. In fact, other than a balloon or going down the slide, it might be the easiest way to teach kids about electrical currents. And, you can impress them with your wizarding skills once before you reveal the science behind it. Click here to get the step-by-step.
Messiness factor: One sponge
Regrow Leftovers
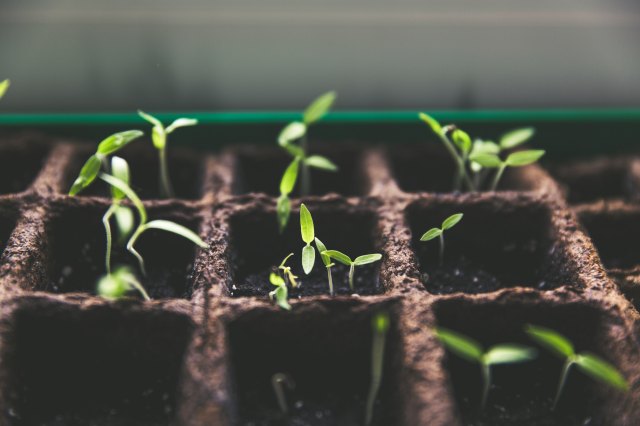
A lesson in: Photosynthesis and plant science.
Insert a little plant science into the mix by re-growing food from scraps. Think onions, potatoes, and lettuce for this one (psst… green onions are a super easy, fast option). Get the low down on all that recycled goodness at Mrs. Happy Homemaker. Since plants need water and sunlight to grow, exposing scrap roots to that winning combo helps them recharge.
Messiness factor: Two sponges.
Turning Pennies Green

A lesson in: Chemical reactions.
It happens to the Statue of Liberty and it happens to the change in your pocket! Create your own home lab with just a few household ingredients (this experiment will literally cost you just pennies). It’s also a chemical reaction with very non-toxic ingredients, so it’s safe and fascinating even for young kids. Click over to Buggy and Buddy to get the simple how-to.
Messiness factor: One sponge.
Film Canister Rocket

A lesson in: Rocket science.
Like the popular baking soda and vinegar experiments, this film canister rocket literally takes it to the next level by using that creation of gas and energy to jet off into the sky. If your explorer has seen videos of mountain tops getting blown off during a volcanic eruption, this science project is pretty much any space lover’s version. Get the building instructions over at The Science Kiddo.
Messiness factor: Three sponges.
Disappearing Egg Shell
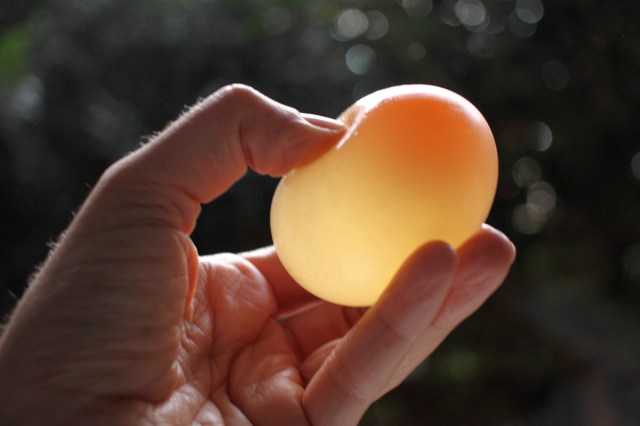
A lesson in: Chemistry.
Can you and the kiddos solve the mysterious case of the disappearing eggshell? Following the simple how-to at Go Science Kids, you’ll learn the step-by-step and talking points about the process along the way. Warning! Although it’s totally non-toxic, toddler-aged kids will be tempted to squeeze the egg at the end so make sure it’s a supervised experiment. Visit Go Science Kids to get cracking!
Messiness factor: One sponge.
Fishing for Ice
A lesson in: Freezing/temperature.
Children living in snow-covered cities might witness their neighbors salting the driveway. Well, while that is definitely not for fun, this experiment is. Salt lowers the freezing point of ice so it melts, but it won’t be able to freeze unless it’s cold enough. See how The Science Kiddo made a clever game with this knowledge.
Messiness factor: Two sponges.
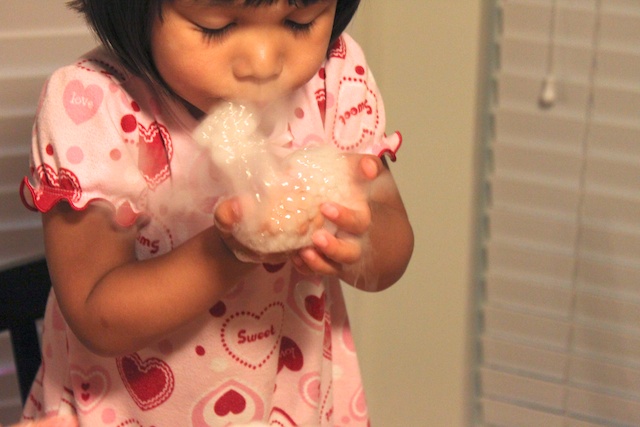
Cloud Jars
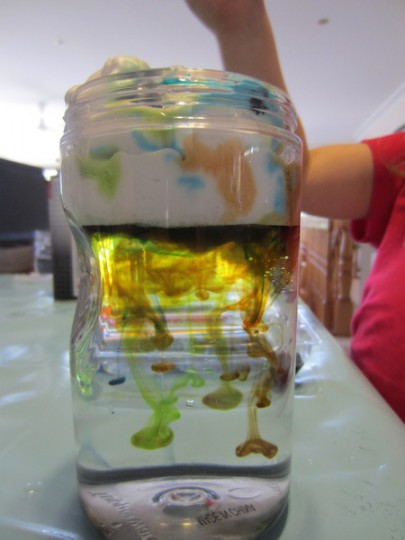
A lesson in: How clouds hold water.
Let your imagineers pretend shaving cream is a cloud that holds colorful raindrops. As they squeeze more and more food coloring, their “cloud” will soon release the excess below—just like how real clouds get too heavy and let the rain loose on a gloomy day. Learn how to re-create this weather experiment here.
Messiness factor: One sponge.
Dyed Plants

A lesson in: Capillary action.
Find out how plants “drink” water with some food coloring. Use carnations, roses, or stalks of celery submerged in the colored water and watch the liquid slowly seep through the plant’s “veins” and towards the leaves. Keep an eye out -- you could have a very colorful bouquet just after the first day. Get the rundown by Dad’s Book of Awesome Science Experiments over here.
Messiness factor: One sponge.
Dancing Oobleck
A lesson in: Sound waves.
The word “oobleck” comes from a Dr. Seuss story where a young boy must rescue his kingdom from a sticky substance. But the neat part of this experiment is how oobleck reacts to vibrations. Put the oobleck over a subwoofer (on top of a cookie sheet!) and watch it dance to different frequencies. Your dancer will see how sound isn’t just about volume! Check out more of this awesome experiment from Tammy of Housing a Forest.
Messiness factor: Five sponges.
Homemade Lightning
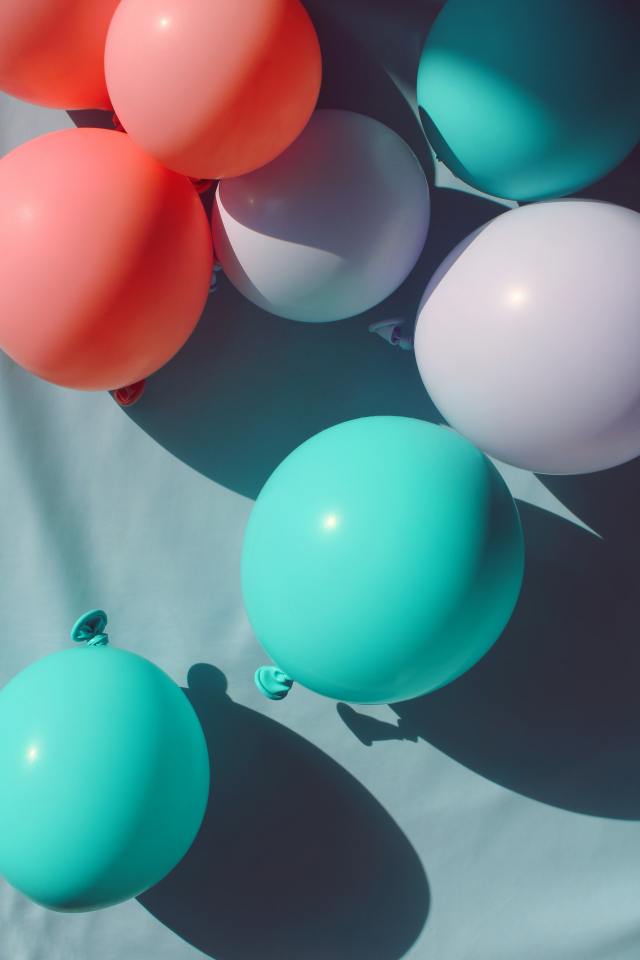
A lesson in: Static electricity. (Or weather science.)
Lightning is essentially electrons moving uber fast between the sky and the earth—and with a few simple materials, you can use homemade static electricity (the reason behind your hair sticking up when you rub a balloon or go through a tunnel slide super fast) for DIY lightning. Figure out how to recreate a family-friendly version of this spark by visiting the activity blog Learn Play Imagine.
Messiness factor: One sponge.
Make a Bug Vacuum

A Lesson in: Entomology
Scientists capture bugs for study using a mouth-powered vacuum, called an aspirator or a pooter. Kids can make their own version from a mason jar, then use it to gather ants (or other small insects) and observe them in action.
What you'll need:
Pint-size mason jar with a two-piece lid
Milk or juice carton
Hole punch
2 bendy straws
Tape
Gauze pad
How to:
1. Open the milk carton along the seams and flatten it out. Use the inner lid of the mason jar as a template to trace a circle on the carton. Cut out the circle and punch two holes in the center about an inch apart.
2. Carefully slide the short ends of the bendy straws into the holes. Tape a piece of gauze pad around the end of one straw to prevent any bugs from getting sucked up.
3 Set the lid on the jar and fasten it in place with the ring.
4. To use your pooter, place the tip of the straw without the gauze near a bug. Put your mouth on the straw with the gauze, and gently suck in. The bug should travel up the straw and land unharmed at the bottom of the jar.
Take It Further
Capture some ants in your bug vacuum, then use a magnifying glass to observe these remarkable insects up close. Open the jar and feed them a few drops of sugary water or corn syrup, or try giving them some birdseed. Ants live in colonies headed by a queen ant, and they can’t last long on their own. When you are done observing them, release your ants where you found them. (Note: Some ants bite, so be careful handling them.)
Tell Me More
Ants were the Earth’s first farmers. For millions of years, certain species have been creating underground gardens where they grow their favorite fungus for food. They tend to their crops, bringing them water and even weeding out other fungi they don’t want.
Excerpted from Mason Jar Science © by Jonathan Adolph, used with permission from Storey Publishing. Available online, $12.69.
Messiness Factor: One sponge.
A Smell Challenge

A Lesson in: Olfactory senses.
Teach kids the importance of smell with this activity that asks them to use only their noses to identify objects. Can they sniff out the fish oil over the garlic cloves? The lemon juice over the orange oil? Homeschooling blogger Ana has the instructions at Babble Dabble Do.
Messiness Factor: Two sponges.
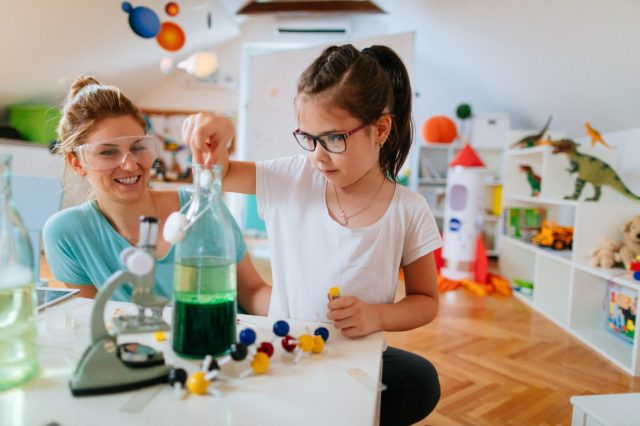
Is This Soluble?

A Lesson in: Mixtures
Teaching children chemistry can become a fun, at-home activity as a weekend afternoon project or as part of their remote learning curriculum. One of the best experiments you can do is the mixing activity. With this exercise, children will learn the difference between soluble and insoluble substances. Do not worry! You can do it with ingredients you already have in your kitchen!
Ingredients
- Water
- Oil (cooking oil, vegetable oil, olive oil, etc.)
- Food Coloring
- Table Salt
- Sand
- Transparent containers with a lid or transparent cups with a spoon to mix
Experiment
Before you begin the activity, ask the children what each ingredient is—whether it is a solid, liquid, or gas—and what they think will happen when you begin mixing them. This guarantees a hands-on experiment that will allow the children to feel they are in control.
- Mix the water and the sand. Children will notice there is a separation between both ingredients and that layers have formed, so it is an insoluble reaction.
- Mix the water and the food coloring. Children will see them combine—the water turning into that color—and know it is a soluble reaction.
- Mix the water and the table salt. The salt will disappear in the water, making it another soluble reaction.
- Mix the water and the oil. This time, a clear layer will be formed, showing another insoluble reaction.
After these mixing activities, you can further this experiment by letting the children find other ingredients to mix with water and have them determine if that substance is soluble or insoluble. The main goal is to show them different reactions and layers.
For a clear example of this experiment, check out this video.
Messiness factor: 2 sponges
Experiment courtesy of Dr. Stephanie Ryan. See more fun about science over at letslearnaboutscience.com