This one isn’t for the coffee lovers. Unless you’re a coffee lover who also happens to love tea, then stick around. Tea is making a major comeback—if it ever really left—and we’re noticing. Americans aren’t notorious for tea drinking, but with more focus on wellness and overall general health, these lovely leaves (and herbs and flowers) are in the spotlight. Not only are the classics still well-loved, but new blends, accessories, and tea kettles are gaining some serious popularity and we’ve gotta admit; we’re feeling pretty fancy.
No shade to coffee. But there’s just something about the ritual of tea that’s relaxing in and of itself. Add to it the health benefits (heart benefits! antioxidants! detoxing!) and the sheer zen of it all, it’s really not shocking that si many people are getting on the tea train. In honor of the de-stressing moments of brewing up a cup, we’ve put together some of our favorite tea-party-for-one (or two or ten) goodies to make your routine even more special. From the absolute gold standard in tea kettles (there is one. Trust us.) to beautiful cups and saucers and blends, your Alice in Wonderland era is here. Minus the hallucinations and grinning cats and stuff.
Butterfly Pea Flower Tea by Anima Mundi
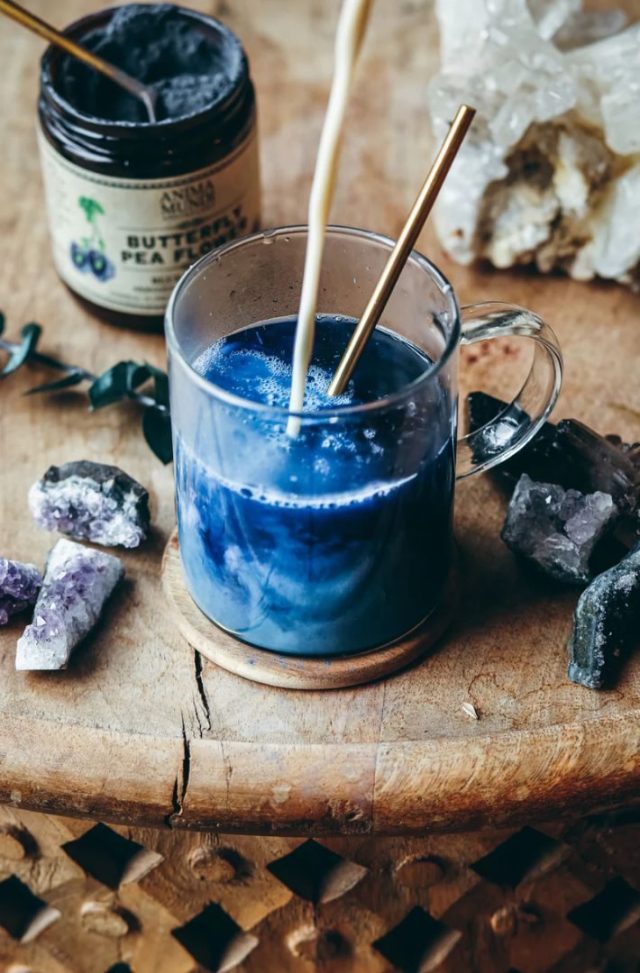
How stunning is this blue? While the aesthetics of Butterfly Pea Flower Tea are definitely a bonus, the real magic is the health-promoting compounds, including antioxidants (such as anthocyanin), and contributing to healthy-looking skin, hair and eyes. Its rich blue color is utilized as a natural dye and it's sometimes combined with water plus an acidic ingredient, such as lemon, which changes the pH of water, so its color changes from blue to violet!
Butterfly Pea Flower Tea by Anima Mundi ($35.00)—Buy Here!
Baristan Electric Gooseneck Kettle by SAKI
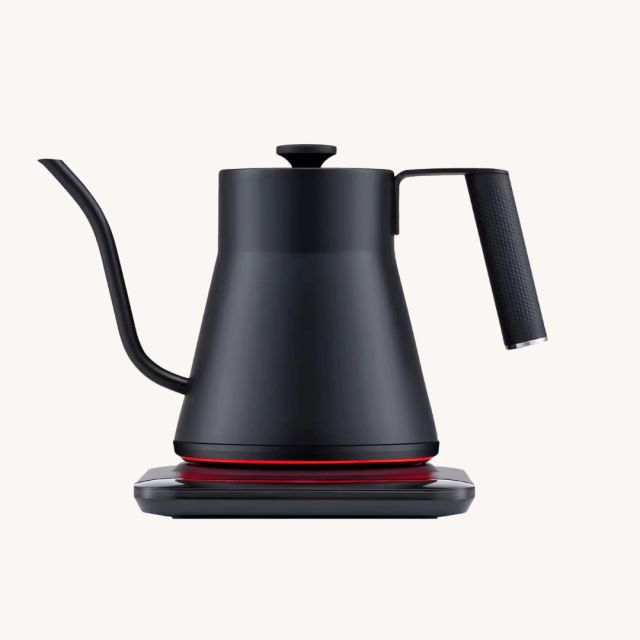
Modern. Minimalist. Sleek. And, of course, supremely practical whether you're a tea lover or a coffee connoisseur. Of course, it's not just about the aesthetics with this one from SAKI. The Baristan has a unique plastic-free interior, ultimate temperature accuracy, a ring light indicator, fast heating time (you'll be ready to pour in 5 minutes!), and a ton of other features we didn't even realize we'd need in a kettle. Turns out, we definitely do. This one is an investment you'll use every single day.
Baristan Electric Gooseneck Kettle by SAKI ($110.00)—Buy Here!
Honey-Bathed Blooming Tea Ball on a Spoon
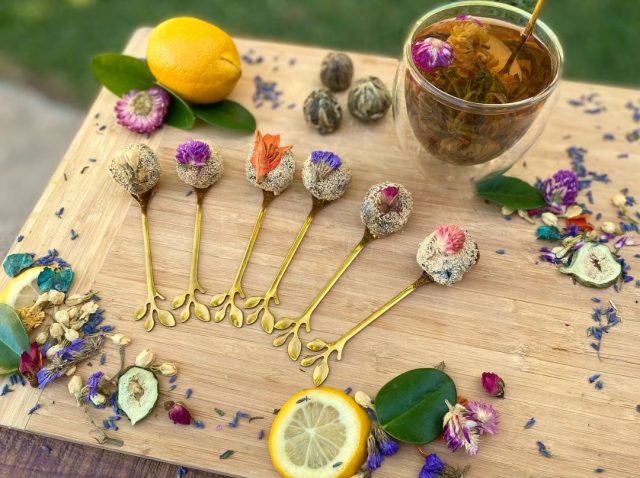
If there's anything we've learned, it's that the tea experience is just as much about the visuals as the taste. These honey-bathed, bound blooming tea balls are dusted with organic honey and adhered to a gold leaf tea spoon. Just add boiling hot water to your tea cup, unwrap your tea ball pop, and submerge into the water. Stir slightly, and your tea ball will open up to reveal a lovely, whole blooming tea flower. We were unprepared for this level of tea magic.
Honey-Bathed Blooming Tea Ball on a Spoon, Set of 4 ($36.74+)—Buy Here!
2-in-1 Kettle and Tea Maker by Teabloom
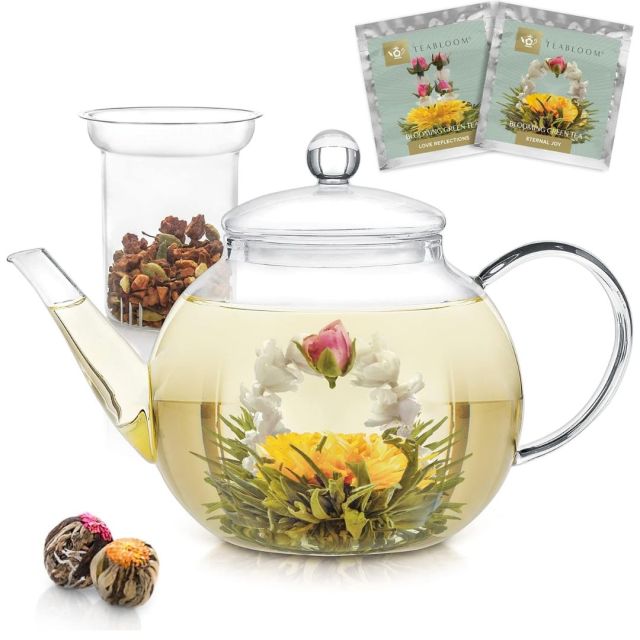
A modern twist on a classic style, this glass teapot allows you to see your tea steep—something especially cool when you use blooming teas! You can use any loose leaf blends, though, since it comes with an infuser to make your tea time ultra-relaxing.
2-in-1 Kettle and Tea Maker by Teabloom ($29.99)—Buy Here!
Teabloom Flowering Tea
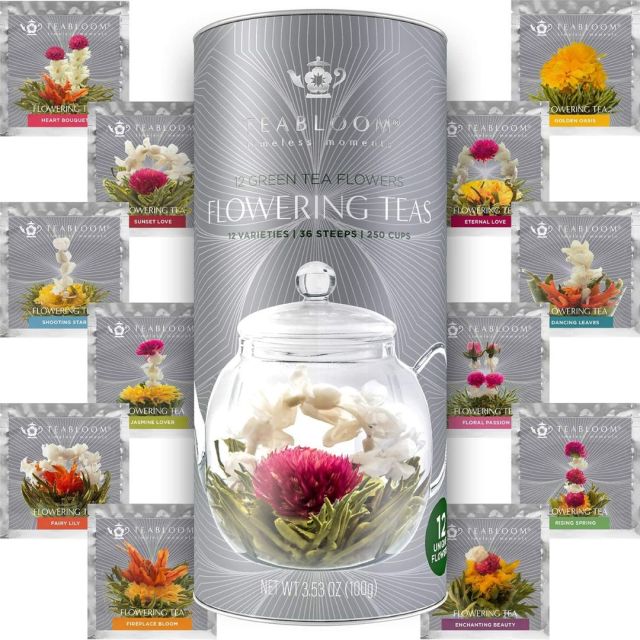
Speaking of flowering teas, these Teabloom teas are handcrafted by artisans with high-quality green tea leaves and edible flowers. They're especially made for glass tea pots since the display is so beautiful, but they also taste wonderful. Each flower makes a full pot of tea, and this set comes with 12 different varieties, including 'Sunset Love' and 'Shooting Star'. Who wouldn't want to drink a shooting star?
Teabloom Flowering Tea ($19.95)—Buy Here!
Jubilee Tea Collection by Tea Forte
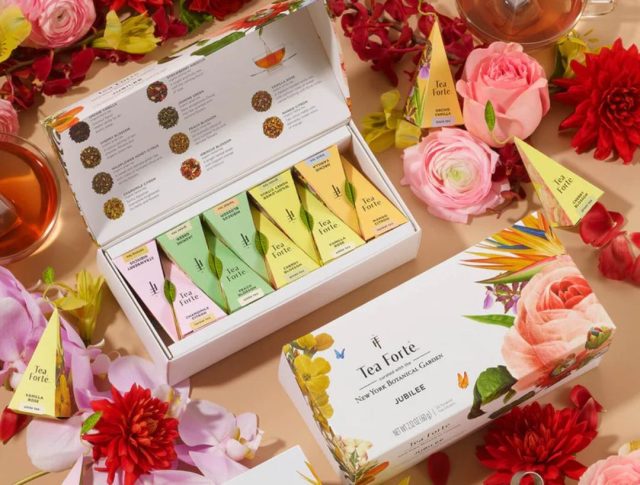
Inspired by Tea Forte's 5 years of partnership with The New York Botanical Garden, this collection brings together all 4 collaborations. Packaged in the tradition of original artwork created from the Garden's library, Jubilee pays includes the Jardin, Fleur, Soleil, and Paradis collections. The 20 pyramid set includes drool-worthy blends like Vanilla Rose and Cherry Blossom.
Jubilee Tea Collection by Tea Forte ($38.00)—Buy Here!
Whistling Tea Kettle by Caraway
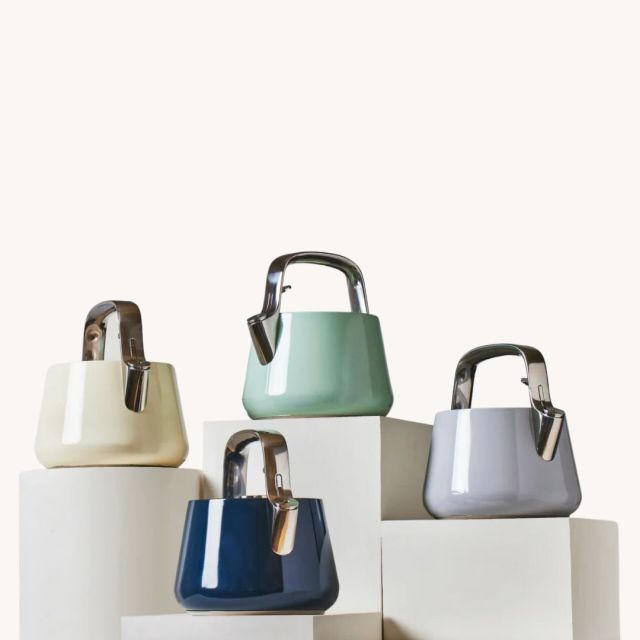
One of Caraway's best bestselling pieces, the Whistling Tea Kettle looks as good on your stovetop as it does as a centerpiece on your brunch table. Available in multiple colors, it's nontoxic, so your water stays clean.
Whistling Tea Kettle by Caraway ($195.00)—Buy Here!
Frosted Teacup & Saucer Set
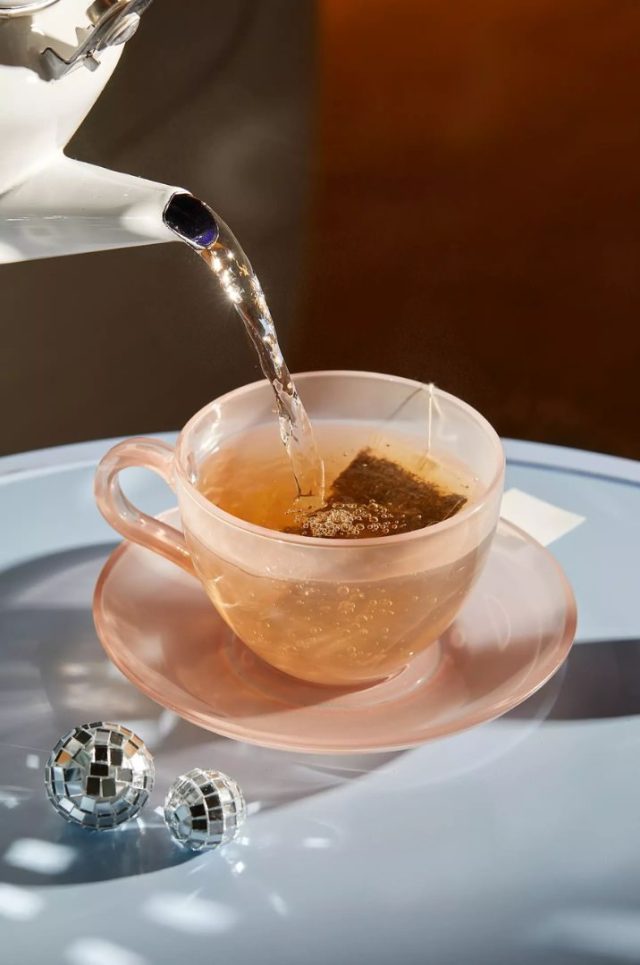
The vintage look of this set is just so perfect, and the saucer is icing on the cake. It also comes in a very fresh minty green. We're grabbing both (they're dishwasher safe!).
Frosted Teacup & Saucer Set ($14.00)—Buy Here!
Cuzen Matcha Maker Starter Kit
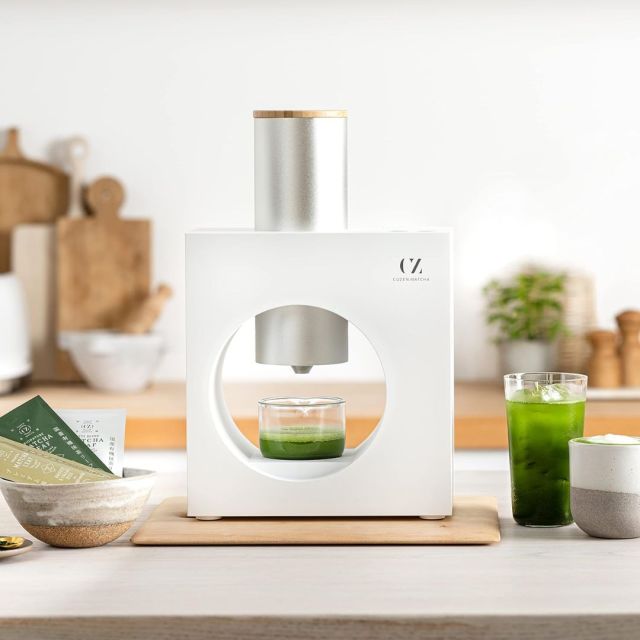
Passionate about matcha? So is Cuzen. With this kit, you can make a shot of matcha to create your favorite latte, cocktail, mocktail, or just to sip on its own. The machine mimics the traditional stone mill and bamboo whisk, and there's even a grind only function for powder you can bake with, use as a garnish, or integrate into your beauty routine. The Cuzen Match Maker is designed to work with their signature tea leaves.
Cuzen Matcha Maker Starter Kit ($299.00)—Buy Here!
Everything Nice Bowls, Set of 2
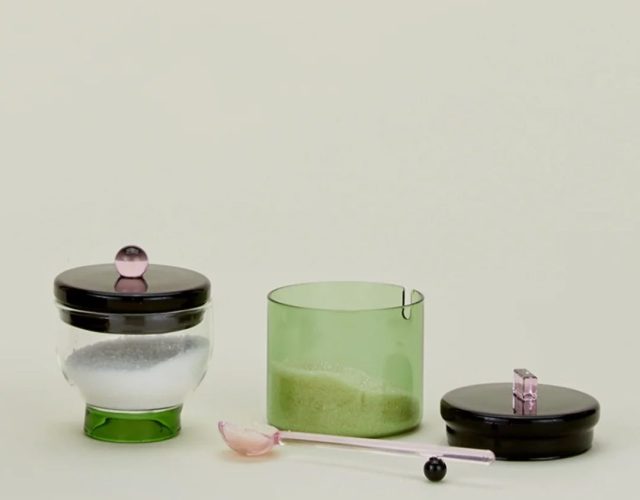
Whether it's brown and white sugar, spices, or q-tips, this bowl set from Hawkins New York is the perfect way to add a little whimsy to your life. (We mentioned the Alice in Wonderland thing, right?)
Everything Nice Bowls, Set of 2 ($100.00)—Buy Here!
Lady Lady Teaspoons, Set of 4
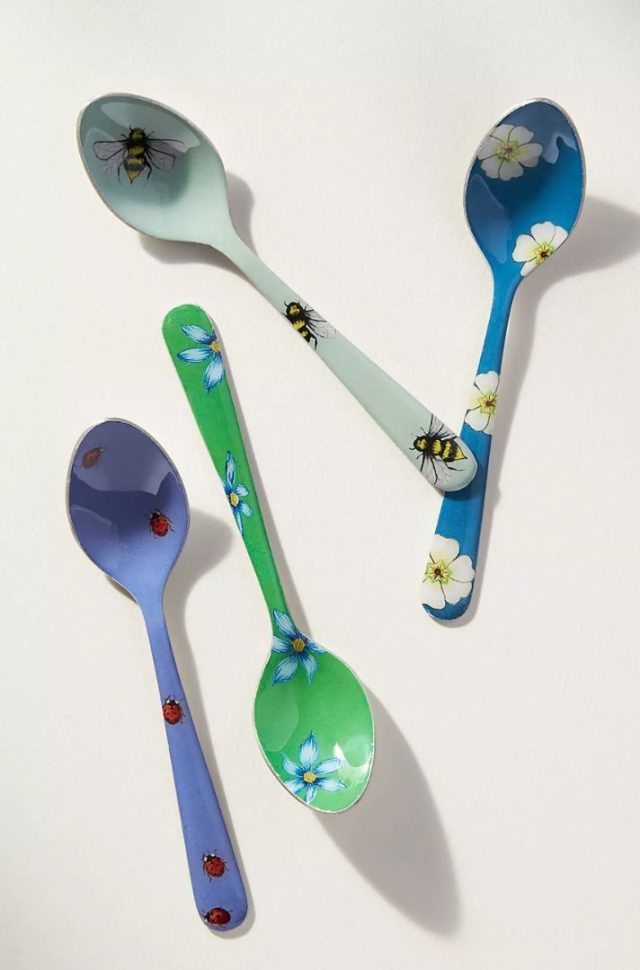
Dreaming of spring? It's right around the corner, thankfully, but these sweet little spring bugs celebrate all year on these teaspoons.
Lady Lady Teaspoons, Set of 4 ($36.00)—Buy Here!
Fellow Clyde Stovetop Tea Kettle
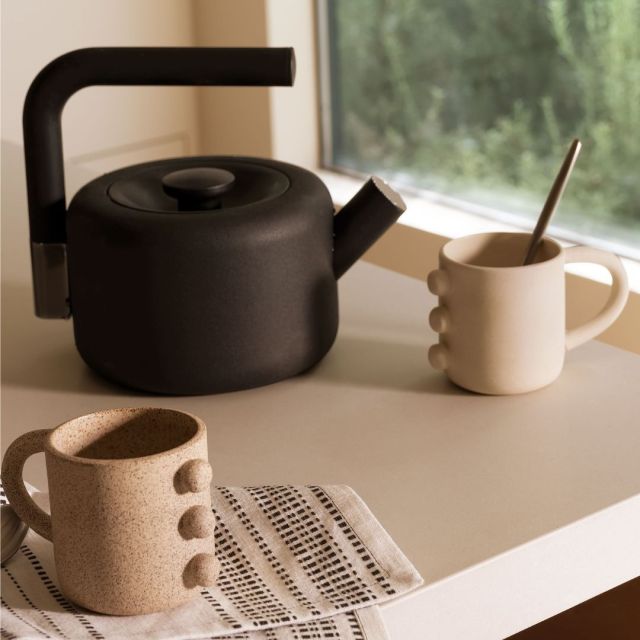
We don't usually think 'chic' when we think about tea kettles, but this one warrants it. For the minimalist in you, this unique kettle is a seriously stunning addition to your kitchen.
Fellow Clyde Stovetop Tea Kettle ($105.00)—Buy Here!
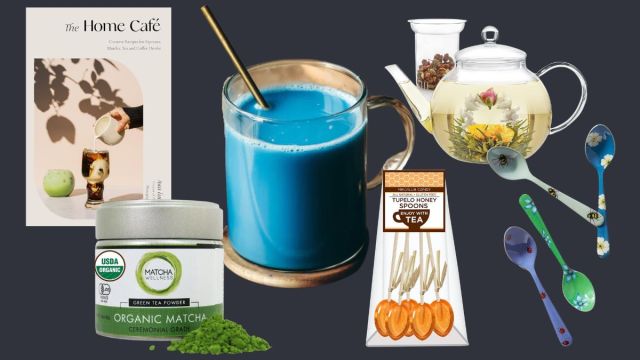
Organic Ceremonial Grade Matcha Powder
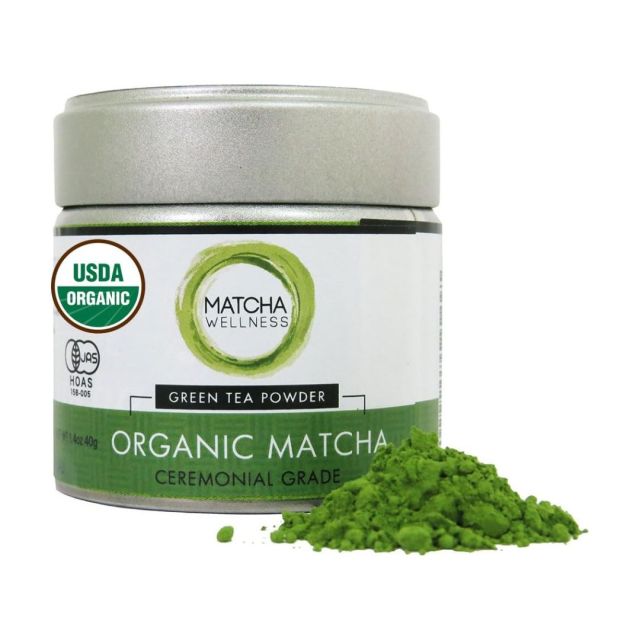
Organic, stone-ground matcha from Uji -Kyoto, Japan makes for a smooth cup without any bitterness. Plus, that green hue would make anyone happy.
Organic Ceremonial Grade Matcha Powder ($22.49)—Buy Here!
'The Home Café: Creative Recipes for Espresso, Matcha, Tea and Coffee Drinks'
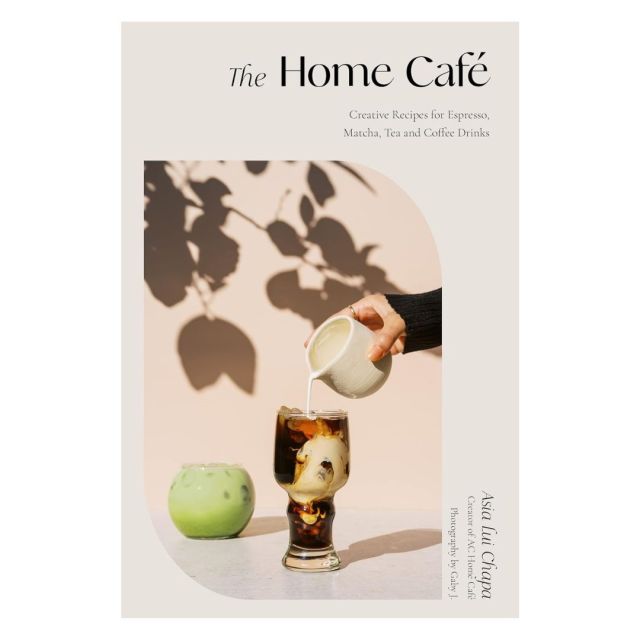
You have your matcha powder; now put it to even more creative use. For both coffee and tea lovers alike, this book helps you take your regular grind (pardon the pun) and switch it up into something a little more fun.
'The Home Café: Creative Recipes for Espresso, Matcha, Tea and Coffee Drinks' ($19.39)—Buy Here!
Tupelo Honey Spoons
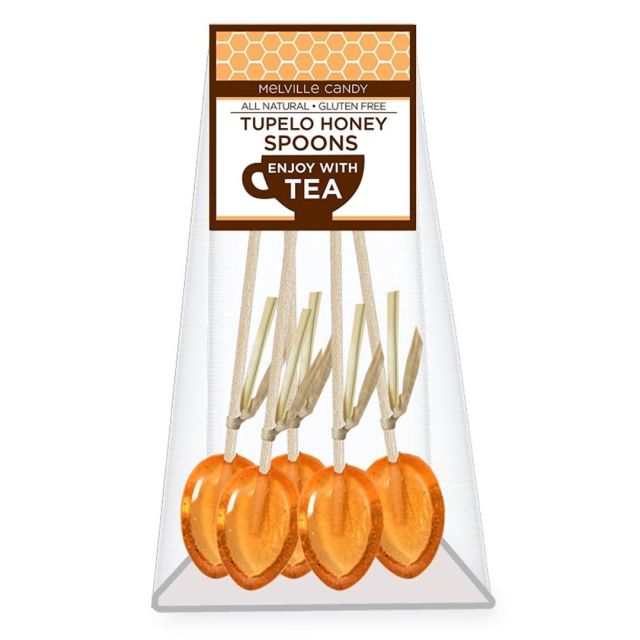
Tea and honey go together like...tea and honey. Just use one of these dipped spoons to stir your favorite tea and add the perfect amount of sweetness as the honey dissolves.
Tupelo Honey Spoons ($12.14)—Buy Here!
Pink Poppy Teapot

Absolutely swoon-worthy, this stunning glass teapot is hand painted with poppies in rich pink hues. It includes a removable infuser, too, and is available in 2 sizes.
Pink Poppy Teapot ($76.41+)—Buy Here!
Horoscope Tea Variety Pack by DAVIDsTEA
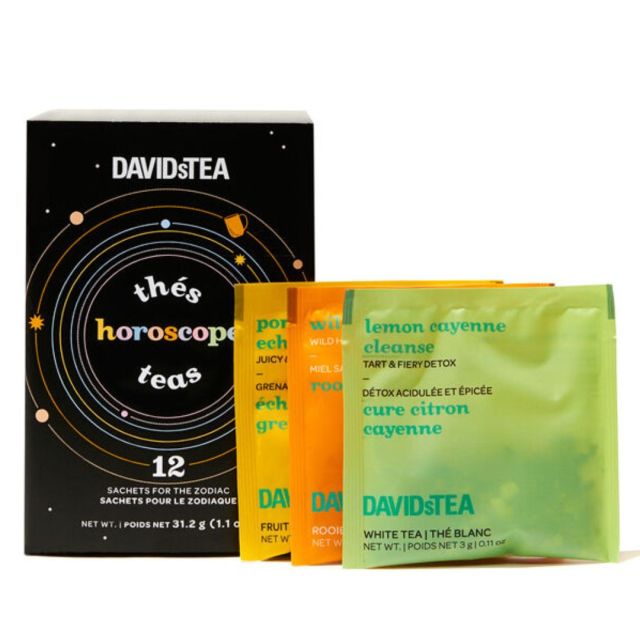
Get a glimpse into the future—which looks a lot like a steaming cup of tea inspired by the stars. Each zodiac sign is represented here, so you can try the whole sky.
Horoscope Tea Variety Pack by DAVIDsTEA ($12.00)—Buy Here!
All the products listed are independently & personally selected by our shopping editors.
If you buy something from the links in this article, we may earn affiliate commission or compensation. Prices and availability reflect the time of publication.
All images courtesy of retailers.